


Premiere Pro · Import, export and hand-off
How to fix Premiere Pro proxies that won't toggle
The short answer
If switching to proxies seems to do nothing, check whether Premiere has a finished proxy to switch to, and whether it is playing the clips at all. Check four things in order: the proxy column in the Project panel (a clip has only an offline proxy until its Media Encoder job finishes), Enable proxies in Edit > Preferences > Media (Windows) or Premiere > Settings > Media (macOS), rendered sections with a green bar, where Premiere plays preview files instead of processing the sequence, and clips replaced with Clip > Render and Replace. To go back to the full-resolution media, select the clips and choose Proxy > Detach Proxy. Export uses full resolution by default either way.
7 steps
In Premiere Pro
- 01See which clips really have a proxy
- 02Turn on Enable proxies
- 03Attach proxies that Premiere didn't make
- 04Delete render files where the bar is green
- 05Undo Render and Replace
- 06Go back to full resolution
- 07Check the export settings
01
See which clips really have a proxy
Put the Project panel in List view, right-click a column header, search for proxy and turn on the fields you want to display. Clips without a proxy have nothing to switch to. Right after Create Proxies, Adobe says each clip has only an offline proxy until its Media Encoder job finishes, and you keep working with the full-resolution clips meanwhile. Watch the jobs in the Progress panel or in Media Encoder.
02
Turn on Enable proxies
Choose Edit > Preferences > Media (Windows) or Premiere > Settings > Media (macOS) and select Enable proxies. Adobe says this makes the timeline switch to displaying the proxy video automatically once a proxy job is complete. If you chose a watermark when you created the proxies, it marks proxy files in the Program Monitor, so you can see which one is playing.
03
Attach proxies that Premiere didn't make
Proxies from a camera or another app are not used until you link them. Select the full-resolution clips, right-click and choose Proxy > Attach Proxies, pick the properties to match (file name, file extension, tape name, timecode), turn on Relink others automatically, click Attach and choose the proxy files. Attach Proxies works only on video-only, audio/video and offline clips. The full steps, and the audio channel error, are in the answers linked below.
04
Delete render files where the bar is green
A green bar above the timeline means that section is rendered. Adobe says Premiere then plays the preview files instead of processing the sequence again, so what you see there is the render. To play the clips again, select Sequence > Delete Render Files for the whole sequence, or set the work area over a range and select Sequence > Delete Work Area Render Files.
05
Undo Render and Replace
Clip > Render and Replace swaps clips for a new rendered file. Adobe doesn't say whether that file keeps the original's proxy. To get the original clip back, select the sequence with the rendered clips and choose Clip > Restore Unrendered. Adobe notes that changes made to the original file in the meantime come back with it.
06
Go back to full resolution
Select the clips in the Project panel, right-click and choose Proxy > Detach Proxy. Adobe says this is useful when you want to switch back to the original high-resolution media. It removes the link and leaves the proxy files on disk. If the originals show offline instead, use Proxy > Reconnect Full Resolution Media: pick the properties to match, keep Relink others automatically on, select Attach and choose the correct clip in the Media Browser.
07
Check the export settings
Click Export and look under Media File > General. Adobe says Premiere uses full-resolution media for export by default, even with proxies enabled, and the Use Proxies checkbox defaults to unchecked. If Use Proxies and Use Previews are both selected, Premiere uses the rendered previews where a section has both a preview and proxy media.
Good to know
Before you start
- Note 1
- Symptom and what Adobe documents. Still plays full resolution right after Create Proxies: the clip has an offline proxy until its Media Encoder job finishes. Still plays full resolution after the jobs finished: turn on Enable proxies in Preferences > Media and check the proxy column. Proxies seem to disappear after rendering the timeline: green-bar sections play preview files; delete render files to play the clips. Clips swapped by Render and Replace: Clip > Restore Unrendered. Won't switch back to full resolution: Proxy > Detach Proxy, or Proxy > Reconnect Full Resolution Media if the originals are offline. Export looks like the proxies: turn off Use Proxies under Media File > General.
- Note 2
- Adobe's current Premiere help documents Enable proxies in Media preferences as the setting that switches the timeline to proxy video. It doesn't document a Program Monitor proxy button or say what clearing Enable proxies does, so this page doesn't rely on either. You can add buttons to the Program Monitor with the Button Editor at its lower right.
- Note 3
- Proxies are not the same control as Playback Resolution. Playback Resolution and Paused Resolution are in the Program Monitor's Settings menu and set the playback resolution relative to the footage. Adobe also notes that previews rendered below the sequence resolution play back at a fraction of the preview resolution.
- Note 4
- Freezing or lag with proxies on. Adobe's release notes for Premiere 26.0 (January 2026) list two proxy fixes: proxies could lag during high-speed scrubbing the first time they were viewed on project open, and proxies with a different frame rate from variable frame rate source media could play back poorly. If you are on an older version, update. Adobe also links many playback problems to the media cache: choose Edit > Preferences > Media Cache (Windows) or Premiere > Settings > Media Cache (macOS) and select Delete next to Remove Media Cache Files.
- Note 5
- Adobe lists what proxy workflows don't support: Dynamic Link for After Effects compositions, editing audio in Audition, and the options to modify audio channels and interpret footage. Premiere's proxies also aren't compatible with After Effects' proxies. Edit those clips without a proxy.
Eddie AI
Do it in Eddie
Eddie can't fix the proxy switch inside Premiere, but it doesn't need your Premiere proxies.
When Eddie reads clips from Premiere, it makes proxies to keep the analysis quick, including on pro codecs such as R3D and BRAW.
Back to Premiere
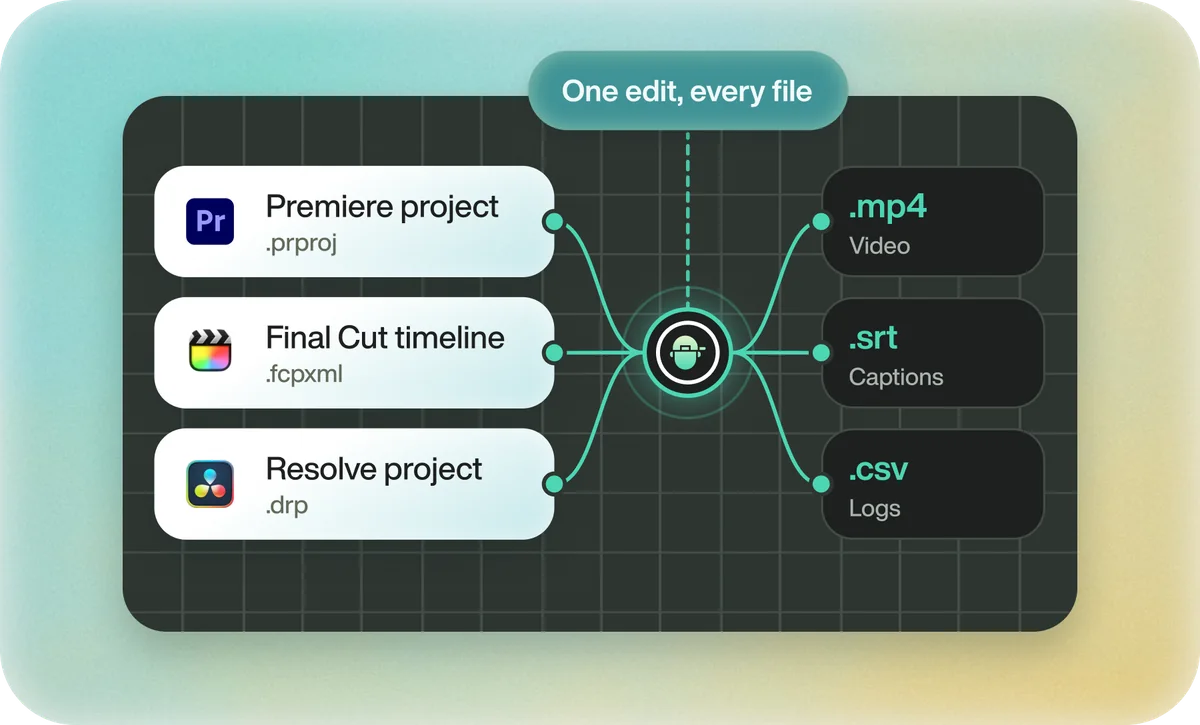
Open the edit, click Export and choose Premiere. You get a Premiere project (.prproj) or the older Premiere XML. In the desktop app, Send to Premiere Pro builds the edit inside Premiere through Eddie's panel, which the app installs for you.
If you imported the footage through the desktop app, the timeline points at your original camera files, so Premiere relinks to them. If you uploaded on the web or pulled from cloud storage, it points at Eddie's proxy media; relink to those, not to the camera originals.
FAQ
Questions
- Why does Premiere still play full-resolution media with proxies on?
- Either the clip has no finished proxy, or proxies are switched off. A clip has only an offline proxy until its Media Encoder job finishes, so check the jobs and the proxy column in the Project panel. Then turn on Enable proxies in Edit > Preferences > Media (Windows) or Premiere > Settings > Media (macOS).
- Why do my proxies disappear after I render the timeline?
- In a rendered section, the one with the green bar, Adobe says Premiere plays the preview files instead of processing the sequence again. You are watching the render, not the proxy. Select Sequence > Delete Render Files, or Delete Work Area Render Files for a range, to play the clips again.
- How do I switch back to full-resolution media?
- Select the clips and choose Proxy > Detach Proxy. Adobe says this is useful when you want to switch back to the original high-resolution media. The proxy files stay on disk. If the originals are offline, use Proxy > Reconnect Full Resolution Media.
- Does Premiere export from proxies?
- Not by default. Adobe says Premiere exports from full-resolution media even with proxies enabled, unless you select Use Proxies under Media File > General in the export settings. The checkbox defaults to unchecked.
- Why does playback freeze or lag with proxies on?
- Premiere 26.0 (January 2026) fixed proxies lagging during fast scrubbing the first time they were viewed after opening a project, and poor playback with proxies at a different frame rate from variable frame rate source media. Update if you're on an older version. If it still stutters, delete the media cache in Preferences > Media Cache.
- Can I lower playback quality without proxies?
- Yes. In the Program Monitor's Settings menu, choose Playback Resolution and pick a lower value, such as 1/4, and set Paused Resolution to Full to check detail when you stop. Adobe notes that artifacts you see at lower playback resolutions don't show up in exported media.
Sources
- Adobe: Create proxies
- Adobe: Media preferences (Enable proxies)
- Adobe: Detach proxies (proxy status column)
- Adobe: Attach proxies to full-resolution media
- Adobe: Reconnect full-resolution media to proxies
- Adobe: Render a section of a sequence (render bar colors)
- Adobe: Use preview files when rendering
- Adobe: Delete preview files
- Adobe: Render and replace media in a sequence
- Adobe: Replace rendered clips with original media (Restore Unrendered)
- Adobe: Export proxies (Use Proxies; full resolution by default)
- Adobe: Overview of export settings (Use Proxies defaults to unchecked)
- Adobe: Set display quality for the Source and Program Monitors
- Adobe: Display controls in the Source and Program Monitors (Button Editor)
- Adobe: Choppy playback and poor performance (media cache)
- Adobe: Premiere desktop release notes (version 26.0 proxy fixes)
- Adobe: Ingest and proxy workflow (unsupported features)