How-to guidesWebinars
How to Edit a Webinar Recording
A live webinar is an hour long; the on-demand version should not be. Viewers who missed it want the substance without the five minutes of "we will wait for people to join" and the questions nobody else cares about. This guide turns a raw recording from Zoom, Teams or your webinar platform into an on-demand video and promotional clips.
The short answer
Remove the waiting-room minutes, the housekeeping and the technical hiccups, keep the presentation and the best audience questions, and add chapter titles so on-demand viewers can skip to what they need. Then cut a three-minute highlight and a few short clips to promote the recording. Eddie finds each of those parts in the transcript and builds the on-demand version, the highlight and the clips from prompts.
What you will end up with
- An on-demand version without the waiting room, housekeeping and dead air.
- The three or four best audience questions kept, the rest removed.
- Chapter titles for each part of the presentation.
- A three-minute highlight and short clips to promote the recording.
Step by step
Step 1
Import the recording
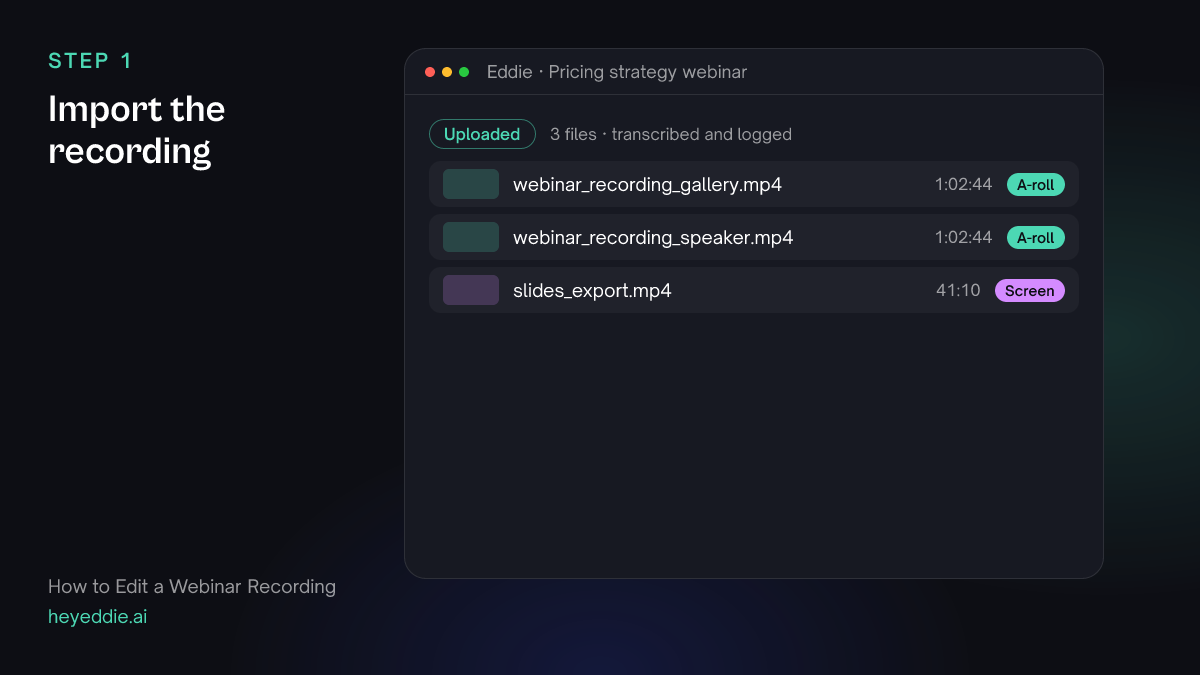
Upload the recording from your webinar platform. If the platform gives you a separate speaker-view file and the shared-screen file, upload both.
What Eddie does
- Transcribes the recording and names the speakers, which you can correct.
- Tags the shared screen as a screen recording.
What you get: The full webinar, searchable.
Step 2
Cut the on-demand version
Name what to remove and what to keep. Eddie finds the parts in the transcript.
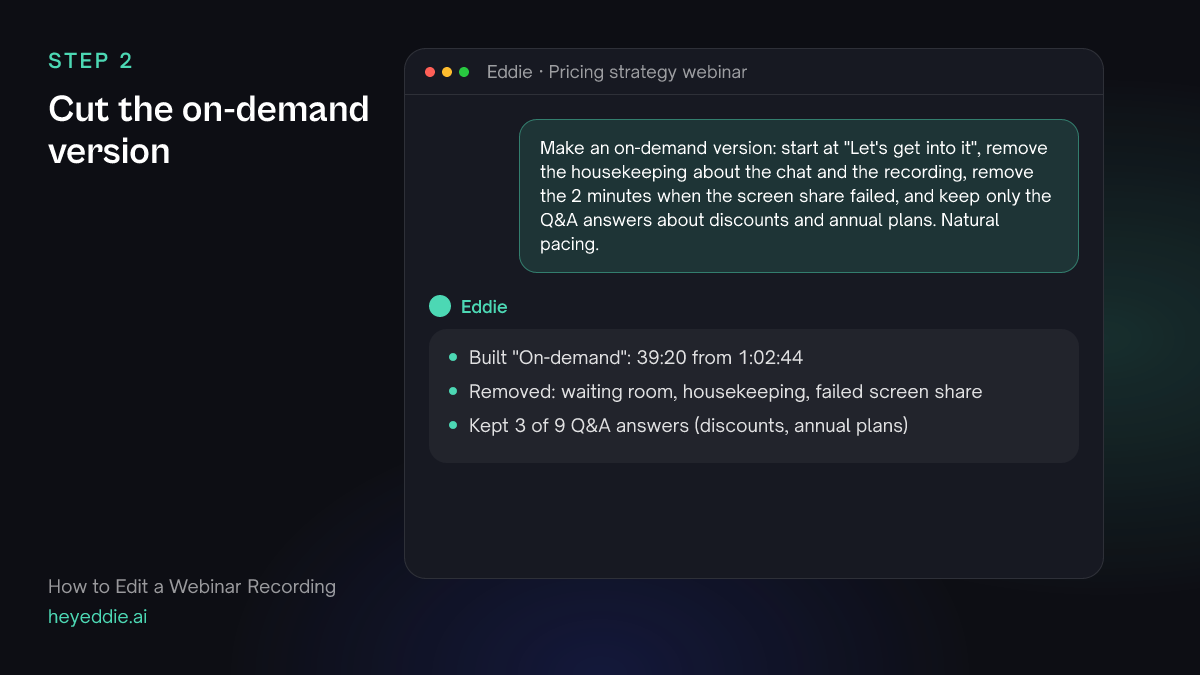
What you type “Make an on-demand version: start at "Let's get into it", remove the housekeeping about the chat and the recording, remove the 2 minutes when the screen share failed, and keep only the Q&A answers about discounts and annual plans. Natural pacing.”
What Eddie does
- Finds the start line, the housekeeping, the failed screen share and the Q&A in the transcript.
- Builds the edit without them and reports the new length.
What you get: A webinar of about 40 minutes instead of an hour.
Step 3
Add chapter titles
Chapters let on-demand viewers skip to the part they came for. Put them on screen and in the description.
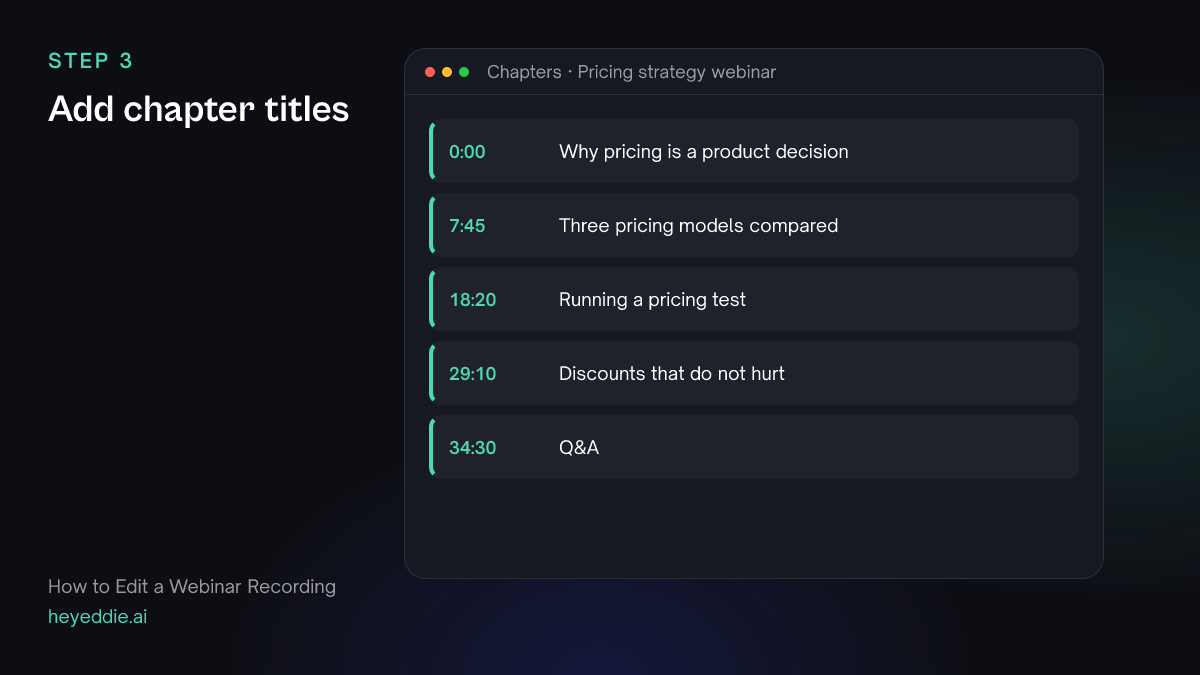
What you type “Add a chapter title at each new section of the presentation, using the slide titles, and list the chapters with their timestamps.”
What Eddie does
- Places a title at each section change.
- Reads back the titles and times, ready to paste into a description.
What you get: A navigable on-demand video.
Step 4
Make the highlight and clips
A short highlight sells the on-demand recording. Clips of single insights work on LinkedIn.
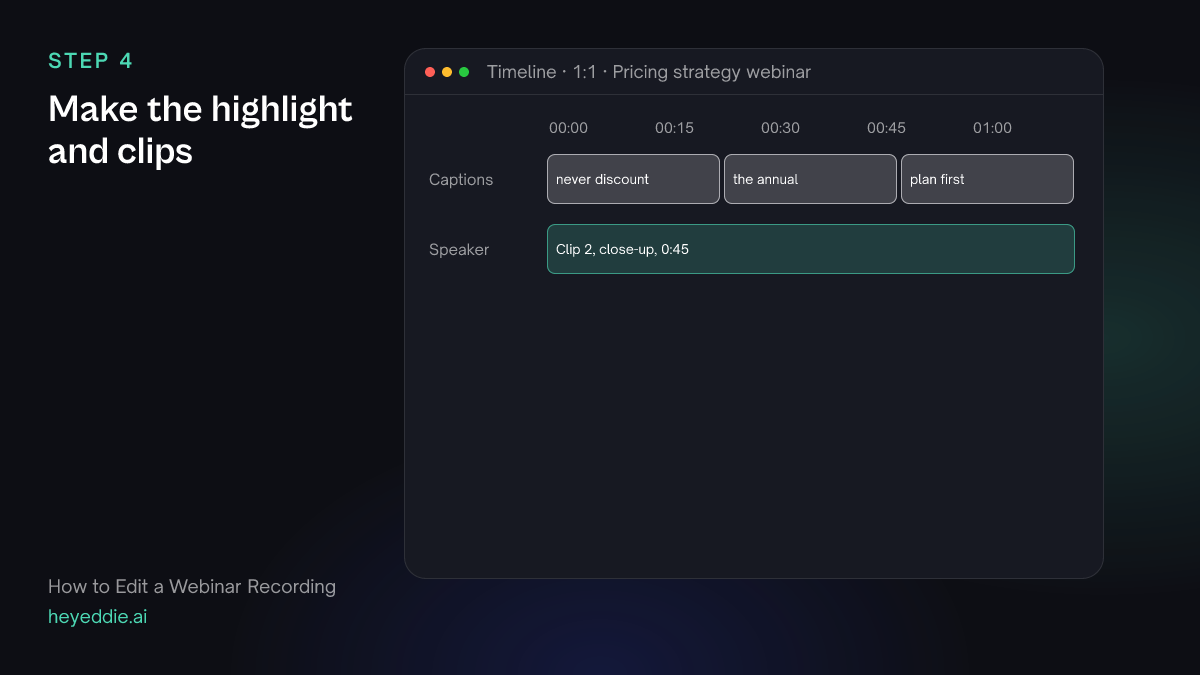
What you type “Make a 3-minute highlight of the strongest insights, then 3 square clips of 45 seconds each for LinkedIn with the speaker cropped to a close-up and minimal captions.”
What Eddie does
- Selects the strongest self-contained insights and builds the highlight.
- Builds three square edits cropped to the speaker's face, with captions.
What you get: Promotional content from the same recording.
Step 5
Clean the audio and export
Webinar audio is laptop microphones and home rooms. Level the speakers and reduce background noise before you export.
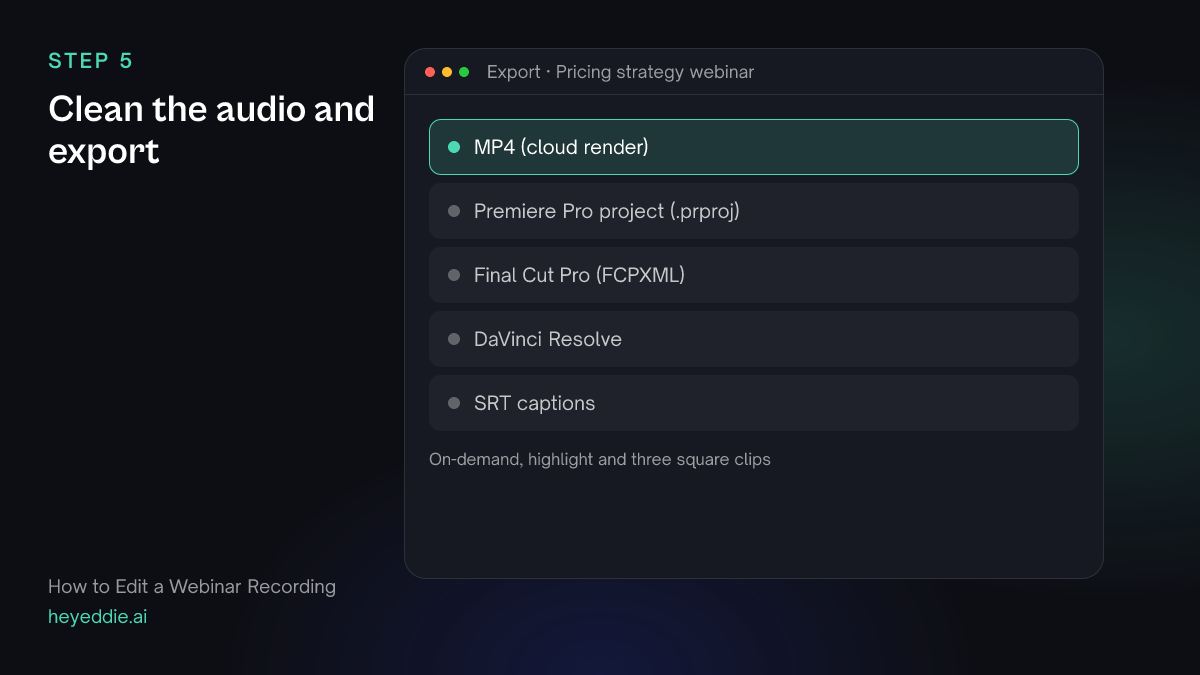
What you type “Reduce the background noise on the guest's audio, level all speakers to the same volume, set web loudness, and export the on-demand version, the highlight and the clips as MP4.”
What Eddie does
- Cleans the noise from under the voice on the segments you named.
- Levels the speakers and sets the loudness, then renders every edit.
What you get: A clean on-demand recording and promotional files.
What makes it work
- Keep only the questions others share
- A question about one attendee's account is not worth three minutes on demand. Keep the questions most viewers would have asked.
- Start on the first useful sentence
- On-demand viewers did not wait for the room to fill. Start where the content starts.
- Ask for the speaker view if you can
- A separate speaker recording gives you sharp close-ups for clips; a gallery view rarely does.
- Fix the audio before the clips
- Cleaned and levelled audio carries into every edit you build afterwards.
- Write the description from the chapters
- The chapter list Eddie reads back is most of a good video description. Add one sentence on who the webinar is for, and paste it in.
- Check the questions you removed
- Read the list of Q&A answers Eddie left out before you publish. A question you thought was niche can be the one prospects ask most, and it takes one prompt to put it back.
Questions
- Does this work with Zoom and Teams recordings?
- Yes. Any recording file imports. Separate speaker and screen files, where your platform provides them, give more control.
- Can Eddie remove the parts where nothing happens?
- Yes. Describe them, such as the waiting room or a broken screen share, and Eddie finds them in the transcript and removes them.
- Can I get a transcript or summary document too?
- Yes. Eddie can create a downloadable document, such as a summary or a list of the Q&A, from the webinar.
- How long should the on-demand version be?
- As long as the content, without the live overhead. Most hour-long webinars lose 15 to 25 minutes.
- Can I add the webinar's slides as a separate track?
- Yes. Import the slides as a video or a screen recording and ask Eddie to show them over the matching parts of the talk, or side by side with the speaker.
- Should I keep the live intro and the host's welcome?
- Keep one short line of welcome if it sets up the topic, and cut the rest. On-demand viewers chose the recording for its content, so get to it within the first minute.