


DaVinci Resolve · Cutting and the timeline
How to make subclips in DaVinci Resolve
The short answer
Open the clip in the Source viewer, mark an In point (I) and an Out point (O), then right-click the viewer image and choose Make Subclip. The subclip appears in the Media Pool as its own clip.

5 steps
In DaVinci Resolve
01
Open the clip
On the Edit page, double-click the clip in the Media Pool to load it into the Source viewer.
02
Mark the range
Press I at the start of the part you want and O at the end.
03
Make the subclip
Right-click the image in the Source viewer and choose Make Subclip. Resolve adds it to the current bin.
04
Name it
Select the subclip in the Media Pool, click its name and type something you will search for later, such as the topic or the speaker.
05
Organize
Drag subclips into bins, or use a Smart Bin that collects clips by name or keyword.
Good to know
Before you start
- Note 1
- A subclip still points at the original file; Resolve doesn't copy any media.
- Note 2
- To change a subclip's range later, right-click it in the Media Pool and choose Edit Subclip.
Eddie AI
Do it in Eddie
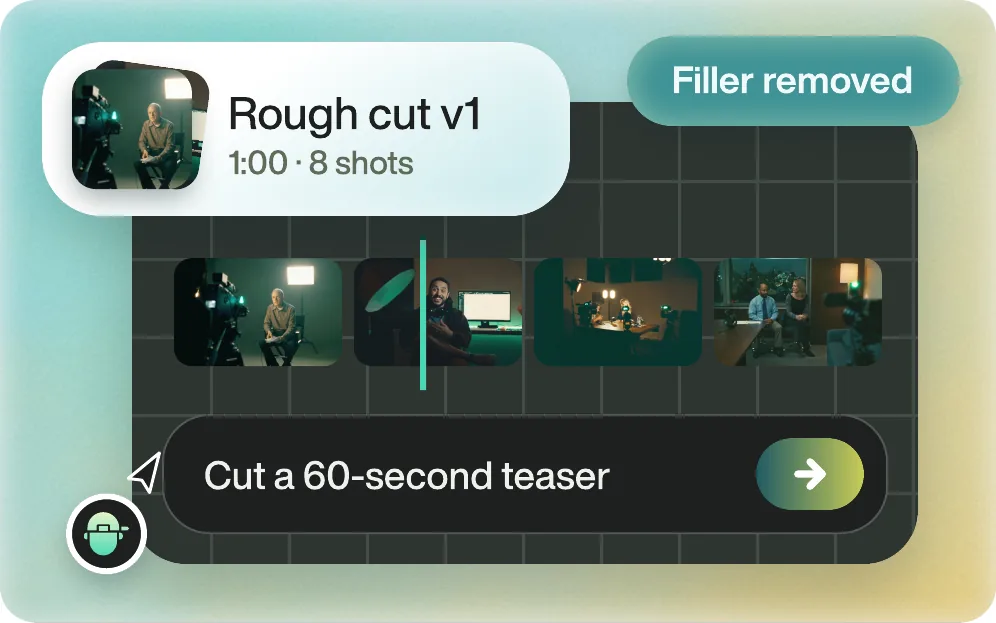
Eddie makes subclips for you, guided by what you want.
Ask, for example, "Generate b-roll subclips of the smooth aerial shots." Eddie quotes the price first, and the subclips go into the library rather than the timeline until you ask for them. Eddie also writes a log of each interview and a shot log of the b-roll, which exports as Resolve XML bins of soundbites grouped by subject.
FAQ
Questions
- Does a subclip take up extra disk space?
- No. It is a reference to part of the original file.
- Can I extend a subclip later?
- Yes. Right-click the subclip in the Media Pool, choose Edit Subclip and change its start and end.
