


DaVinci Resolve · Import, export and hand-off
How to make proxy media in DaVinci Resolve
The short answer
Right-click clips in the Media Pool and choose Generate Proxy Media, then set Playback > Proxy Handling to Prefer Proxies. Optimized media (right-click > Generate Optimized Media) does a similar job but lives inside Resolve's cache, while proxies are separate files you can move, share and relink.

5 steps
In DaVinci Resolve
01
Set the format
Open Project Settings > Master Settings > Optimized Media and Render Cache. Choose the proxy resolution and format, and check where proxies are saved. Preferences > System > Media Storage can override the location.
02
Generate proxies
In the Media Pool, select the clips, right-click and choose Generate Proxy Media. Let it finish before you edit heavy shots.
03
Edit on proxies
Set Playback > Proxy Handling to Prefer Proxies. Playback uses the light files.
04
Check the originals
Before you finish, set Proxy Handling to Disable All Proxies and make sure every shot is still online. Prefer Camera Originals quietly falls back to proxies when an original is missing.
05
Or use optimized media
Right-click clips and choose Generate Optimized Media, then tick Playback > Use Optimized Media If Available. Resolve manages these files in its cache folder.
Good to know
Before you start
- Note 1
- Proxies are for moving a project between machines or editing on a laptop; you can relink them with Link Proxy Media. Optimized media is a local playback cache you don't manage by hand.
- Note 2
- Deliver renders from the camera originals unless you tell it to use proxies, so keep the originals for the final render.
Eddie AI
Do it in Eddie
Eddie makes its own proxies, so you don't need to make them before importing into Eddie.
If you imported through the Eddie desktop app, the Resolve export points at your original files. If you uploaded on the web or from cloud storage, it points at Eddie's proxies, and you should relink to those rather than to camera originals. A cloud MP4 render from a desktop import uses the proxy, so it is no sharper than your Proxy Resolution setting.
Back to Resolve
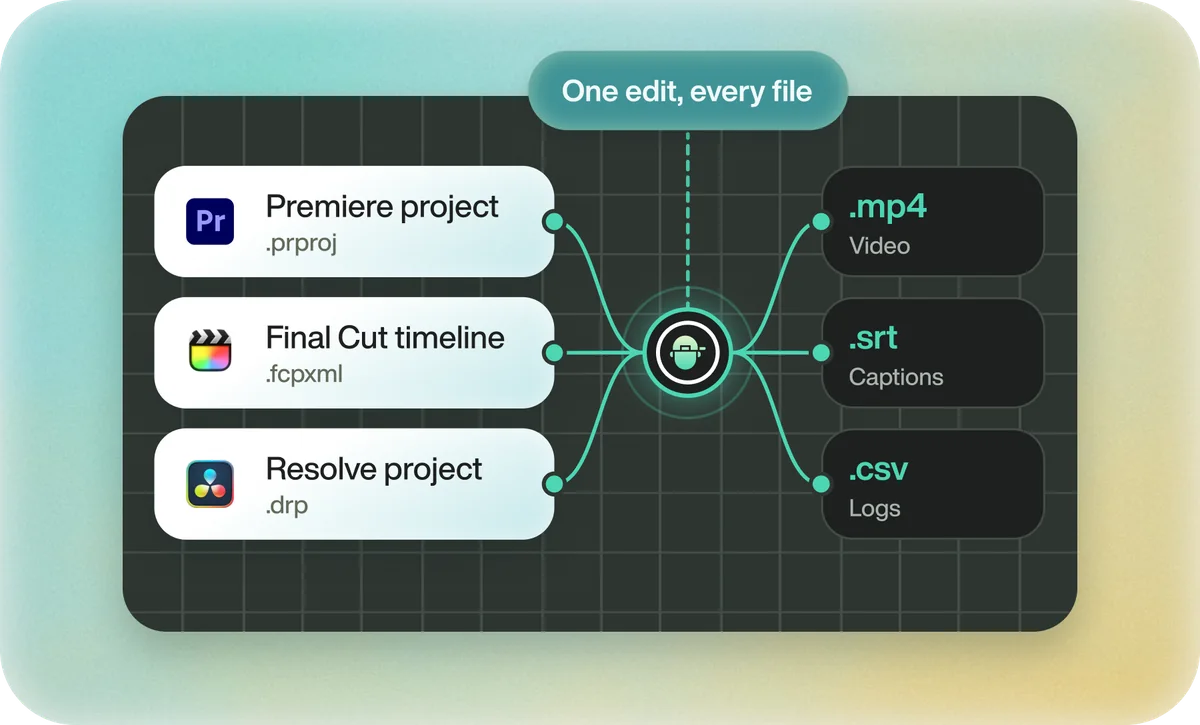
Open the edit, click Export and choose Resolve. The default is a Resolve project (.drp) that opens with the timeline built; behind the arrow is a Resolve FCPXML you bring into the project you have open with File > Import > Timeline. In the desktop app, Send to DaVinci Resolve builds the timeline in the Resolve you have running, through Eddie's script (Workspace > Scripts > Eddie AI AE).
If you imported the footage through the desktop app, the timeline points at your original camera files. If you uploaded on the web or pulled from cloud storage, it points at Eddie's proxy media: relink to those in the Media Pool with Relink Selected Clips, not to the camera originals.
FAQ
Questions
- What is the difference between proxy and optimized media in Resolve?
- Proxies are separate files you can move, share and relink. Optimized media lives in Resolve's cache and is tied to that system. Both play back more smoothly than heavy camera files.
- Does Resolve render from proxies?
- Not by default. The Deliver page renders from the camera originals unless you choose to use proxies.
