


DaVinci Resolve · Color and look
How to color manage log footage in DaVinci Resolve
The short answer
For log footage, especially from more than one camera, use DaVinci YRGB Color Managed: set it in Project Settings > Color Management, check each clip's Input Color Space, and Resolve converts every clip into one timeline color space and then to your output. Use plain DaVinci YRGB only if you want to convert log yourself, clip by clip, with the camera's LUT or a Color Space Transform.
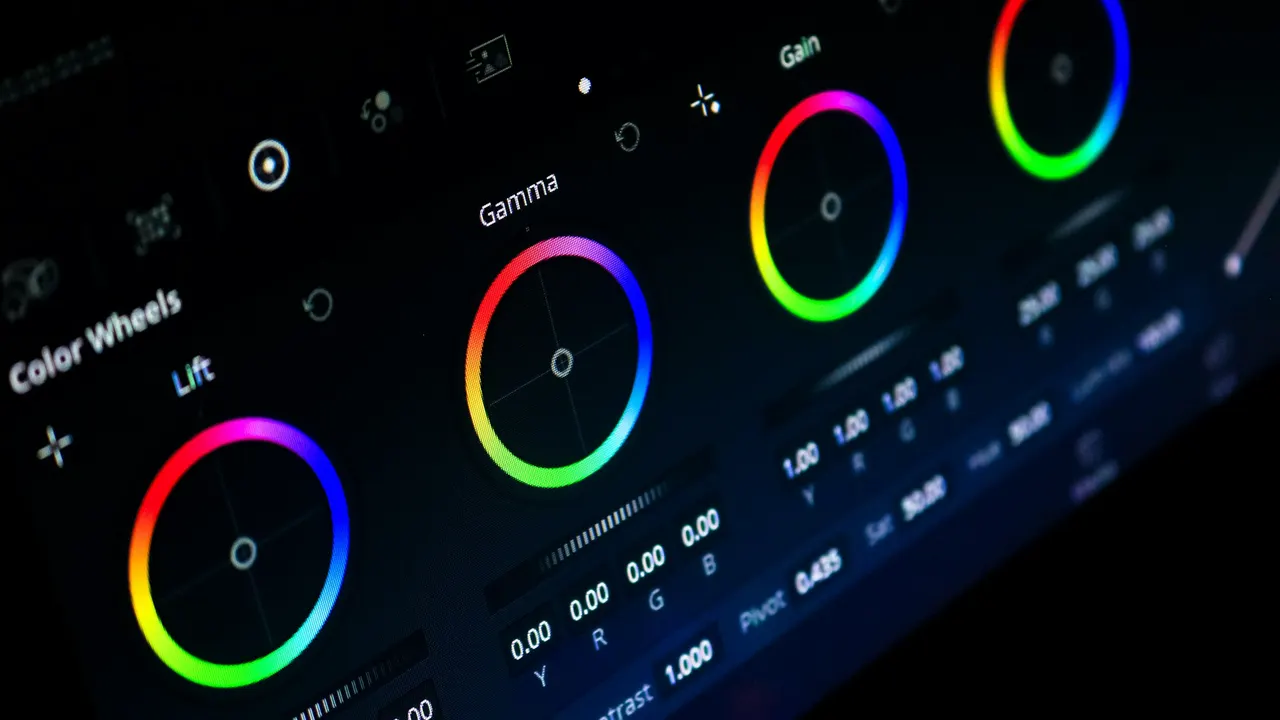
7 steps
In DaVinci Resolve
- 01Choose the color science
- 02Pick a preset and an output
- 03Check each clip's input
- 04Tag clips Resolve doesn't recognise
- 05Or convert by hand in DaVinci YRGB
- 06Reuse it for one camera
- 07Grade after the conversion
01
Choose the color science
Click the gear icon at the bottom right to open Project Settings, go to Color Management and set Color science to DaVinci YRGB Color Managed. Plain DaVinci YRGB does no conversion: you are the color management.
02
Pick a preset and an output
With Automatic Color Management checked, choose SDR or HDR and an output color space. Uncheck it to pick a Resolve color management preset instead: SDR Rec.709 is the default, and Custom lets you set the Timeline Color Space yourself, such as DaVinci Wide Gamut.
03
Check each clip's input
In the Media Pool, right-click a clip and look at Input Color Space. Raw formats such as .braw and .R3D are identified automatically, and QuickTime or MXF files are read from their color space metadata.
04
Tag clips Resolve doesn't recognise
A clip with no color metadata gets the default input, Rec.709 Gamma 2.4 unless you use the Custom preset, so log still looks flat. Select those clips, right-click and choose the camera's log under Input Color Space. A manual tag also overrides wrong metadata, but not raw clips.
05
Or convert by hand in DaVinci YRGB
On the Color page, drag Color Space Transform from the Effects onto the first node. Set Input Colorspace and Input Gamma to the camera's log, Output Colorspace to Rec.709 and Output Gamma to Gamma 2.4, and pick a Tone Mapping Method such as DaVinci.
06
Reuse it for one camera
Right-click that node and choose Save as Shared node. It then appears at the bottom of the Add Node submenu, so you can add the same conversion to every clip from that camera.
07
Grade after the conversion
Make your corrections on nodes after the conversion. Once you start grading, don't change the Timeline Color Space: Blackmagic warns it changes every grade built on it.
Good to know
Before you start
- Note 1
- Color management keeps highlight detail: Resolve doesn't clip image data when it converts a clip into the timeline color space. A LUT clips values outside its range, so log through a LUT often needs a node before it to pull highlights back.
- Note 2
- To handle one clip with a LUT inside a color-managed project, right-click it in the Color page's Thumbnail Timeline and choose Bypass Color Management.
- Note 3
- You can change the Output Color Space later to make another version; your grades depend on the Timeline Color Space, not the output.
- Note 4
- DaVinci YRGB Color Managed (Legacy) is there for older projects made with the previous color management. Don't pick it for a new project.
Eddie AI
Do it in Eddie
Eddie can give you a log-to-Rec.709 LUT for the plain DaVinci YRGB route, but its grade stays out of the Resolve project.
Ask Eddie to export a camera LUT and it makes a technical camera-log to Rec.709 .cube file with Eddie's highlight shoulder, at 33 or 65 points, from the camera stored for the project or a camera curve you name. It matches Eddie's own conversion and is free. Put it on the first node, before your grade.
A grade you make in Eddie shows in the player and in MP4 renders, but the Resolve project (.drp) and the Resolve FCPXML never carry it, so if you finish in Resolve, set up color management and grade there. Eddie's grade LUT export is for Rec.709 footage after the camera conversion, so it goes after the conversion, never on raw log. The first request shows the price; the confirmed export costs 100 credits.
Back to Resolve
Open the edit, click Export and choose Resolve. The default is a Resolve project (.drp) that opens with the timeline built; behind the arrow is a Resolve FCPXML you bring into the project you have open with File > Import > Timeline. In the desktop app, Send to DaVinci Resolve builds the timeline in the Resolve you have running, through Eddie's script (Workspace > Scripts > Eddie AI AE).
If you imported the footage through the desktop app, the timeline points at your original camera files. If you uploaded on the web or pulled from cloud storage, it points at Eddie's proxy media: relink to those in the Media Pool with Relink Selected Clips, not to the camera originals.
FAQ
Questions
- What is the difference between DaVinci YRGB and DaVinci YRGB Color Managed?
- DaVinci YRGB is display referred: Resolve doesn't know how a clip should look, so you convert log yourself with LUTs or a Color Space Transform. Color Managed tags each clip with an input color space and converts it into a shared timeline color space, then to your output.
- Why does my log footage still look flat with color management on?
- Resolve didn't recognise the clip's color space and gave it the default input, usually Rec.709 Gamma 2.4. Right-click the clip in the Media Pool and set its Input Color Space to the camera's log.
- Can I use my camera's LUT in a color-managed project?
- Yes, but not on top of Resolve's conversion. Right-click the clip in the Color page's Thumbnail Timeline, choose Bypass Color Management, then apply the LUT on a node.
- Which Timeline Color Space should I use for log footage?
- For an SDR delivery, any timeline space you're comfortable grading in works, and SDR Rec.709 is the default. For HDR, Blackmagic recommends a wide gamut space such as DaVinci Wide Gamut.
