


DaVinci Resolve · Color and look
How to use an adjustment clip in DaVinci Resolve
The short answer
On the Edit page, open Effects > Toolbox > Effects and drag Adjustment Clip onto a track above the clips. Stretch it to cover them, then grade it on the Color page or add effects to it in the Inspector.
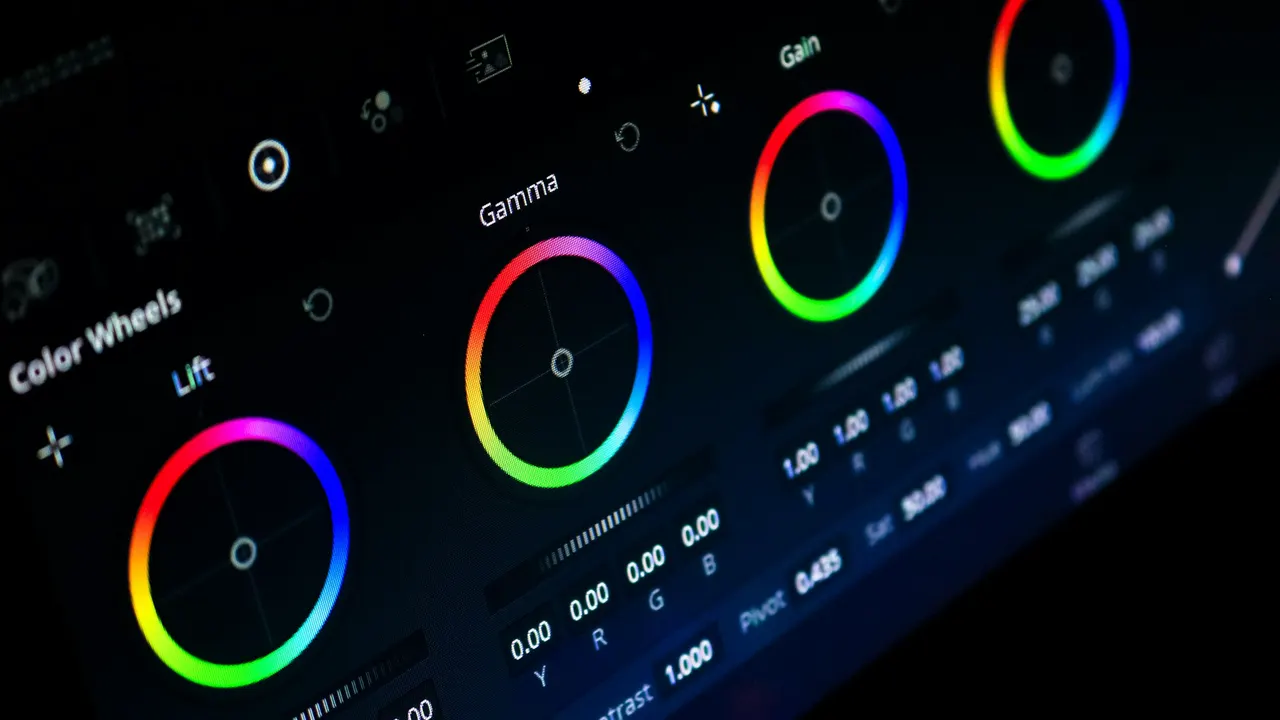
5 steps
In DaVinci Resolve
01
Add the adjustment clip
On the Edit page, open Effects > Toolbox > Effects and drag Adjustment Clip onto an empty video track above your footage.
02
Cover the clips
Drag its edges so it spans every clip that should get the change.
03
Grade it
Go to the Color page and select the adjustment clip in the thumbnail timeline. Any grade you build on its nodes applies to everything under it.
04
Or add effects
Drag effects, such as Film Grain or a blur, onto the adjustment clip on the Edit page and adjust them in the Inspector.
05
Blend it
Lower the adjustment clip's Opacity in the Inspector to soften the effect.
Good to know
Before you start
- Note 1
- Balance each clip on its own first. An adjustment clip is for a shared look, not for fixing shots that don't match.
Eddie AI
Do it in Eddie
Eddie applies looks to the whole edit when you ask.
Ask for a look across the project, such as film grain or a warmer grade. Film grain, haze and split tone show in Eddie's player and MP4 renders only; no timeline export carries them, so rebuild them on an adjustment clip in Resolve.
Back to Resolve
Open the edit, click Export and choose Resolve. The default is a Resolve project (.drp) that opens with the timeline built; behind the arrow is a Resolve FCPXML you bring into the project you have open with File > Import > Timeline. In the desktop app, Send to DaVinci Resolve builds the timeline in the Resolve you have running, through Eddie's script (Workspace > Scripts > Eddie AI AE).
If you imported the footage through the desktop app, the timeline points at your original camera files. If you uploaded on the web or pulled from cloud storage, it points at Eddie's proxy media: relink to those in the Media Pool with Relink Selected Clips, not to the camera originals.
FAQ
Questions
- Why doesn't my adjustment clip change anything?
- It is on a track below the footage, or it has no grade or effect yet. Move it above the clips and grade it on the Color page.
- Can I use an adjustment clip in the free version?
- Yes. Adjustment Clip is in the Effects panel in both the free version and Studio.
