


DaVinci Resolve · Color and look
How to fix iPhone HDR footage in DaVinci Resolve
The short answer
iPhone HDR video is Rec.2100 HLG. In Project Settings > Color Management, choose DaVinci YRGB Color Managed with an SDR Rec.709 output, and make sure the clips' input color space reads Rec.2100 HLG. Or add a Color Space Transform on the Color page from Rec.2100 HLG to Rec.709 Gamma 2.4 with tone mapping.
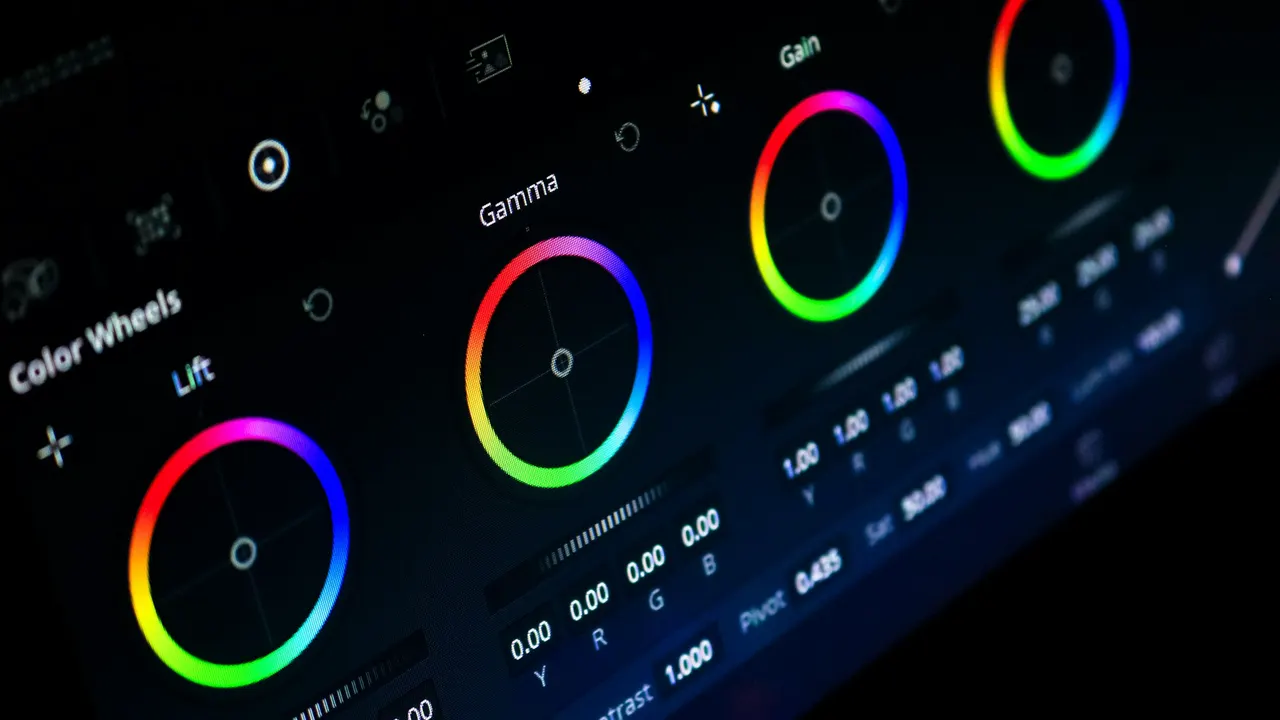
5 steps
In DaVinci Resolve
- 01Check the clip
- 02Turn on color management
- 03Set the input
- 04Or use a Color Space Transform
- 05Grade and check
01
Check the clip
In the Media Pool, right-click an iPhone clip and look at its Input Color Space. iPhone HDR video is Rec.2100 HLG.
02
Turn on color management
Open Project Settings > Color Management and set Color science to DaVinci YRGB Color Managed. Choose an SDR setup with Rec.709 Gamma 2.4 as the output.
03
Set the input
If Resolve doesn't detect it, right-click the clips and set Input Color Space to Rec.2100 HLG.
04
Or use a Color Space Transform
Without color management, add Color Space Transform from the Color page's Effects to the first node: input Rec.2020 / Rec.2100 HLG, output Rec.709 / Gamma 2.4, with tone mapping on.
05
Grade and check
Set exposure and saturation on a node after the conversion, and check the scopes so highlights sit below the top of the waveform.
Good to know
Before you start
- Note 1
- Avoid changing the timeline color space after you start grading; it changes how existing corrections look.
- Note 2
- To shoot SDR next time, turn off HDR Video in the iPhone's camera settings.
Eddie AI
Do it in Eddie
Eddie builds the cut from its own proxies, and a desktop import exports pointing at your original iPhone files.
When the footage came in through the Eddie desktop app, the Resolve project points at your originals, so you set the HDR conversion once in Resolve and every clip follows. For a Resolve finish, color is Resolve's job here.
Back to Resolve
Open the edit, click Export and choose Resolve. The default is a Resolve project (.drp) that opens with the timeline built; behind the arrow is a Resolve FCPXML you bring into the project you have open with File > Import > Timeline. In the desktop app, Send to DaVinci Resolve builds the timeline in the Resolve you have running, through Eddie's script (Workspace > Scripts > Eddie AI AE).
If you imported the footage through the desktop app, the timeline points at your original camera files. If you uploaded on the web or pulled from cloud storage, it points at Eddie's proxy media: relink to those in the Media Pool with Relink Selected Clips, not to the camera originals.
FAQ
Questions
- Why does my iPhone footage look washed out in DaVinci Resolve?
- Resolve is showing HLG video on a Rec.709 timeline without conversion. Set the input to Rec.2100 HLG with color management, or add a Color Space Transform.
- Is iPhone HDR the same as Apple Log?
- No. HDR video is HLG with a look already applied; Apple Log is a flat log recording that needs its own conversion.
