


DaVinci Resolve · Color and look
How to color correct in DaVinci Resolve
The short answer
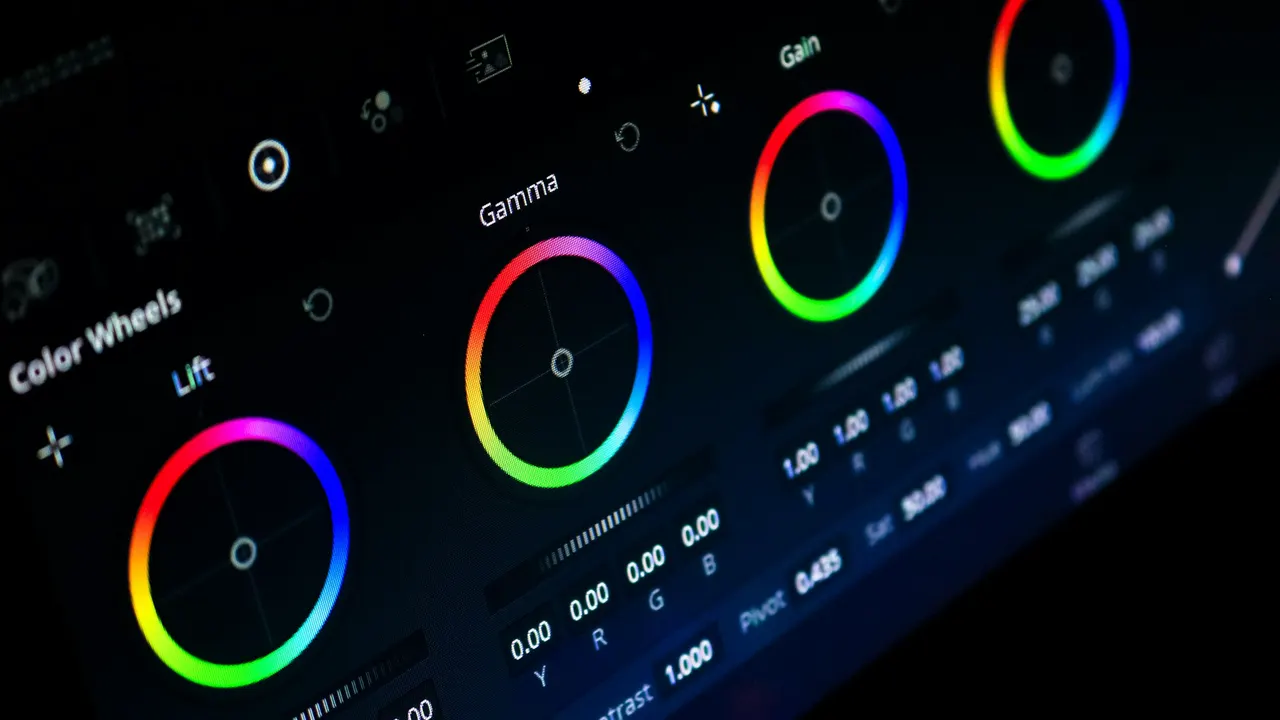
Open the Color page and turn on the scopes with Workspace > Video Scopes > On (Cmd+Shift+W on Mac, Ctrl+Shift+W on Windows). In the Primaries palette, set blacks with Lift, whites with Gain and midtones with Gamma, then fix white balance with Temp and Tint.
5 steps
In DaVinci Resolve
01
Open the Color page
Click Color at the bottom of the screen and select the clip in the thumbnail timeline. Each clip starts with one node, labelled 01.
02
Turn on the scopes
Choose Workspace > Video Scopes > On. Use the Waveform or Parade for levels and the Vectorscope for color casts.
03
Set black and white
In the Primaries palette, drag the Lift wheel's master dial until the darkest part sits just above 0 on the waveform, then use Gain so the brightest part sits below the top.
04
Set the midtones
Use the Gamma master dial to brighten or darken faces and midtones without moving the black and white points much.
05
Fix white balance
Adjust Temp and Tint, or drag the Offset wheel away from the cast, until white and grey objects line up in the Parade. Then set Saturation to taste.
Good to know
Before you start
- Note 1
- Correct first, then grade for a look on a separate node, so you can change one without redoing the other.
- Note 2
- Press Shift+D to toggle the whole grade off and compare with the original.
Eddie AI
Do it in Eddie
Eddie grades by prompt; for a Resolve finish, correct on Resolve's Color page.
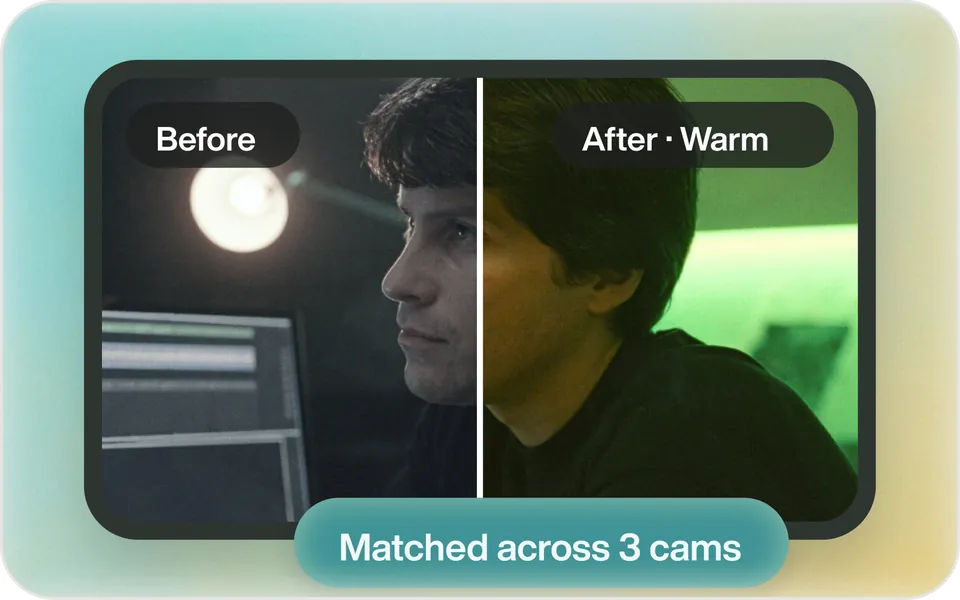
Ask "Warm it up and boost contrast" or "Match the color across the two cameras." Grading costs nothing extra inside a prompt run, and the grade shows in Eddie's player and MP4 renders. If you finish in Resolve, do the color there, on the Color page.
Back to Resolve
Open the edit, click Export and choose Resolve. The default is a Resolve project (.drp) that opens with the timeline built; behind the arrow is a Resolve FCPXML you bring into the project you have open with File > Import > Timeline. In the desktop app, Send to DaVinci Resolve builds the timeline in the Resolve you have running, through Eddie's script (Workspace > Scripts > Eddie AI AE).
If you imported the footage through the desktop app, the timeline points at your original camera files. If you uploaded on the web or pulled from cloud storage, it points at Eddie's proxy media: relink to those in the Media Pool with Relink Selected Clips, not to the camera originals.
FAQ
Questions
- What is the difference between color correction and color grading?
- Correction makes the image look accurate and consistent. Grading gives it a look, such as warm, cool or high-contrast.
- Why don't I see scopes on the Color page?
- They are hidden. Choose Workspace > Video Scopes > On, or press Cmd+Shift+W or Ctrl+Shift+W.
