


DaVinci Resolve · Color and look
How to use nodes in DaVinci Resolve
The short answer
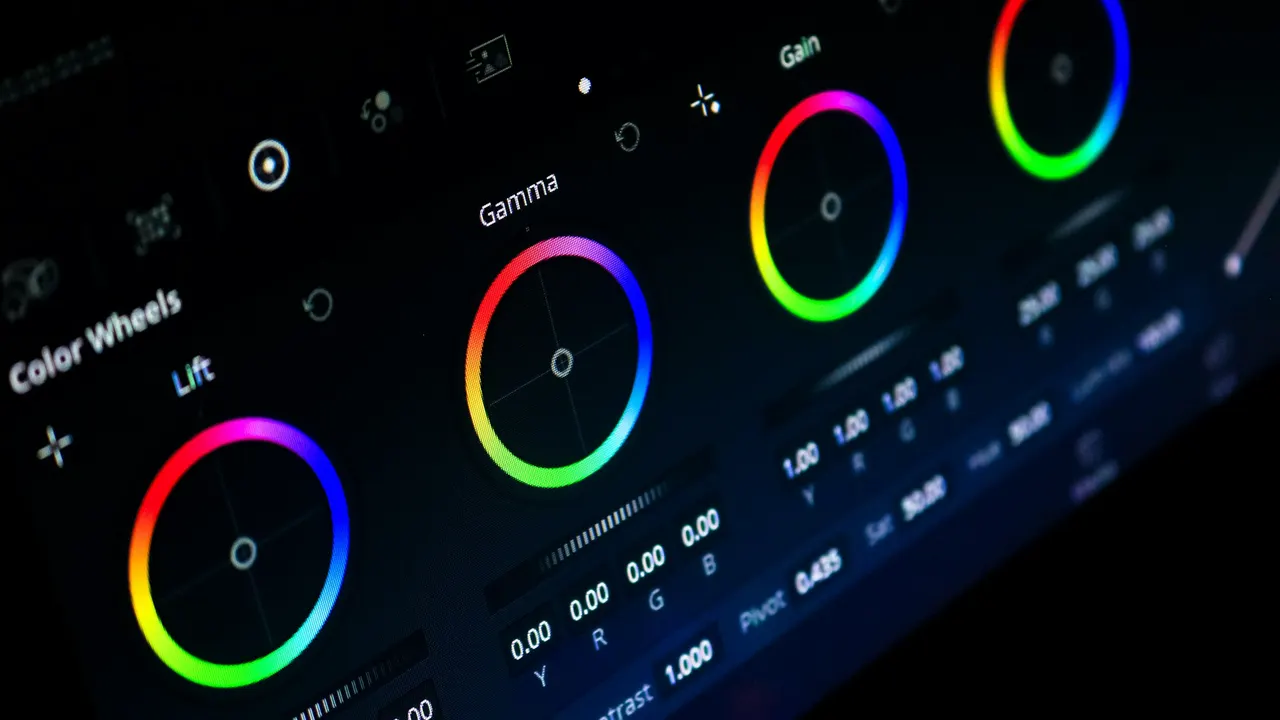
On the Color page, each node is one step of the grade. Press Option+S (Mac) or Alt+S (Windows) to add a serial node after the selected one, or Option+P or Alt+P for a parallel node. Select a node before you adjust anything, and the change goes on that node.
5 steps
In DaVinci Resolve
01
Open the Node Editor
On the Color page, click Nodes at the top right if the Node Editor is hidden. The clip starts with one node.
02
Add serial nodes
Select a node and press Option+S or Alt+S. Serial nodes run in order: each one works on the result of the one before.
03
Add a parallel node
Press Option+P or Alt+P to add a node that works on the same input side by side. Resolve mixes the results, which is useful for separate fixes to different areas.
04
One job per node
Keep balance, exposure, a skin fix and the look on separate nodes. Right-click a node and choose Node Label to name it.
05
Compare and reset
Press Cmd+D or Ctrl+D to switch the selected node off and on. Right-click a node and choose Reset Node Grade to start that step again.
Good to know
Before you start
- Note 1
- A window or qualifier on a node limits that node's changes to the selected area. Add a new node first, then draw the window.
Eddie AI
Do it in Eddie
Eddie has no node tree; you describe the grade instead.
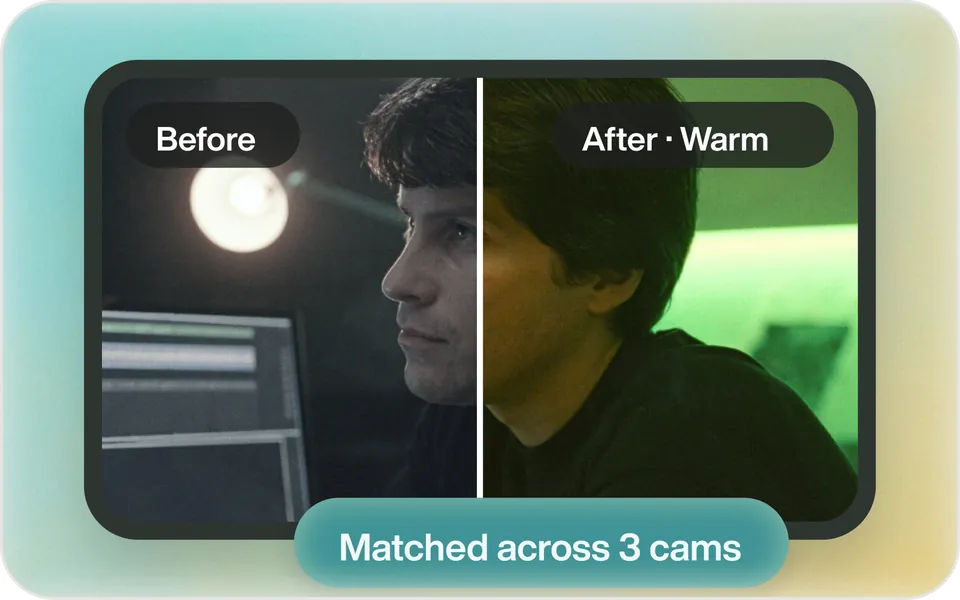
Ask "Warm it up and boost contrast" and Eddie grades the edit, at no extra cost inside a prompt run. For node-by-node control, and for a Resolve finish, build the grade on Resolve's Color page.
Back to Resolve
Open the edit, click Export and choose Resolve. The default is a Resolve project (.drp) that opens with the timeline built; behind the arrow is a Resolve FCPXML you bring into the project you have open with File > Import > Timeline. In the desktop app, Send to DaVinci Resolve builds the timeline in the Resolve you have running, through Eddie's script (Workspace > Scripts > Eddie AI AE).
If you imported the footage through the desktop app, the timeline points at your original camera files. If you uploaded on the web or pulled from cloud storage, it points at Eddie's proxy media: relink to those in the Media Pool with Relink Selected Clips, not to the camera originals.
FAQ
Questions
- What is the shortcut for a serial node in DaVinci Resolve?
- Option+S on Mac or Alt+S on Windows. Option+P or Alt+P adds a parallel node.
- What is the difference between serial and parallel nodes?
- Serial nodes stack, each working on the last result. Parallel nodes each work on the same input and are mixed together.
