


DaVinci Resolve · Color and look
How to remove a green screen in DaVinci Resolve
The short answer
Select the clip, open the Fusion page, and add a Delta Keyer between MediaIn and MediaOut. Drag its Background Color eyedropper onto the green, then clean up the matte. On the Color page, a 3D Qualifier with an alpha output does the same job.
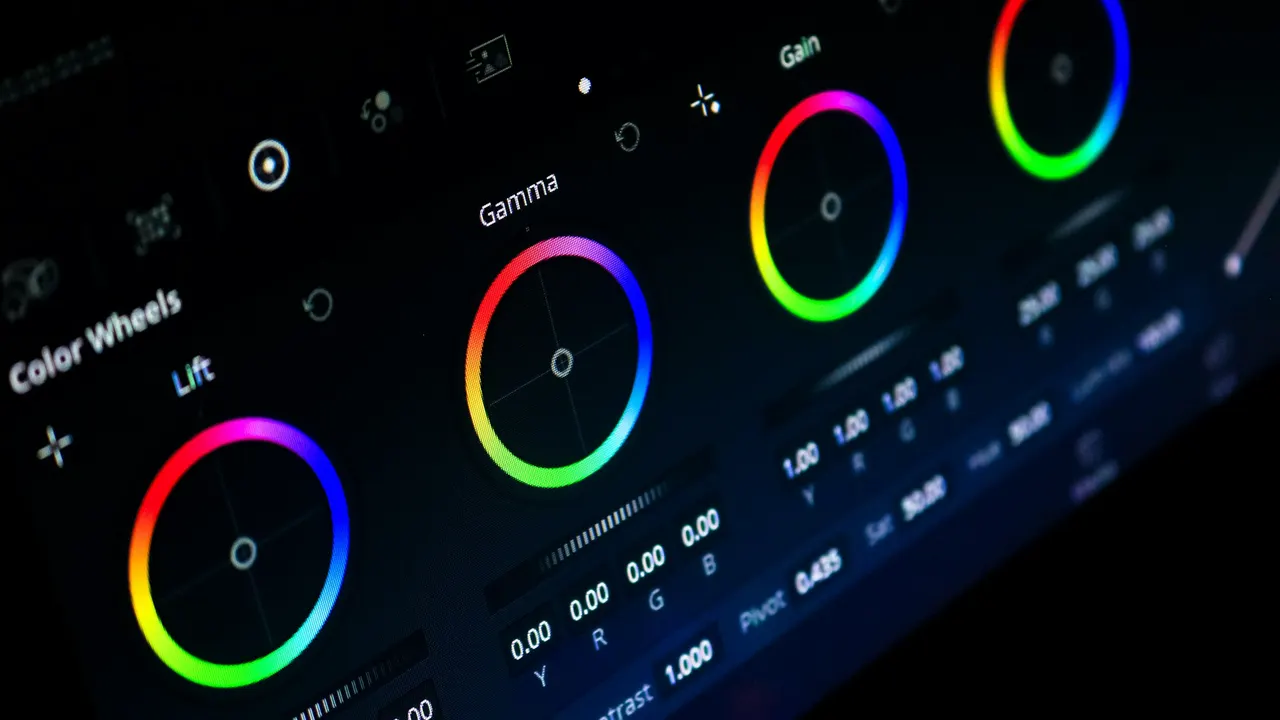
5 steps
In DaVinci Resolve
01
Stack the shots
On the Edit page, put the green screen clip on a track above the new background.
02
Add a Delta Keyer
Select the green screen clip and open the Fusion page. Select the line between MediaIn1 and MediaOut1, press Shift+Space, search for Delta Keyer and add it.
03
Pick the green
In the Inspector, drag the Background Color eyedropper onto the green in the viewer. The green turns transparent.
04
Clean the matte
Switch the viewer to the alpha view and use the Matte tab's threshold controls until the background is fully black and the subject fully white.
05
Or key on the Color page
Add a node, choose the 3D Qualifier, draw a stroke over the green and invert it. Right-click the Node Editor, choose Add Alpha Output and connect the node's key output to it.
Good to know
Before you start
- Note 1
- Even lighting on the green and space between the subject and the screen matter more than keyer settings.
Eddie AI
Do it in Eddie
Green screen keying isn't a documented Eddie feature. Key it in Resolve.
Prompt-authored motion graphics in Eddie can sit behind the subject in MP4 renders, but they don't carry into Resolve exports yet. Build the cut in Eddie, then key the green screen on Resolve's Fusion or Color page.
Back to Resolve
Open the edit, click Export and choose Resolve. The default is a Resolve project (.drp) that opens with the timeline built; behind the arrow is a Resolve FCPXML you bring into the project you have open with File > Import > Timeline. In the desktop app, Send to DaVinci Resolve builds the timeline in the Resolve you have running, through Eddie's script (Workspace > Scripts > Eddie AI AE).
If you imported the footage through the desktop app, the timeline points at your original camera files. If you uploaded on the web or pulled from cloud storage, it points at Eddie's proxy media: relink to those in the Media Pool with Relink Selected Clips, not to the camera originals.
FAQ
Questions
- Why is there a green edge around my subject?
- That is green spill. Raise the Delta Keyer's spill suppression, or shrink the matte slightly with its erode controls.
- Can I remove a green screen in free DaVinci Resolve?
- Yes. The Delta Keyer in Fusion and the 3D Qualifier on the Color page are both in the free version.
