


DaVinci Resolve · Color and look
How to apply a LUT in DaVinci Resolve
The short answer
Copy the .cube file into Resolve's LUT folder (Project Settings > Color Management > Lookup Tables > Open LUT Folder), click Update Lists, then on the Color page drag the LUT from the LUTs panel onto a node. Or right-click a node and choose LUT.
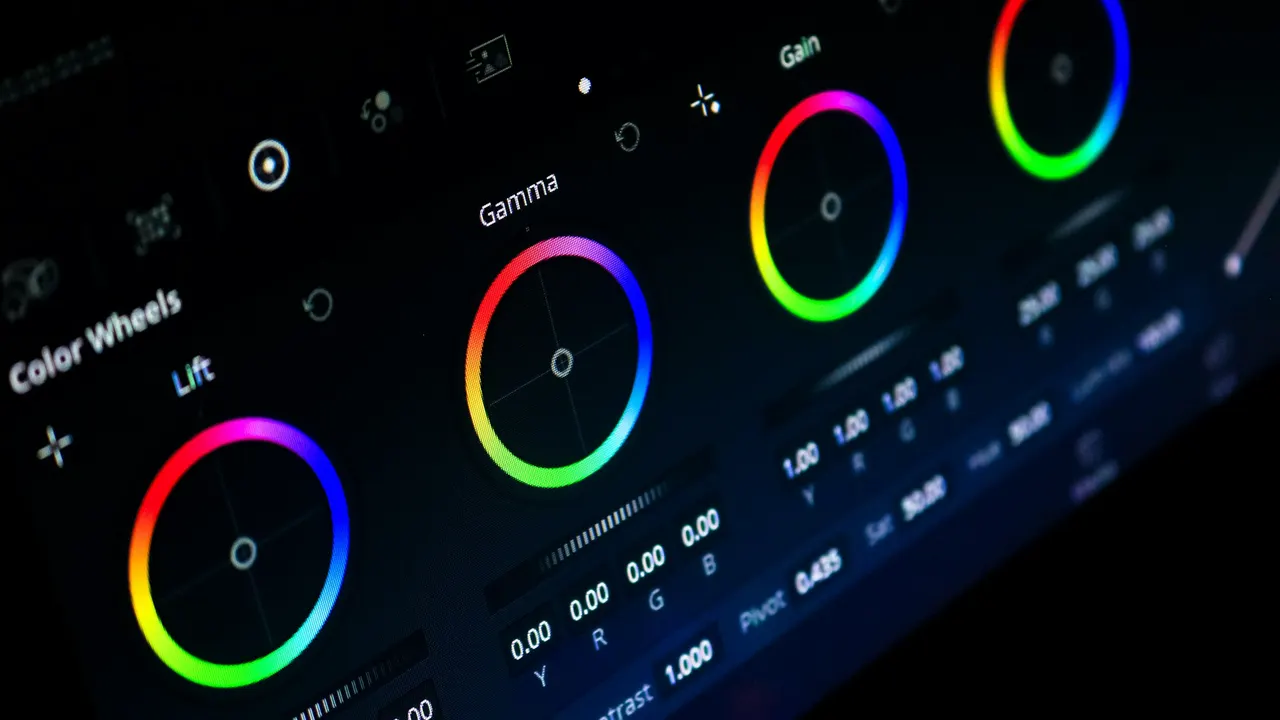
5 steps
In DaVinci Resolve
01
Install the LUT
Open Project Settings (the gear icon at bottom right), go to Color Management > Lookup Tables and click Open LUT Folder. Copy your .cube file there.
02
Refresh the list
Back in Project Settings, click Update Lists so Resolve sees the new file, then click Save.
03
Add a node
On the Color page, select the clip and add a serial node (Option+S or Alt+S) for the LUT, after your balance node.
04
Apply it
Click LUTs at the top left, find your LUT and drag it onto the node. Or right-click the node, choose LUT and pick it from the list.
05
Lower the strength
If the look is too strong, select the node and lower Key Output Gain in the Key palette, or add a node before it to adjust what goes in.
Good to know
Before you start
- Note 1
- A creative LUT expects normal Rec.709 footage. For log footage, convert the camera's log first, then apply the look.
- Note 2
- To apply one LUT to many clips, put it on a node in a shared node or the timeline's grade instead of clip by clip.
Eddie AI
Do it in Eddie
Eddie can make a LUT from a still you like, and has guides per camera.
Eddie's free Image to LUT tool matches a reference image to your own still and gives you a .cube file, at 33 or 65 points, to load on a node in Resolve. For log footage, follow the camera guide for your curve, such as S-Log3 or Apple Log, which shows where the conversion goes in Resolve.
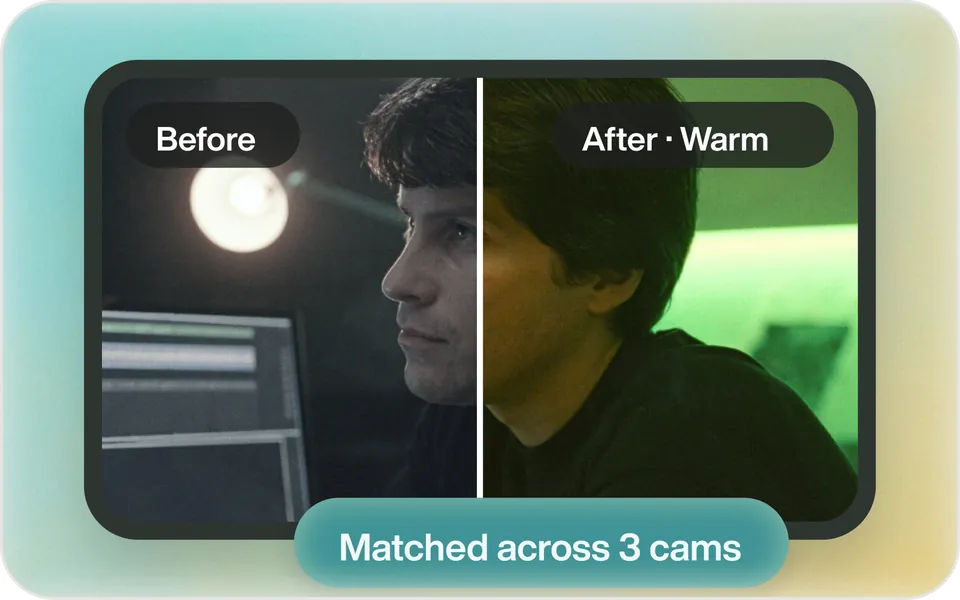
FAQ
Questions
- Why doesn't my LUT show up in DaVinci Resolve?
- Resolve hasn't refreshed its list. Put the file in the LUT folder and click Update Lists in Project Settings > Color Management.
- Should a LUT go on the first node?
- Put balance and exposure fixes on a node before the LUT, so the LUT gets consistent footage.
