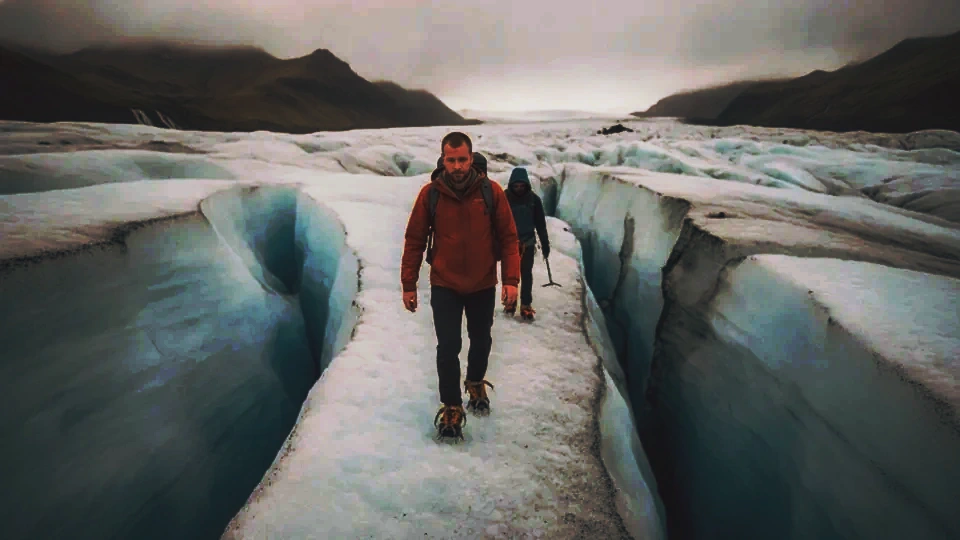
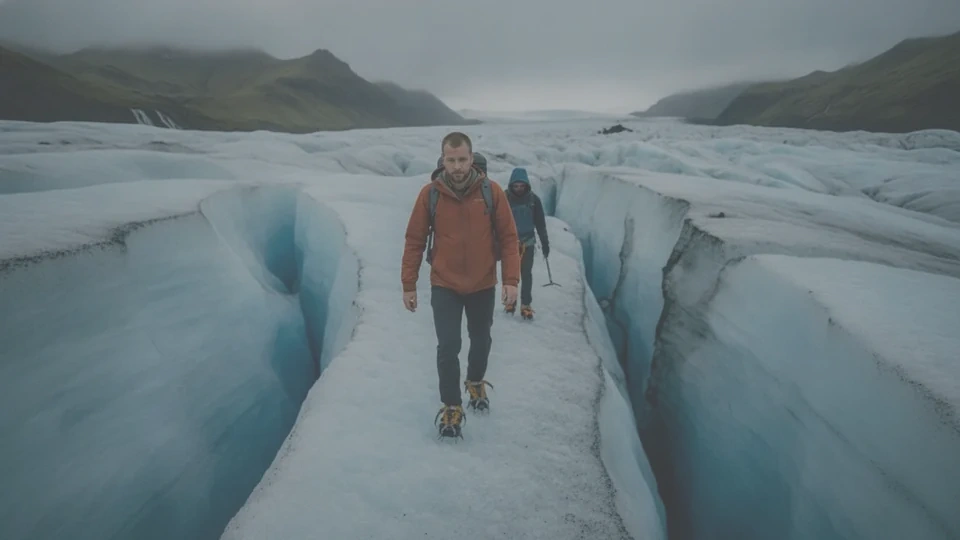
Color & mood
Any image’s color.
A LUT for your footage.
Bring a look you love and a frame from your own footage. Preview the global color match in Eddie, then take a .cube file into your edit.
 DaVinci Resolve
 Premiere Pro
 Final Cut Pro
Start with your files
Two images. One starting look.
Choose a still from your footage, then a reference look. Use SDR JPG, PNG or WebP images prepared as sRGB, up to 20 MB each.
The color match runs in your browser in Eddie. Your files and choices transfer directly between these browser tabs.
From your files to your result
A reference. Your frame. Your next look.
01
Choose a look you love
Bring a reference photo or film still. Use an SDR JPEG, PNG or WebP image prepared as sRGB.
02
Add a frame from your footage
Export a representative still from your edit at the same sRGB display stage where you will apply the LUT. Eddie compares the two images in your browser.
03
Take the match into your edit
Adjust the strength, compare the real preview and sign in to download a 33- or 65-point .cube file. Apply it after your input color conversion.
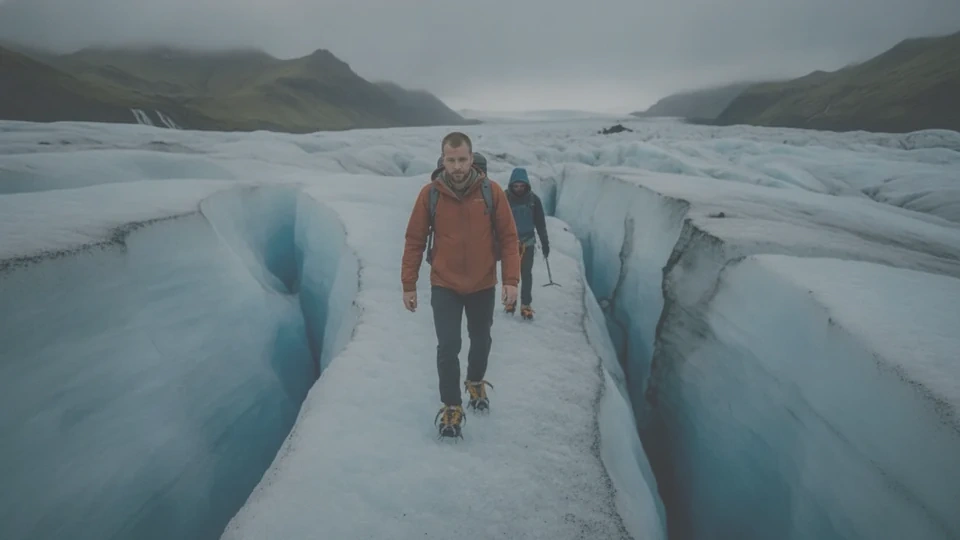

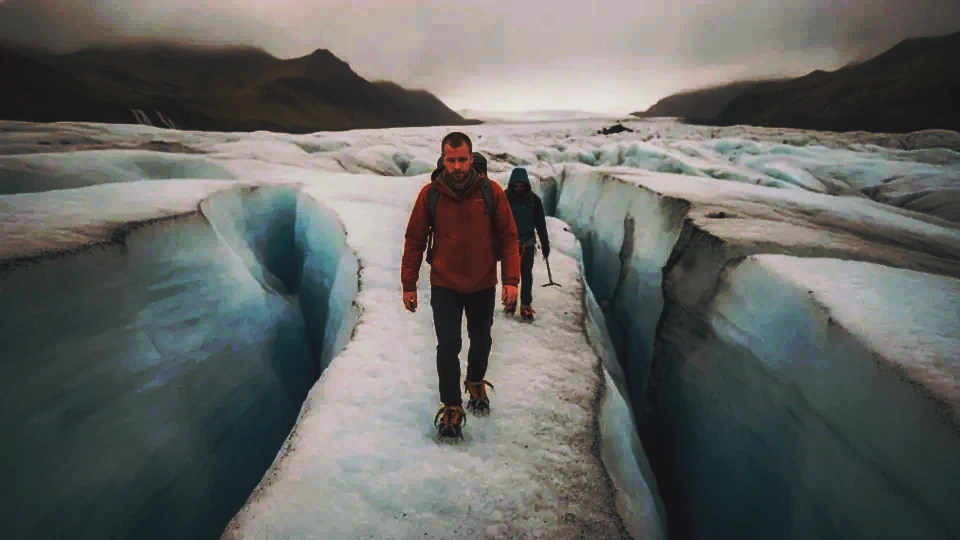
Made for your media
A look measured against your actual frame.
Eddie samples the visible pixels in both stills and compares the distributions of their red, green and blue channels. It fits smooth, ordered channel curves, blends them at your chosen strength and writes a 3D LUT. The preview uses the same serialized table as the download.

- 01JPEG · PNG · WebP
- Use opaque SDR images prepared as sRGB, up to 20 MB and 40 megapixels each. The tool accepts stills, not raw camera files or video clips.
- 02A representative frame
- Choose typical exposure and white balance. Different subjects, a bright sky or a dark background can shift the global match.
- 03Camera log or HDR
- First use your editor’s input transform or manufacturer’s conversion. Export a still at the sRGB stage, then apply the creative match at that same stage.
Out of Eddie. Into your workflow.
A .cube file. A clear place in your color pipeline.
01 / Prepare
Camera input conversion to sRGB
02 / Match
Eddie .cube at that same sRGB stage
03 / Deliver
Your editor’s output conversion
DaVinci Resolve
.cube · 33 / 65
Project Settings › Color Management › Open LUT Folder. Copy the file, update lists and apply it on a node after conversion to the sRGB working stage used for your sample.
Premiere Pro
.cube · 33 / 65
Lumetri Color › Creative › Look › Browse. Apply after input normalization at the same sRGB stage as the still; verify the sequence’s color management.
Final Cut Pro
.cube · 33 / 65
Add the Custom LUT effect and select your .cube. Apply at the same sRGB stage as your source still; check the effect’s input and output color-space settings.
Check the whole shot
Preview before delivery
Scrub changing light, faces and shadows. A successful match on one frame is a starting point, not proof that every frame needs the same grade.
Before you start
How do I create a .cube LUT from a reference image?
Choose a reference image and a source still prepared as sRGB. Eddie fits a global palette and contrast match in your browser; compare the preview, adjust strength and sign in to download a 33- or 65-point .cube LUT.
Do I need an Eddie account?
The image matching tool runs in your browser in Eddie. Preview the match there and sign in to download the LUT.
What does it cost?
The browser-based LUT tool does not run a cloud render. Check the result on your footage before using it in an edit.
Can I review the result before exporting?
Yes. Review a downloadable .cube color transform in Eddie, adjust the result and choose an available download or export.