


DaVinci Resolve · Captions, transcripts and text
How to style subtitles in DaVinci Resolve
The short answer
Select any subtitle clip, open the Inspector and click the Track tab. The font, size, color, stroke, drop shadow and background settings there apply to every caption on that track.

5 steps
In DaVinci Resolve
01
Select a subtitle
Click any caption on the subtitle track in the Edit page timeline.
02
Open the Track tab
In the Inspector, switch from the Caption tab to the Track tab. Changes here apply to the whole track.
03
Set the type
Choose the font, face, size and color. A medium-weight sans serif at a size readable on a phone works for most videos.
04
Add contrast
Turn on a stroke or drop shadow, or a background box, so the text reads over bright footage.
05
Style one caption
To change a single caption, select it and change its settings in the Caption tab instead.
Good to know
Before you start
- Note 1
- Subtitle styling burns in only when you export with the subtitles burned into the video. An SRT file carries the text and timing, not the style.
- Note 2
- For word-by-word animation in DaVinci Resolve Studio 20 and later, drag a template from the Animated section of Titles onto the subtitle track header, then adjust it in the Inspector.
Eddie AI
Do it in Eddie
Ask Eddie for the caption style in plain words.
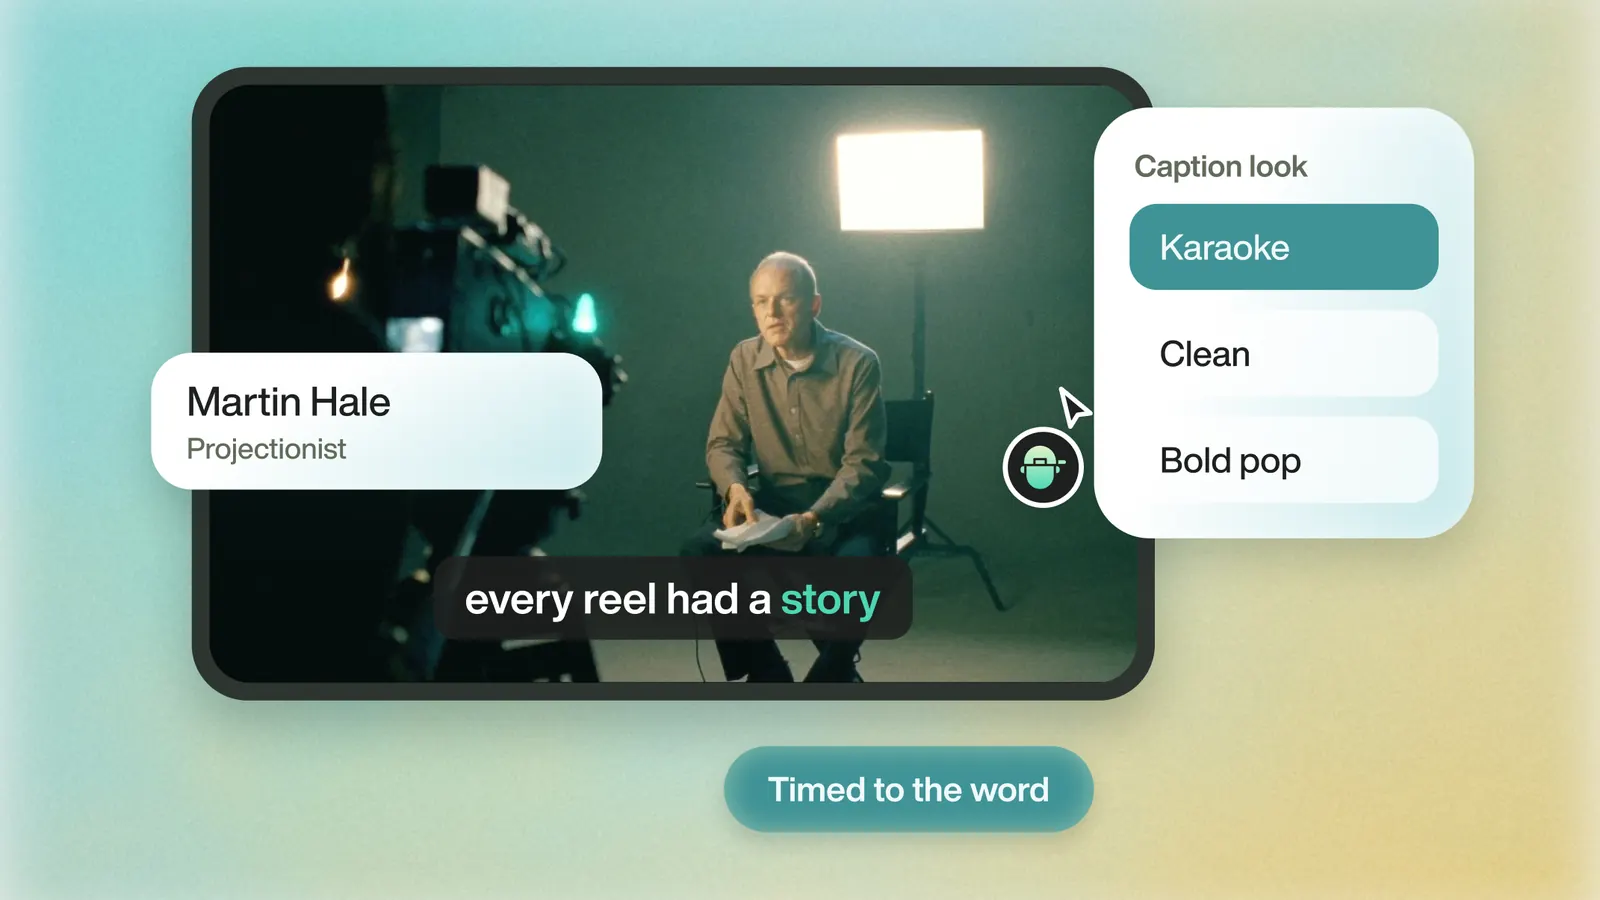
Say "Highlight each word as it's spoken", "Use our brand font" or "Make Speaker 2's captions yellow." For short-form, ask for punch captions: two words at a time in large upper-case type. The full styling is in Eddie's MP4 renders. No editing app gets the word-by-word highlight, the background band or the entrance animation, so restyle the subtitle track in Resolve if you finish there.
Back to Resolve
Open the edit, click Export and choose Resolve. The default is a Resolve project (.drp) that opens with the timeline built; behind the arrow is a Resolve FCPXML you bring into the project you have open with File > Import > Timeline. In the desktop app, Send to DaVinci Resolve builds the timeline in the Resolve you have running, through Eddie's script (Workspace > Scripts > Eddie AI AE).
If you imported the footage through the desktop app, the timeline points at your original camera files. If you uploaded on the web or pulled from cloud storage, it points at Eddie's proxy media: relink to those in the Media Pool with Relink Selected Clips, not to the camera originals.
FAQ
Questions
- How do I change the subtitle font for every caption?
- Select any caption and change the font in the Inspector's Track tab. It applies to the whole subtitle track.
- Why don't my subtitle styles show in the export?
- You exported subtitles as a separate file. Choose Burn into Video in the Deliver page's subtitle settings.
