


DaVinci Resolve · Cutting and the timeline
How to speed up a video in DaVinci Resolve
The short answer
Select the clip, press R (or right-click and choose Change Clip Speed), type a speed above 100%, tick Ripple Sequence and Pitch Correction, and click Change. For speed ramps, open Retime Controls with Cmd+R (Mac) or Ctrl+R (Windows).
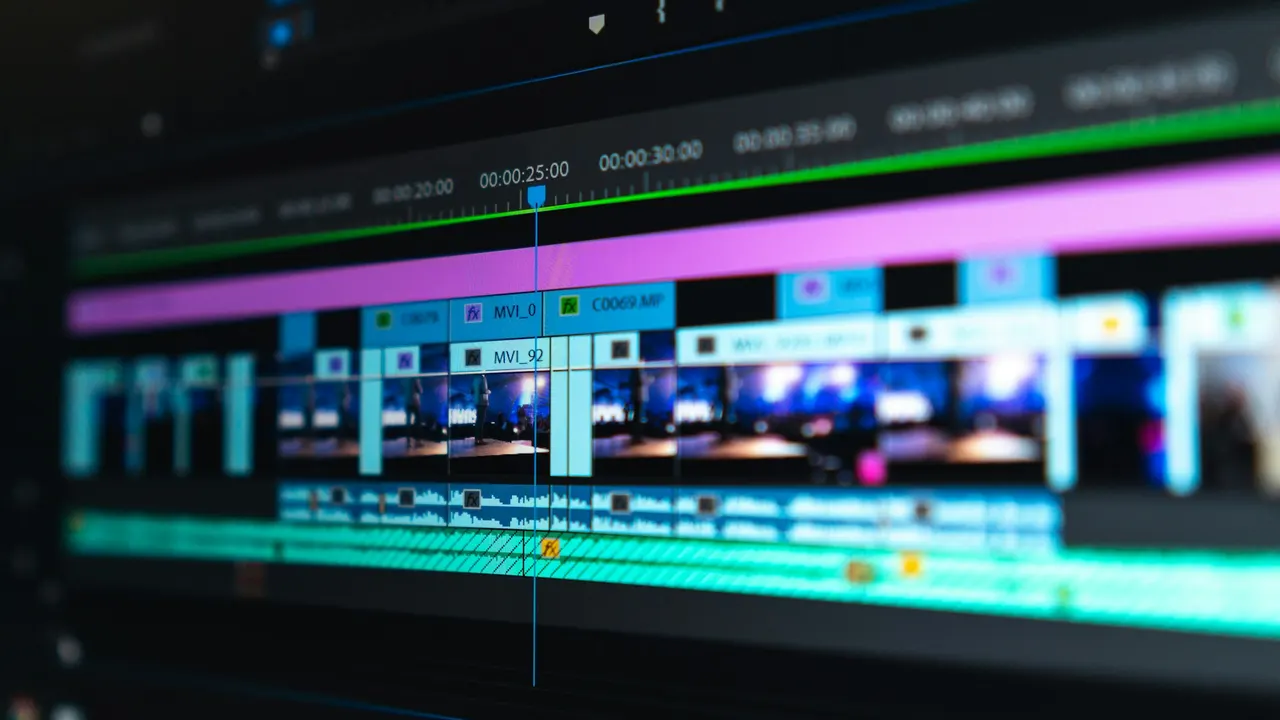
6 steps
In DaVinci Resolve
- 01Open Change Clip Speed
- 02Set the speed
- 03Keep the timeline closed up
- 04Keep the voice natural
- 05Or ramp the speed
- 06Or stretch to fit
01
Open Change Clip Speed
Select the clip on the Edit page timeline and press R, or right-click it and choose Change Clip Speed.
02
Set the speed
Type a speed above 100%, such as 200% for twice as fast, or set frames per second or a new duration.
03
Keep the timeline closed up
Tick Ripple Sequence so the clips after it move up instead of leaving a gap.
04
Keep the voice natural
Tick Pitch Correction so speech doesn't rise in pitch, then click Change.
05
Or ramp the speed
Press Cmd+R or Ctrl+R to show Retime Controls on the clip, open the speed menu at the top of the clip and add speed points, then set a different speed for each section.
06
Or stretch to fit
Choose Trim > Retime Edit (or the retime trim option in the toolbar) and drag the clip's edge to fit a gap. Resolve changes the speed to match.
Good to know
Before you start
- Note 1
- Speed changes made in the Inspector under Speed Change and in Change Clip Speed are the same setting; use whichever you find faster.
Eddie AI
Do it in Eddie
Ask Eddie to speed up a shot, from 0.25x to 8x.
Ask "Play this shot at 2x" or "Ramp into this shot and back out again." A retime mutes the shot's own audio, except between 80% and 125%, where the voice is kept. The speed change arrives in Resolve as a real speed change on the clip.
Back to Resolve
Open the edit, click Export and choose Resolve. The default is a Resolve project (.drp) that opens with the timeline built; behind the arrow is a Resolve FCPXML you bring into the project you have open with File > Import > Timeline. In the desktop app, Send to DaVinci Resolve builds the timeline in the Resolve you have running, through Eddie's script (Workspace > Scripts > Eddie AI AE).
If you imported the footage through the desktop app, the timeline points at your original camera files. If you uploaded on the web or pulled from cloud storage, it points at Eddie's proxy media: relink to those in the Media Pool with Relink Selected Clips, not to the camera originals.
FAQ
Questions
- What is the speed shortcut in DaVinci Resolve?
- R opens Change Clip Speed. Cmd+R on Mac or Ctrl+R on Windows shows Retime Controls on the clip.
- Why does my sped-up clip leave a gap?
- Ripple Sequence wasn't ticked. Undo and change the speed again with it on, or close the gap with Edit > Delete Gaps.
