


DaVinci Resolve · Framing, motion and effects
How to make a vertical video in DaVinci Resolve
The short answer
Make a vertical timeline: right-click the timeline in the Media Pool, choose Timelines > Timeline Settings, untick Use Project Settings and set the resolution to 1080 x 1920. Then reframe each shot with Zoom and Position in the Inspector. In DaVinci Resolve Studio, Smart Reframe can do the reframing for you.

6 steps
In DaVinci Resolve
- 01Duplicate the timeline
- 02Set a vertical resolution
- 03Choose how clips fit
- 04Reframe each shot
- 05Or use Smart Reframe (Studio)
- 06Render at 1080 x 1920
01
Duplicate the timeline
In the Media Pool, right-click your landscape timeline and choose Duplicate Timeline, so the original stays as it is.
02
Set a vertical resolution
Right-click the copy and choose Timelines > Timeline Settings. Untick Use Project Settings, set Timeline Resolution to Custom and type 1080 x 1920.
03
Choose how clips fit
In the same window, under Image Scaling, set Mismatched resolution files to Scale full frame with crop so each shot fills the tall frame.
04
Reframe each shot
Select a clip, open the Inspector and adjust Position X (and Zoom if needed) to keep the subject in frame. Keyframe Position if the subject moves.
05
Or use Smart Reframe (Studio)
In DaVinci Resolve Studio, select the clips and click Smart Reframe in the Inspector under Transform. Check each shot afterwards.
06
Render at 1080 x 1920
On the Deliver page, check that the resolution reads 1080 x 1920 before you add the job to the Render Queue.
Good to know
Before you start
- Note 1
- Smart Reframe uses the DaVinci Neural Engine and is in DaVinci Resolve Studio only.
- Note 2
- Titles and captions placed for 16:9 will sit off the frame in a vertical timeline. Move them after you change the resolution.
Eddie AI
Do it in Eddie
Ask Eddie for a vertical version, and it reframes each shot around the subject.
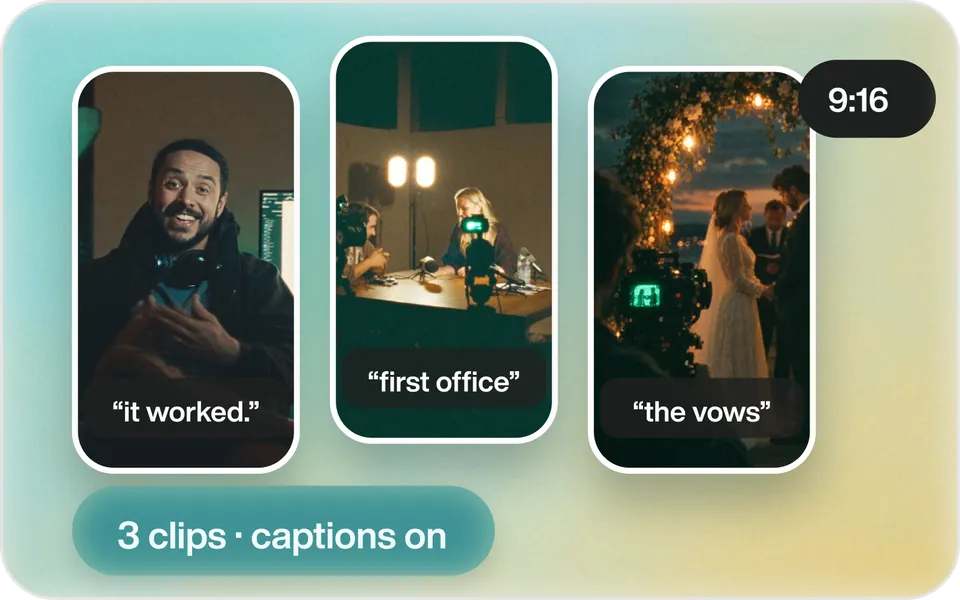
Say "Make this vertical for TikTok" or "Square version for the feed." Eddie makes 9:16 (1080 x 1920), 1:1 and 4:5 versions and crops per shot to keep the subject in frame, which works in free Resolve as well as Studio because the reframing happens in Eddie. To cut several vertical clips from one long video, ask, for example, "Cut five short vertical clips from the strongest moments, under 45 seconds." Reframing is free inside a prompt run, and the crops carry into Resolve.
Back to Resolve
Open the edit, click Export and choose Resolve. The default is a Resolve project (.drp) that opens with the timeline built; behind the arrow is a Resolve FCPXML you bring into the project you have open with File > Import > Timeline. In the desktop app, Send to DaVinci Resolve builds the timeline in the Resolve you have running, through Eddie's script (Workspace > Scripts > Eddie AI AE).
If you imported the footage through the desktop app, the timeline points at your original camera files. If you uploaded on the web or pulled from cloud storage, it points at Eddie's proxy media: relink to those in the Media Pool with Relink Selected Clips, not to the camera originals.
FAQ
Questions
- Is Smart Reframe in the free version of DaVinci Resolve?
- No. Smart Reframe is a Studio feature. In the free version, reframe by hand with Position and Zoom in the Inspector.
- Why does my vertical video have black bars at the top and bottom?
- The clips are set to scale to fit. In Timeline Settings, set Mismatched resolution files to Scale full frame with crop, or raise Zoom on each clip.
