


DaVinci Resolve · Multicam and sync
How to flatten a multicam clip in DaVinci Resolve
The short answer
Select the multicam clips on the timeline, right-click and choose Flatten Multicam Clip. Each section becomes a normal clip of the angle that was active, and you can no longer switch angles on it.

5 steps
In DaVinci Resolve
01
Duplicate the timeline
In the Media Pool, right-click the timeline and choose Duplicate Timeline, so you keep a switchable version.
02
Select the multicam sections
Open the duplicate and select all the multicam clips on the track. Cmd+A (Mac) or Ctrl+A (Windows) selects everything.
03
Flatten
Right-click the selection and choose Flatten Multicam Clip. Each section becomes the source clip of its active angle, with the same in and out points.
04
Check the audio
Play the cuts. If you switched video only, check that the audio still comes from the source you meant to keep.
05
Carry on
Grade the flattened clips on the Color page or export the timeline for another application.
Good to know
Before you start
- Note 1
- Flattening can't be undone later except with Edit > Undo, which is why the duplicate timeline is worth making.
- Note 2
- You don't have to flatten to grade. The Color page grades the active angle of each multicam section, but flattening makes a hand-off to other editors more predictable.
Eddie AI
Do it in Eddie
Eddie keeps multicam switchable when it hands off to Resolve.
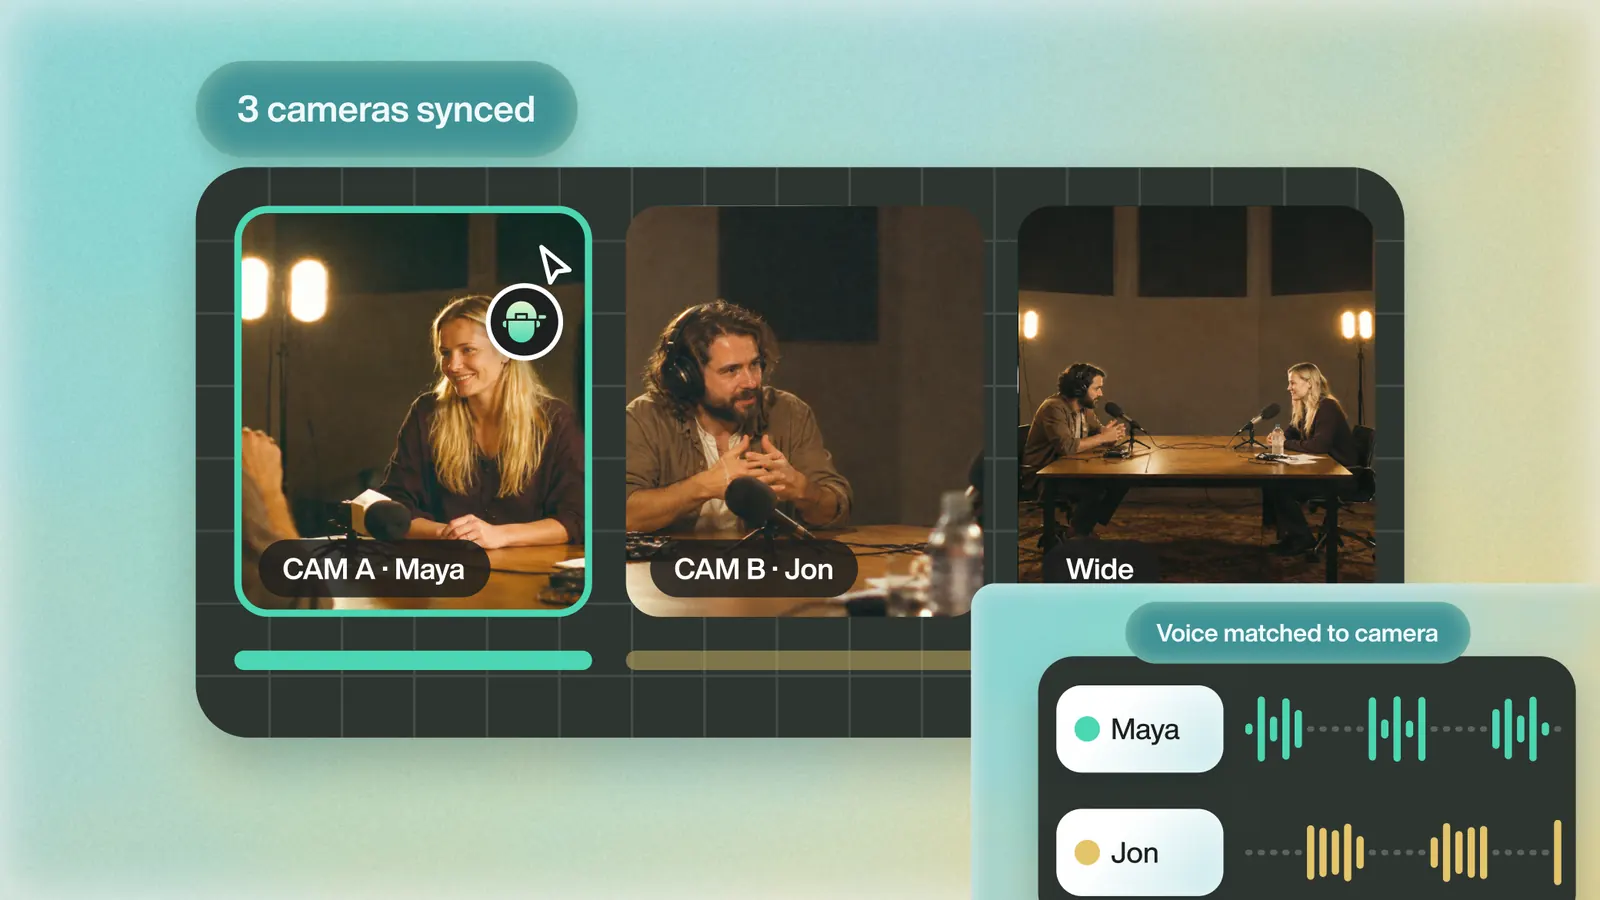
A multicam group Eddie synced arrives in Resolve as a real Multicam Clip, with all its angles and the angle you chose playing at each cut, on the .drp, FCPXML and Send to DaVinci Resolve routes. Keep switching in Resolve, and flatten there when you're done.
Back to Resolve
Open the edit, click Export and choose Resolve. The default is a Resolve project (.drp) that opens with the timeline built; behind the arrow is a Resolve FCPXML you bring into the project you have open with File > Import > Timeline. In the desktop app, Send to DaVinci Resolve builds the timeline in the Resolve you have running, through Eddie's script (Workspace > Scripts > Eddie AI AE).
If you imported the footage through the desktop app, the timeline points at your original camera files. If you uploaded on the web or pulled from cloud storage, it points at Eddie's proxy media: relink to those in the Media Pool with Relink Selected Clips, not to the camera originals.
From the help center
FAQ
Questions
- What does Flatten Multicam Clip do?
- It replaces each multicam section with the plain clip of its active angle, so the timeline no longer depends on the multicam clip.
- Do I need to flatten before exporting XML?
- It is safer. Other editors often can't read a Resolve multicam clip from an XML, so flattening gives them ordinary clips.
