


DaVinci Resolve · Audio
How to fit music to video length in DaVinci Resolve
The short answer
Line up the song's ending with the end of the edit, then cut out a section in the middle on a beat (Cmd+B on Mac or Ctrl+B on Windows) and crossfade the join. Recent versions also offer an AI music editor that lengthens or shortens a track for you.
5 steps
In DaVinci Resolve
01
Place the ending
Drag the music so its natural ending lands on the last frame of the edit. The song now runs too long at the start.
02
Show the waveform
Make the audio track taller so you can see the beats in the waveform, and add markers (M) on downbeats while it plays.
03
Cut on a beat
Park the playhead on a downbeat and press Cmd+B or Ctrl+B. Make a second cut on a matching beat later in the song.
04
Remove the section
Select the piece between the cuts and press Shift+Delete for a ripple delete, then slide the start of the song so it begins where the video does.
05
Hide the join
Select the new edit point and press Cmd+T or Ctrl+T for a short crossfade. Listen and nudge the cut a frame either way if it skips.
Good to know
Before you start
- Note 1
- DaVinci Resolve 20 added an AI tool that remakes a music track at a new length. Its name and edition requirements vary between builds, so check the manual for yours.
Eddie AI
Do it in Eddie
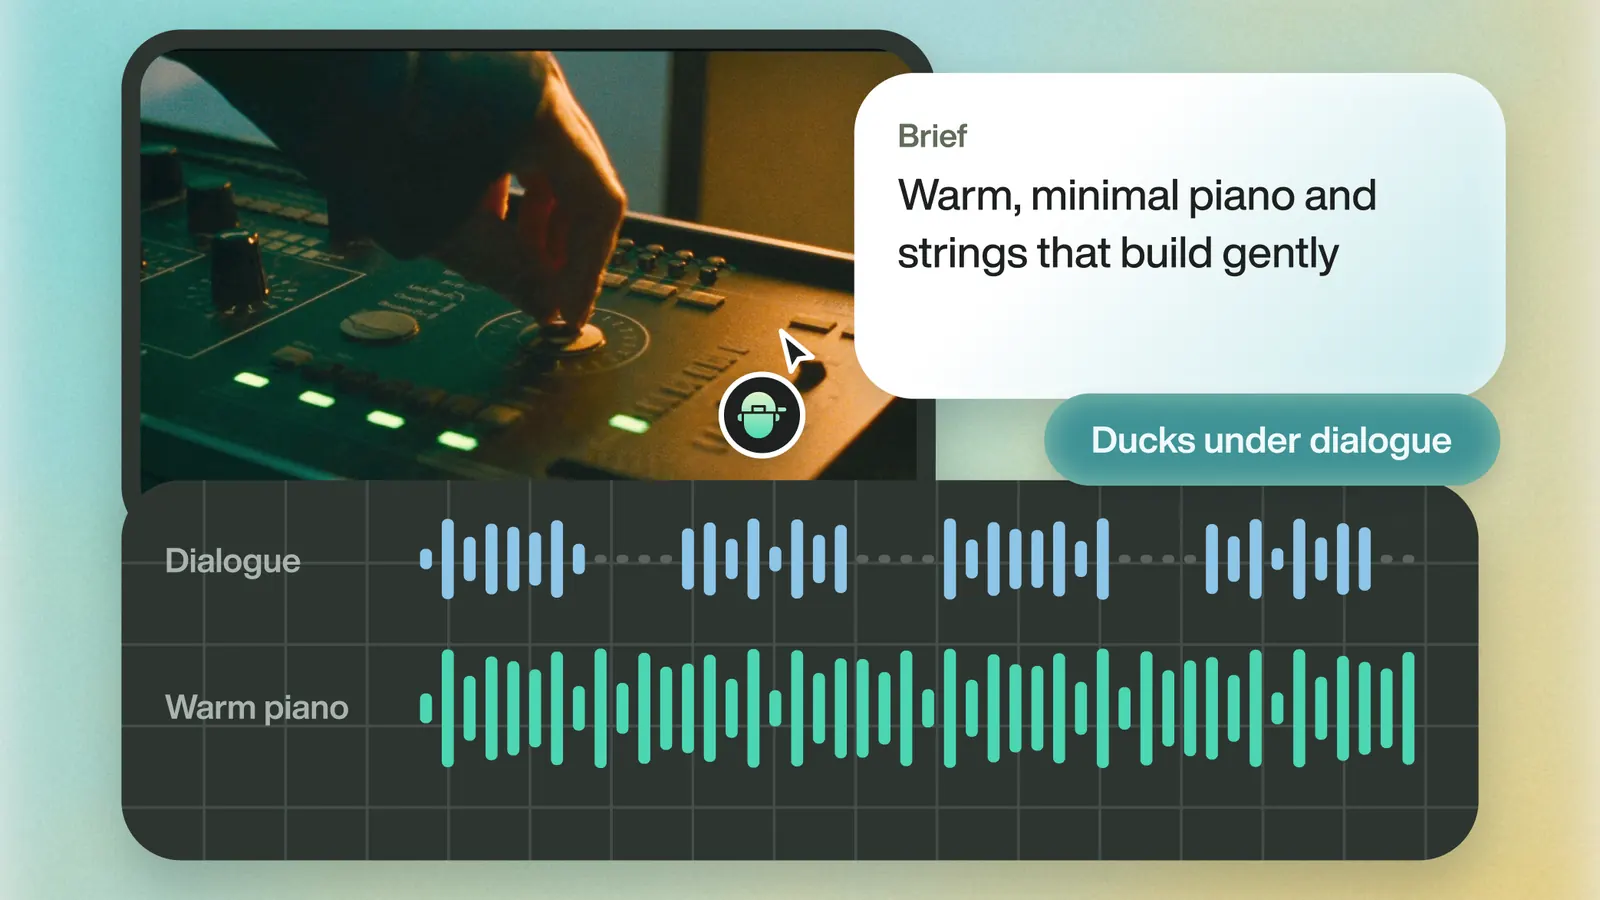
Eddie generates music at the length of the edit, or cuts the edit to the music.
Generated music is made for the edit, at 200 credits per minute. For a track you already have, upload it and ask Eddie to snap the cuts to the beat. The music arrives in Resolve on its own audio track.
Back to Resolve
Open the edit, click Export and choose Resolve. The default is a Resolve project (.drp) that opens with the timeline built; behind the arrow is a Resolve FCPXML you bring into the project you have open with File > Import > Timeline. In the desktop app, Send to DaVinci Resolve builds the timeline in the Resolve you have running, through Eddie's script (Workspace > Scripts > Eddie AI AE).
If you imported the footage through the desktop app, the timeline points at your original camera files. If you uploaded on the web or pulled from cloud storage, it points at Eddie's proxy media: relink to those in the Media Pool with Relink Selected Clips, not to the camera originals.
FAQ
Questions
- Can I speed up music to fit in DaVinci Resolve?
- You can change a clip's speed, but more than a few percent changes the tempo and pitch noticeably. Cutting a section out sounds more natural.
- How do I find the beats in a song?
- Play the timeline and tap M on each downbeat to drop markers, then cut on the markers.
