


DaVinci Resolve · Projects and workflow
How to cut to the beat in DaVinci Resolve
The short answer
Select the music clip, play it, and press M on each beat to drop markers on the clip. Turn on snapping (N), then trim or move each cut until it snaps to a marker.
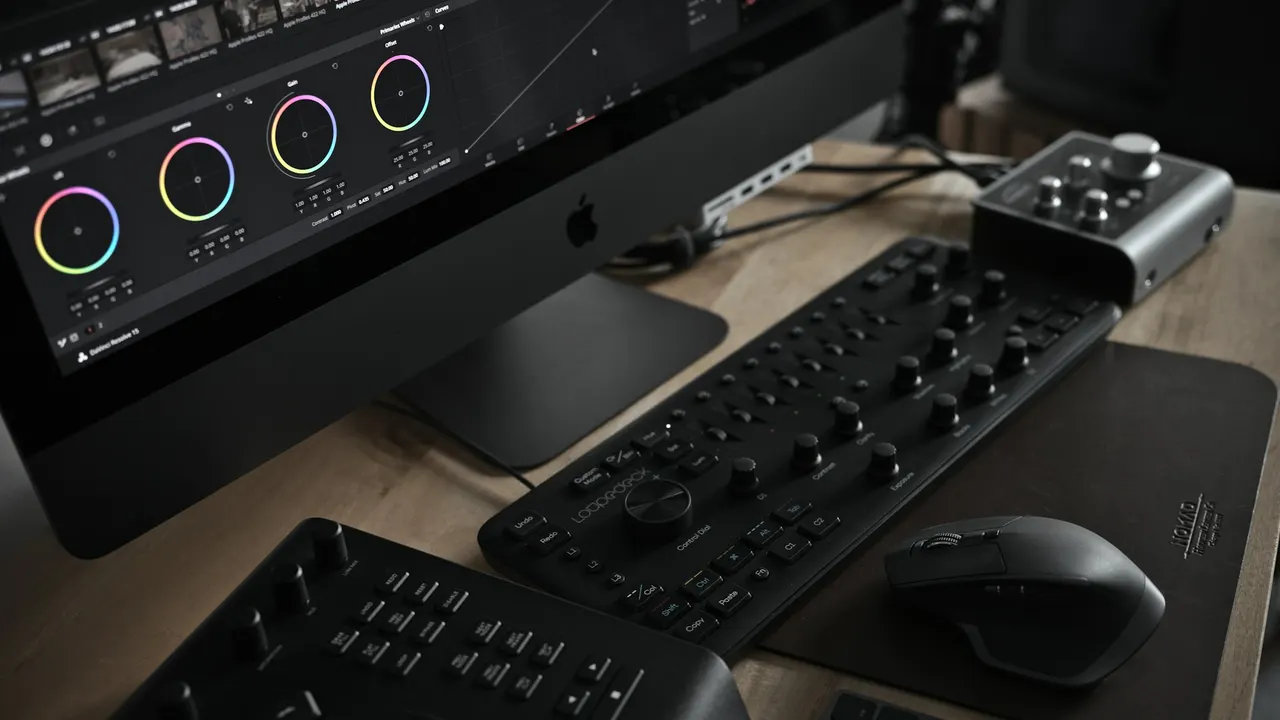
5 steps
In DaVinci Resolve
01
Put the music down
Drag the music to an audio track on the Edit page and turn on the waveform so you can see the hits.
02
Mark the beats
Select the music clip, play the timeline, and press M on each beat. With the clip selected, the markers go on the clip and move with it.
03
Turn on snapping
Press N, or click the magnet in the toolbar, so edits snap to markers.
04
Cut on the markers
Trim clips or move cuts until they snap to a marker. Use the Blade (B) at each marker for a quick rough cut.
05
Check the feel
Play it back. Cuts a frame or two before the beat often feel more on time than cuts exactly on it.
Good to know
Before you start
- Note 1
- If the markers land late, you're tapping after the beat. Zoom in on the waveform and drag each marker to the peak.
Eddie AI
Do it in Eddie
Ask Eddie to snap the cuts to the beat.
Add music in Eddie, generated or uploaded, and ask it to "snap the cuts to the beat." Eddie measures the music's beat grid and nudges cut points onto beats without clipping a spoken word. Measuring an uploaded track costs 2 credits per minute of audio; generated tracks already carry their grid. The music goes to Resolve on its own audio track with the cuts already timed to it.
Back to Resolve
Open the edit, click Export and choose Resolve. The default is a Resolve project (.drp) that opens with the timeline built; behind the arrow is a Resolve FCPXML you bring into the project you have open with File > Import > Timeline. In the desktop app, Send to DaVinci Resolve builds the timeline in the Resolve you have running, through Eddie's script (Workspace > Scripts > Eddie AI AE).
If you imported the footage through the desktop app, the timeline points at your original camera files. If you uploaded on the web or pulled from cloud storage, it points at Eddie's proxy media: relink to those in the Media Pool with Relink Selected Clips, not to the camera originals.
FAQ
Questions
- How do I move markers with the music clip?
- Put them on the clip, not the timeline: select the clip before you press M.
- Should every cut be on the beat?
- Most, not all. Holding a strong shot across a beat adds rhythm.
