How-to guidesOnline courses
How to Edit Online Course Videos
A course is a series, not a single video. The edits must be consistent across twenty lessons, learners must be able to follow each step, and you will re-record a lesson when something changes. This guide sets up an edit you can repeat for every lesson, from a recording session to captioned files ready for your course platform.
The short answer
Record each lesson against an outline, then edit every lesson to the outline: keep the best take of each point, remove the restarts, and leave a short pause after each instruction so learners can follow. Put slides or screen recordings over the explanations, add a title for each section, and caption every lesson. Eddie does this lesson by lesson from your outline and the same few prompts.
What you will end up with
- Each lesson cut to your outline, with the best take of every point.
- Slides and screen recordings over the explanations they illustrate.
- Section titles inside each lesson.
- Captions and consistent audio across the whole course.
Step by step
Step 1
Import the takes and the outline
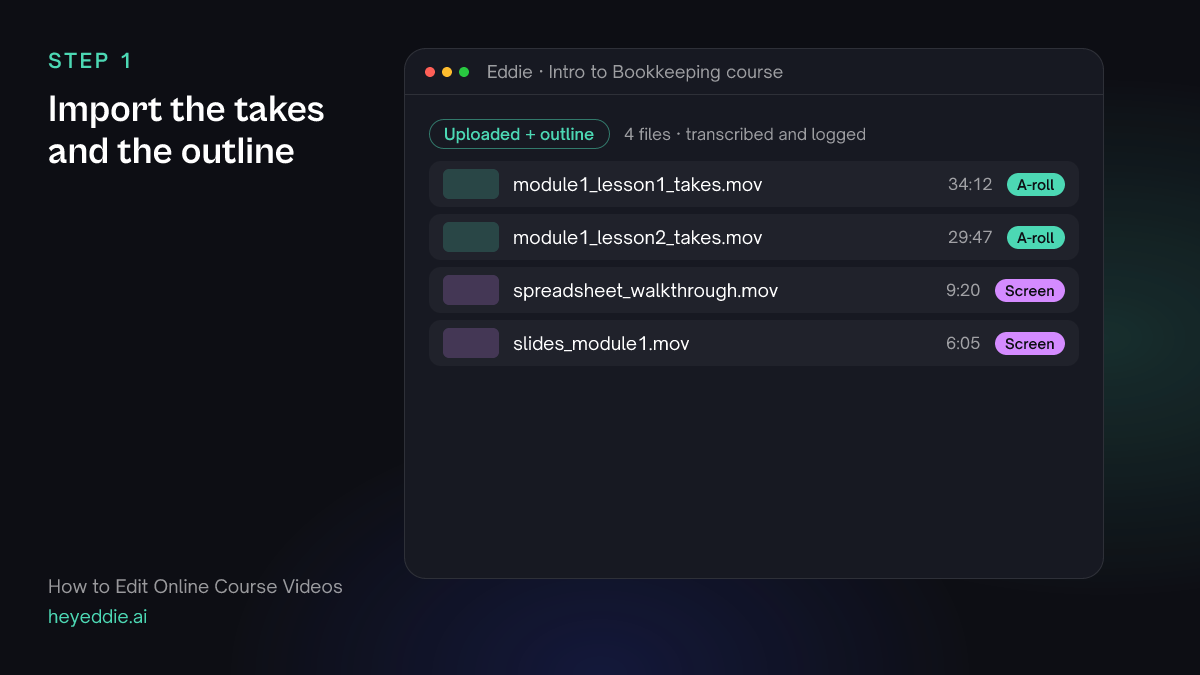
Upload each lesson's recording, the screen recordings and slides, and attach your outline or script. If you bolded or highlighted the points that matter most, Eddie can find those passages in order.
What Eddie does
- Transcribes each lesson recording and tags the screen recordings.
- Reads the outline so it can match each point to its takes.
What you get: Lessons lined up against the outline.
Step 2
Cut the first lesson to the outline
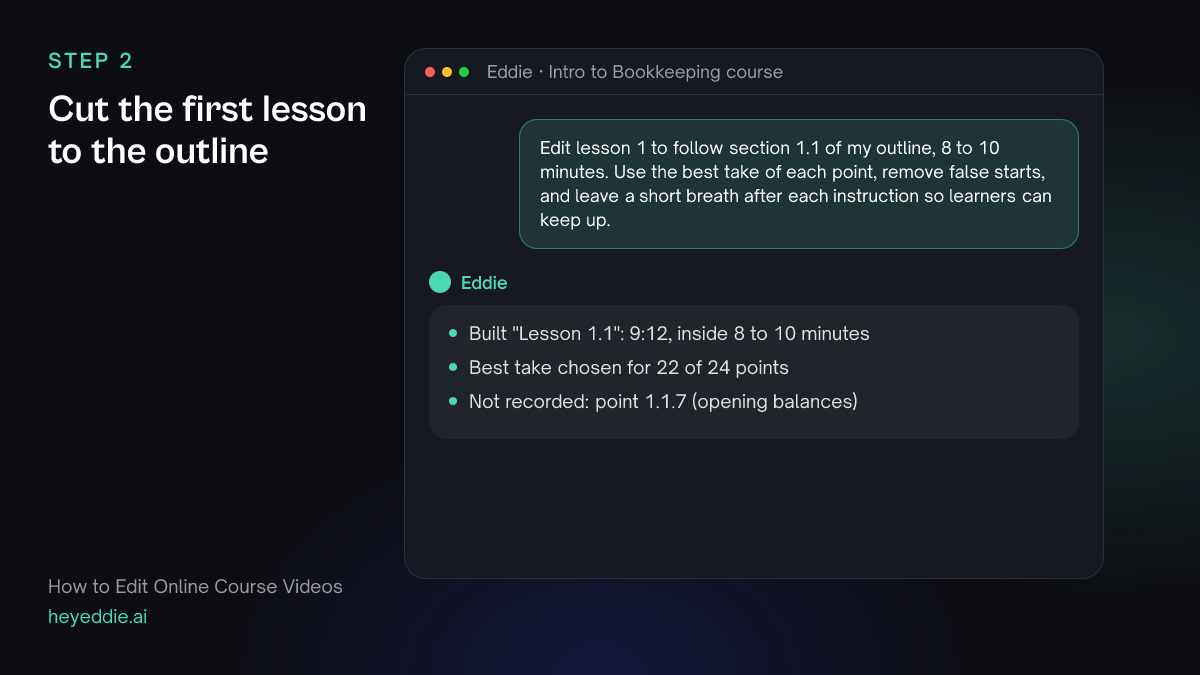
Ask for one lesson at a time. Give a length range rather than an exact length: a lesson should be as long as the point needs.
What you type “Edit lesson 1 to follow section 1.1 of my outline, 8 to 10 minutes. Use the best take of each point, remove false starts, and leave a short breath after each instruction so learners can keep up.”
What Eddie does
- Matches each outline point to the takes and keeps the best one.
- Uses natural pacing so instructions are followed by a short pause.
- Reports the length and any outline point it could not find.
What you get: A clean lesson edit that follows the plan.
Step 3
Show the screen while you explain
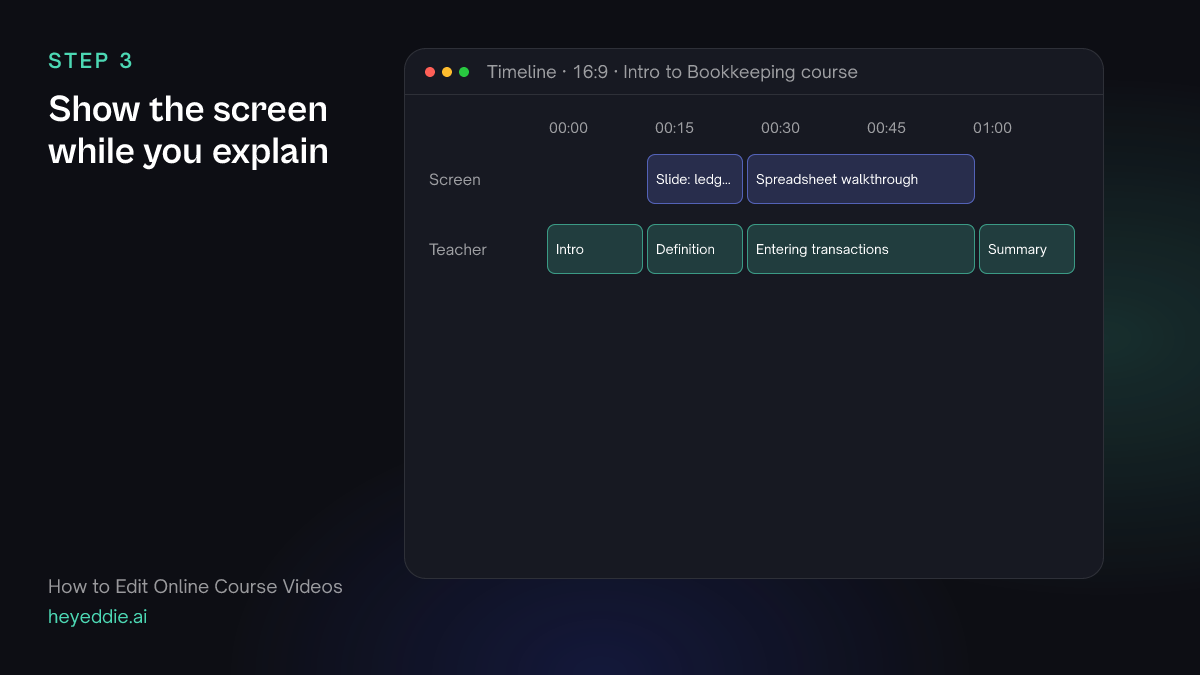
Learners need to see the step you describe. Put the screen recording or the slide over the explanation, and stay on your face for the introduction and the summary.
What you type “Put the spreadsheet walkthrough over the part where I explain entering transactions, and the matching slide over each definition. Stay on me for the intro and the summary.”
What Eddie does
- Places your screen recordings and slides over the matching explanations.
- Leaves the introduction and the summary on the talking footage.
What you get: A lesson that shows each step as you say it.
Step 4
Add section titles and captions
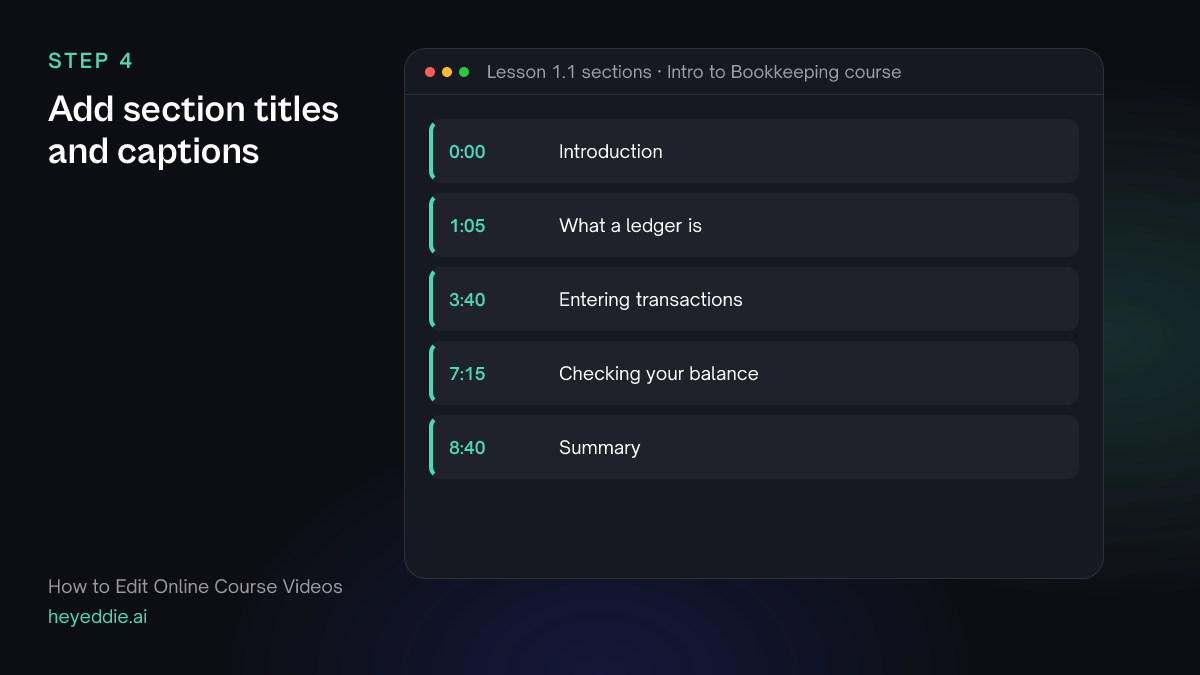
Section titles help learners find their place when they rewatch. Captions help learners in noisy places and in a second language.
What you type “Add a title at each section of lesson 1: "What a ledger is", "Entering transactions", "Checking your balance". Then add minimal captions at the bottom.”
What Eddie does
- Places each title at the start of its section.
- Adds captions from the word timings.
What you get: A lesson that is easy to navigate and to follow.
Step 5
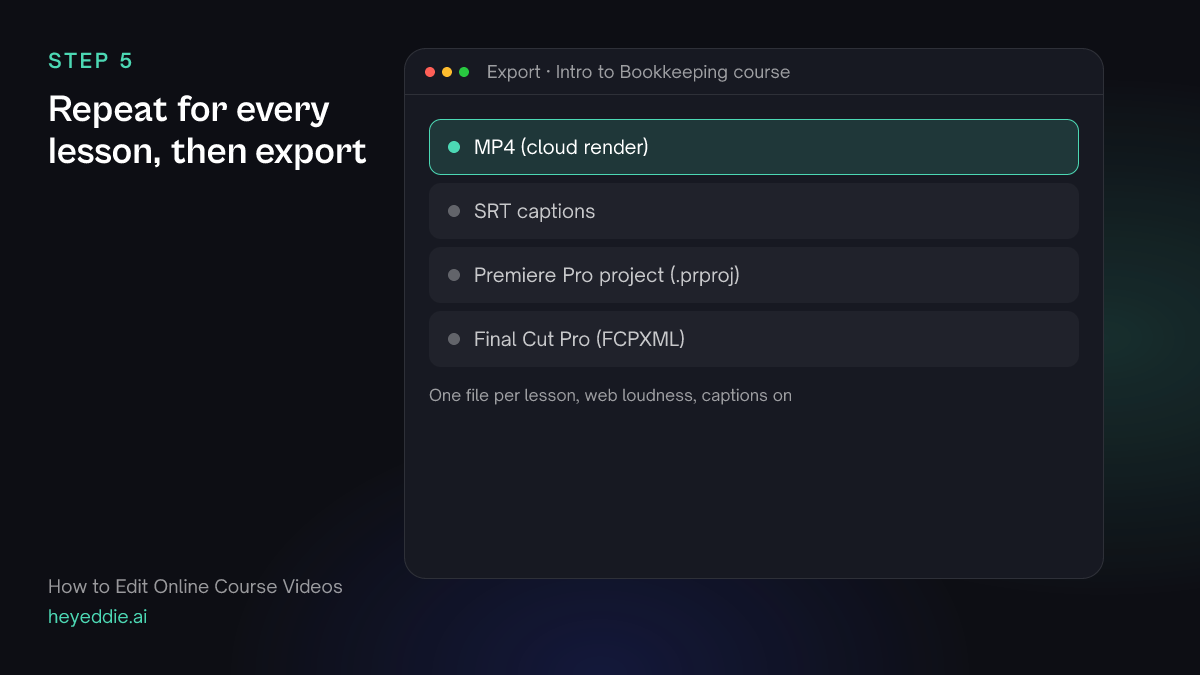
Repeat for every lesson, then export
Save the lesson prompts as a recipe, run it for each lesson, and export them all. Level the audio the same way on every lesson so the course sounds consistent.
What you type “Level the speech on lesson 1 to the same level as the others, set web loudness, and export it as a 1080p MP4 named "1.1 What a ledger is".”
What Eddie does
- Brings the speech to one level and sets the final loudness.
- Renders the lesson in the cloud with captions.
What you get: Lessons that sound and look the same from start to finish.
What makes it work
- Record to the outline, one point at a time
- Say each point, pause, and say it again if you stumbled. Eddie keeps the best take, so you never need to restart the lesson.
- Leave a breath after instructions
- Tight pacing works for entertainment. Learners need a moment to take in each step, so ask for natural pacing.
- Keep lessons short
- Five to ten minutes per lesson is easier to finish and easier to re-record when something changes.
- Use one recipe for the whole course
- Save the lesson prompts as a workspace recipe. Every lesson gets the same structure, titles and captions.
Questions
- Can Eddie follow my course outline exactly?
- Yes. Attach the outline and ask for each lesson to follow its section. Eddie reports any point it could not find in the recording.
- Can I update one lesson later?
- Yes. Re-record the changed part, add it to the project and ask Eddie to swap it into that lesson. The other lessons stay as they are.
- Can I make audio-described versions for accessibility?
- Yes. Eddie can make an audio-described version of an edit for blind and low-vision learners, as a separate edit beside the original.
- Can I translate the course?
- Eddie can dub a finished lesson into another language. See the dubbing page for details.