How-to guidesYouTube
How to Edit YouTube Videos
Most YouTube videos are one person talking to camera, recorded in many takes. The edit is mostly choosing: which take of each line, how much breath to leave, and what to show while you talk. This guide covers that process for explainers, reviews, tutorials and commentary.
The short answer
Record your script in takes, then keep only the best take of each line and close the gaps between them. Hide the jump cuts with b-roll, screen recordings or punch-ins, add captions and a light music bed, and level the audio for the web. With Eddie you attach your script or outline, ask for the cut, then ask for each finishing pass in turn.
What you will end up with
- A cut that follows your script with the best take of every line.
- Pace you chose: tight for commentary, a little looser for teaching.
- Punch-ins, b-roll and screen recordings over the cuts.
- Captions, a music bed and audio levelled for YouTube.
Step by step
Step 1
Import the takes and your script
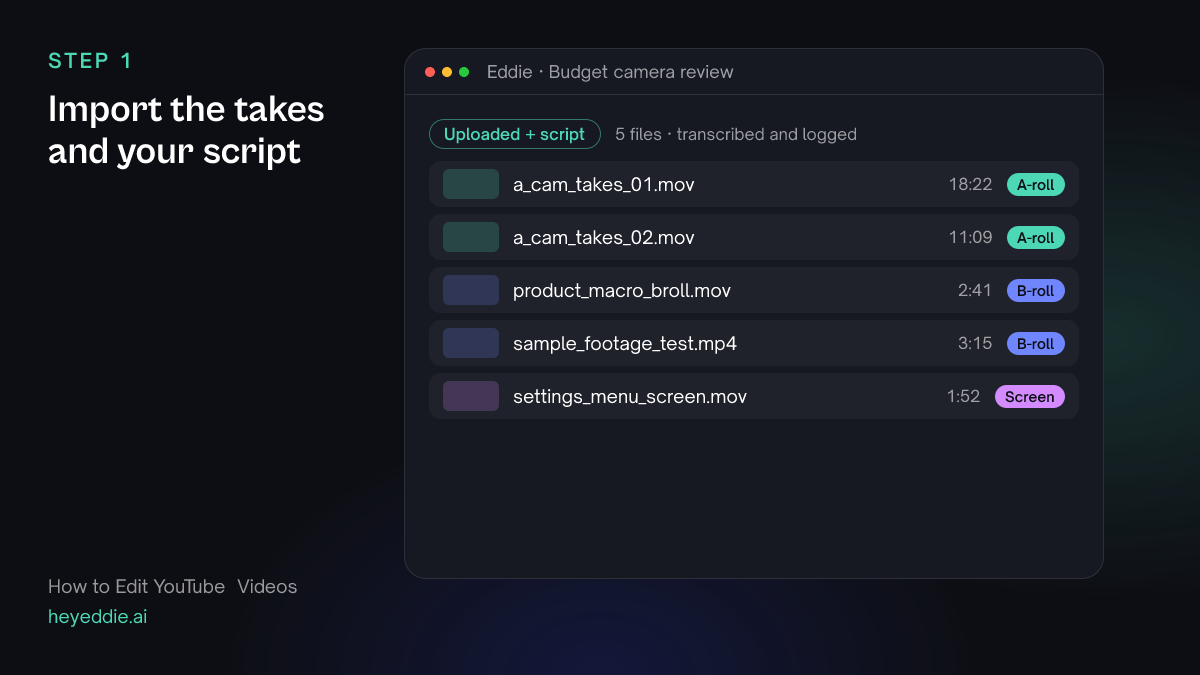
Upload the camera files and attach the script or outline you recorded from. If you highlighted or bolded the lines that matter most in the document, Eddie can find those passages in the footage.
What Eddie does
- Transcribes every take and tags the camera footage, the b-roll and the screen recording.
- Reads the attached script so it can match lines to takes.
What you get: Every take of every line, lined up against your script.
Step 2
Cut to the script with the best takes
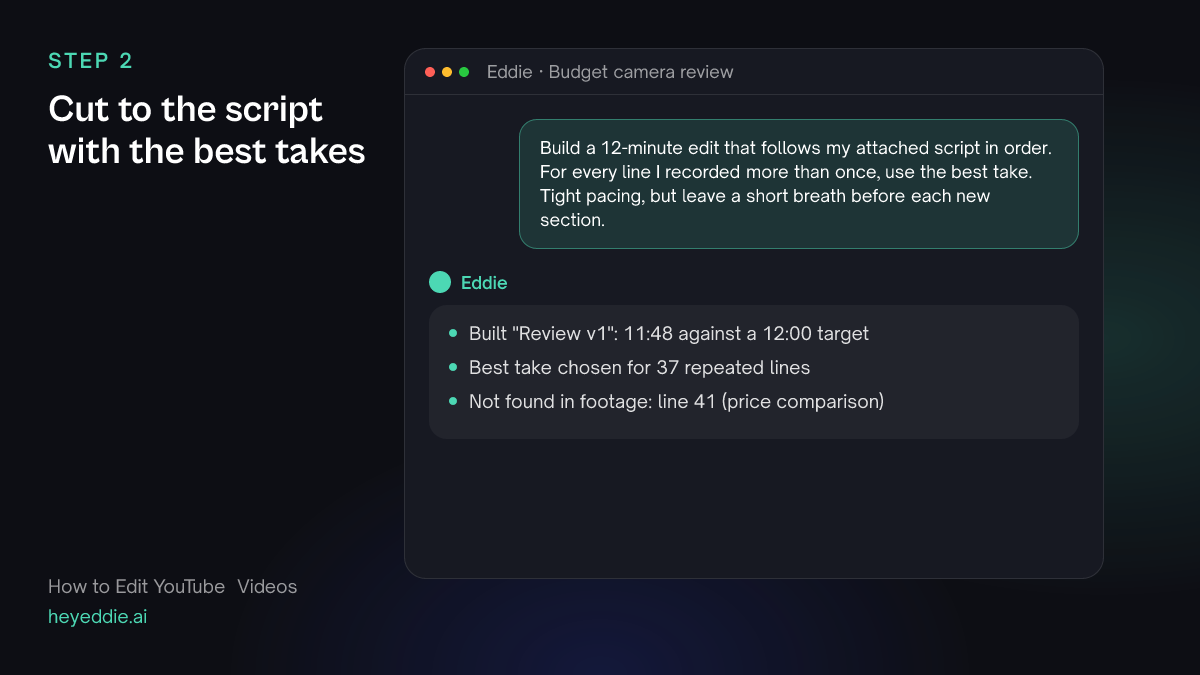
Ask for the edit to follow the script and to choose the best take of each line. Name the length and the pacing.
What you type “Build a 12-minute edit that follows my attached script in order. For every line I recorded more than once, use the best take. Tight pacing, but leave a short breath before each new section.”
What Eddie does
- Matches each scripted line to its takes and picks the cleanest delivery.
- Closes the pauses inside sections and keeps a short breath at section changes.
- Reports the finished length and any script lines it could not find in the footage.
What you get: A clean assembly of your script, ready for visuals.
Step 3
Show what you are talking about
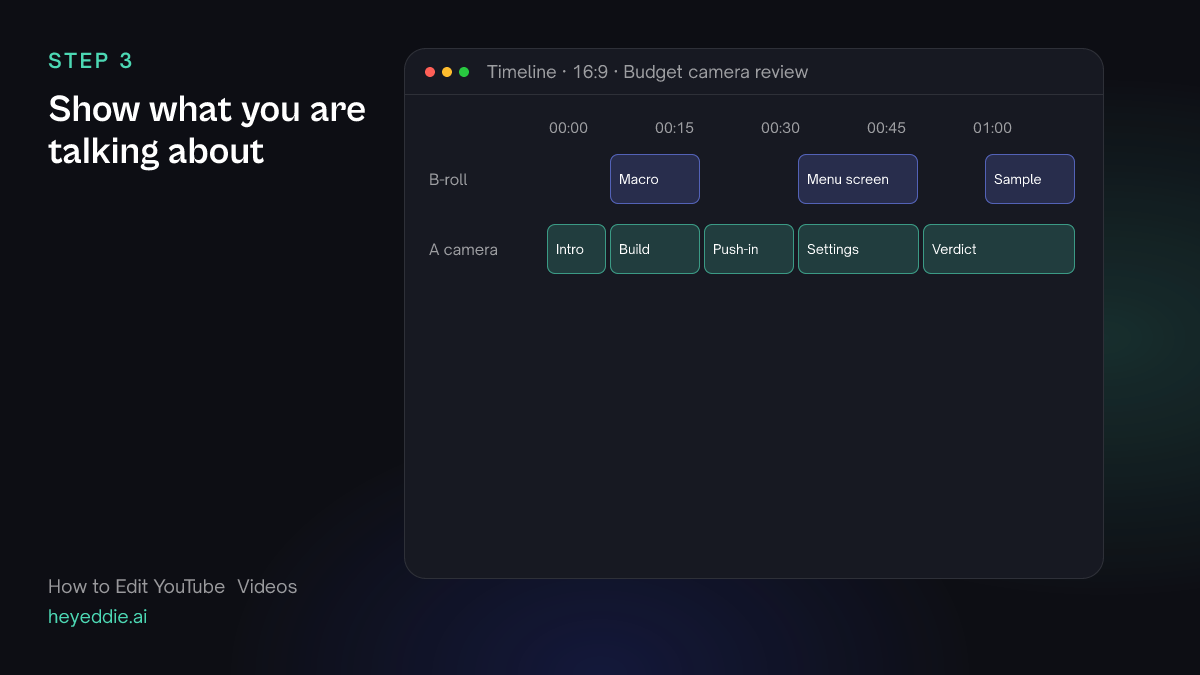
Every time you mention something the viewer can see, show it. Use your product shots and screen recordings, and punch in on yourself to break up long talking stretches.
What you type “Put the macro product shots over the parts where I describe the build quality, the settings screen recording over the menu walkthrough, and add a slow punch-in on me every time I make a recommendation.”
What Eddie does
- Places your own b-roll and screen recording over the matching lines.
- Adds a subtle push-in on the segments you described.
What you get: An edit where the picture changes every few seconds for a reason.
Step 4
Add captions, music and web audio
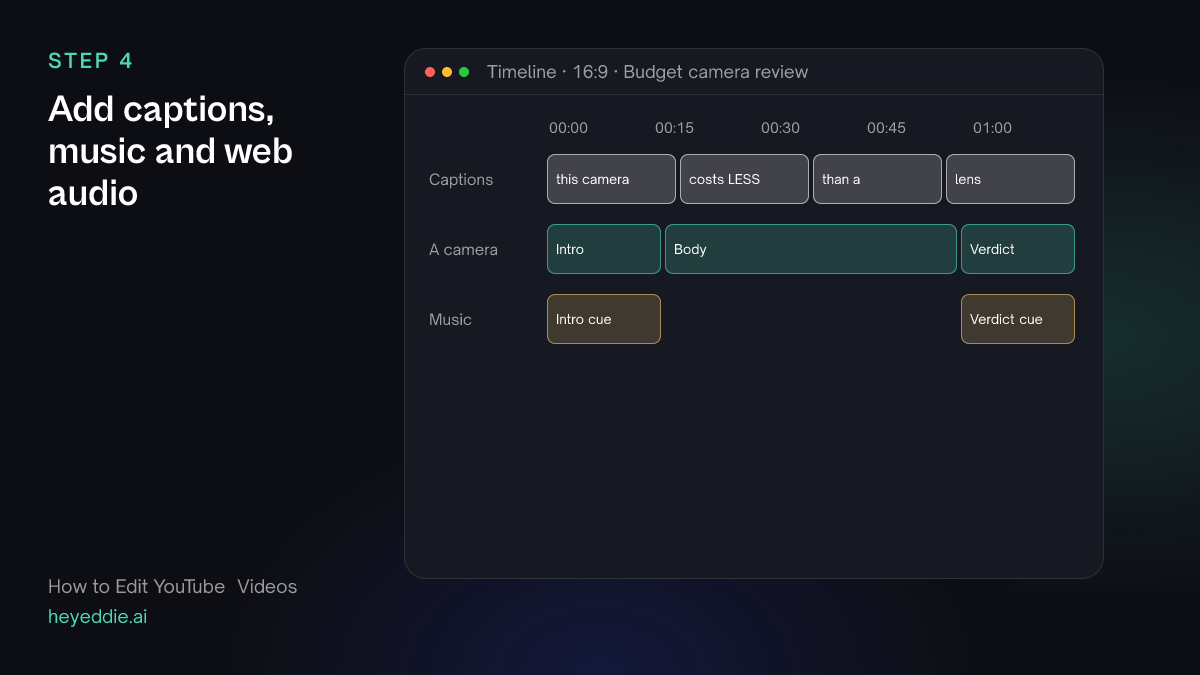
Captions help viewers on phones and people watching in a second language. Keep the music low; it is there to fill silence, not to compete.
What you type “Add punchy captions with the active word highlighted, put a low electronic bed under the intro and the verdict only, and set the final loudness for the web.”
What Eddie does
- Adds captions in the punch look with the spoken word highlighted.
- Places the music as two cues, ducked under speech.
- Sets the delivery loudness for the web.
What you get: A video that sounds consistent next to everything else on YouTube.
Step 5
Export for upload or finishing
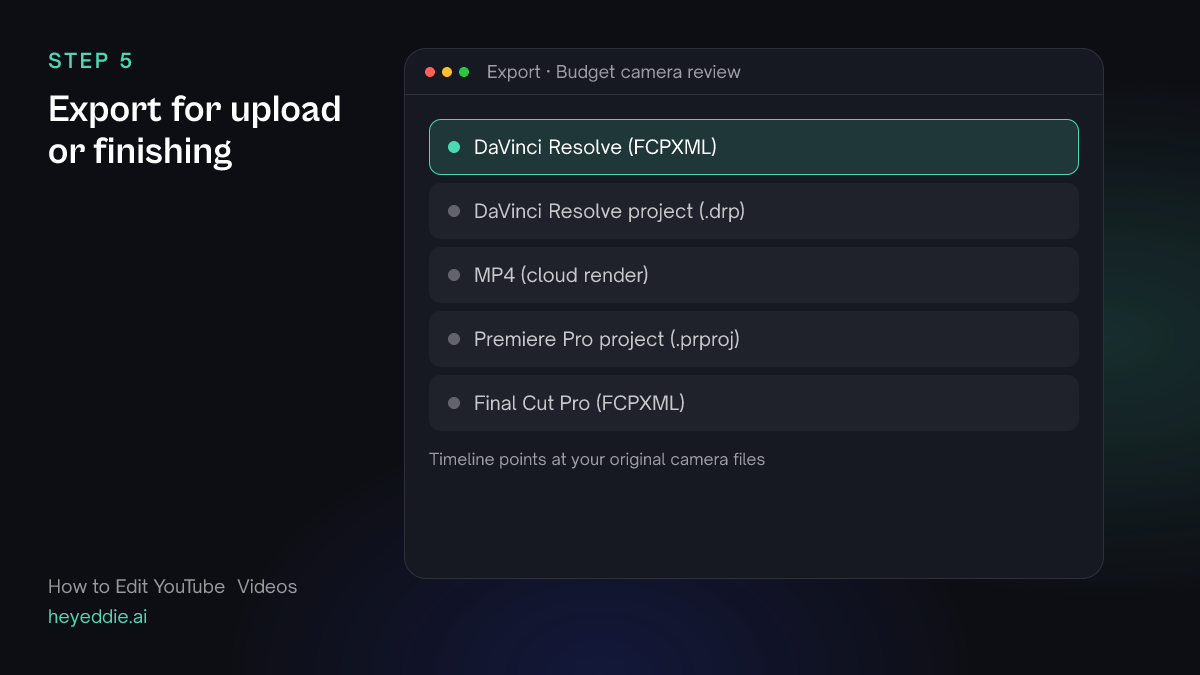
Export a finished MP4 to upload, or a timeline if you colour and finish in your own editor.
What you type “Export the edit as a timeline for DaVinci Resolve so I can grade it, and as a 1080p MP4 for a quick check on my phone.”
What Eddie does
- Writes a Resolve FCPXML with the cut, the b-roll, crops, motion and audio levels, pointing at your original files.
- Renders the MP4 in the cloud and returns a download link. A native Resolve project (.drp) is also in the web app's Export menu.
What you get: A gradeable timeline and a review copy.
What makes it work
- Record each line until it is right, then move on
- Saying a line three times and moving on is faster than stopping the camera. Eddie keeps the best take, so retakes cost you nothing in the edit.
- Pick pacing by format
- Commentary and reviews suit tight pacing. Tutorials need a breath after each instruction so viewers can follow. Say which in your prompt.
- Change the picture with a reason
- A punch-in on a key line, b-roll of the thing you name, a screen recording of the step you describe. Random zooms every three seconds tire viewers.
- Read the lines Eddie could not find
- If Eddie reports a script line with no take, you either skipped it while recording or said it very differently. Decide whether the video needs it before you publish.
Questions
- Does Eddie need a script?
- No. Without a script, describe the structure you want and Eddie builds it from the transcript. A script or outline makes the first cut closer to what you planned.
- Can Eddie choose between takes automatically?
- Yes. When you recorded a line more than once, Eddie picks the best take. You can ask for a different take of any line afterwards.
- Does it work for screen-recorded tutorials?
- Yes. Screen recordings import like any video, and Eddie can place them over the matching lines of your talking footage.
- Can I keep my own editing style?
- You can save a look, with its pacing, punch-ins, captions and music, and apply it to later videos so every episode feels the same.