How-to guidesReal estate
How to Edit Real Estate Videos
A buyer decides in the first ten seconds whether a listing is worth a visit. Your job is to walk them through the home the way they would walk through it in person, with no shaky pans, no dead time, and the facts they need on screen. This guide shows the whole edit, from a folder of clips to a listing video and a vertical reel.
The short answer
Shoot each room as its own short clip, then put them in walking order: exterior, entry, living spaces, kitchen, bedrooms, outdoor space, and a closing drone shot. Hold each shot three to four seconds, add the address and the key facts as titles, lay a music bed under it and cut on the beat. In Eddie you upload the clips, ask for the tour in that order, then ask for titles, music and a 9:16 version for social.
What you will end up with
- A 60 to 120 second property tour in walking order, 16:9, for the listing page and YouTube.
- On-screen titles with the address, the bed and bath count, and your contact details.
- A music bed with the cuts placed on the beat.
- A 9:16 reel of the same tour for Instagram, TikTok and YouTube Shorts.
- A timeline file for Premiere Pro, Final Cut Pro or DaVinci Resolve if you want to finish it there.
Step by step
Step 1
Add the clips to a new project
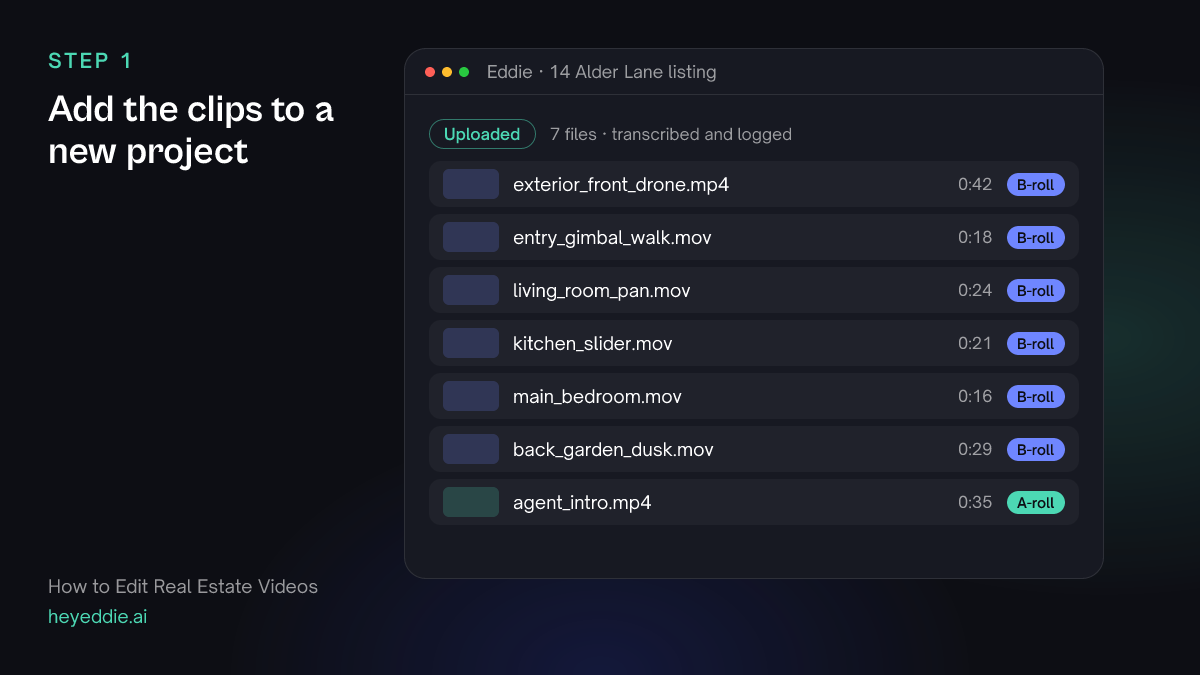
Create a project and upload the walkthrough clips, or pick them from Google Drive, Dropbox or Frame.io. If you already have them in a Premiere Pro, DaVinci Resolve or Final Cut Pro project, send them from there with the Eddie desktop app. Keep each room as its own clip; it makes the order easy to ask for.
What Eddie does
- Logs every clip by what it shows, for example "kitchen, slider move past island" or "drone, front of house".
- Sorts talking footage, like an agent intro, from b-roll on its own. You can correct the sort if it guesses wrong.
What you get: A project where every clip is described, so you can ask for rooms by name instead of by file name.
Step 2
Ask for the tour in walking order
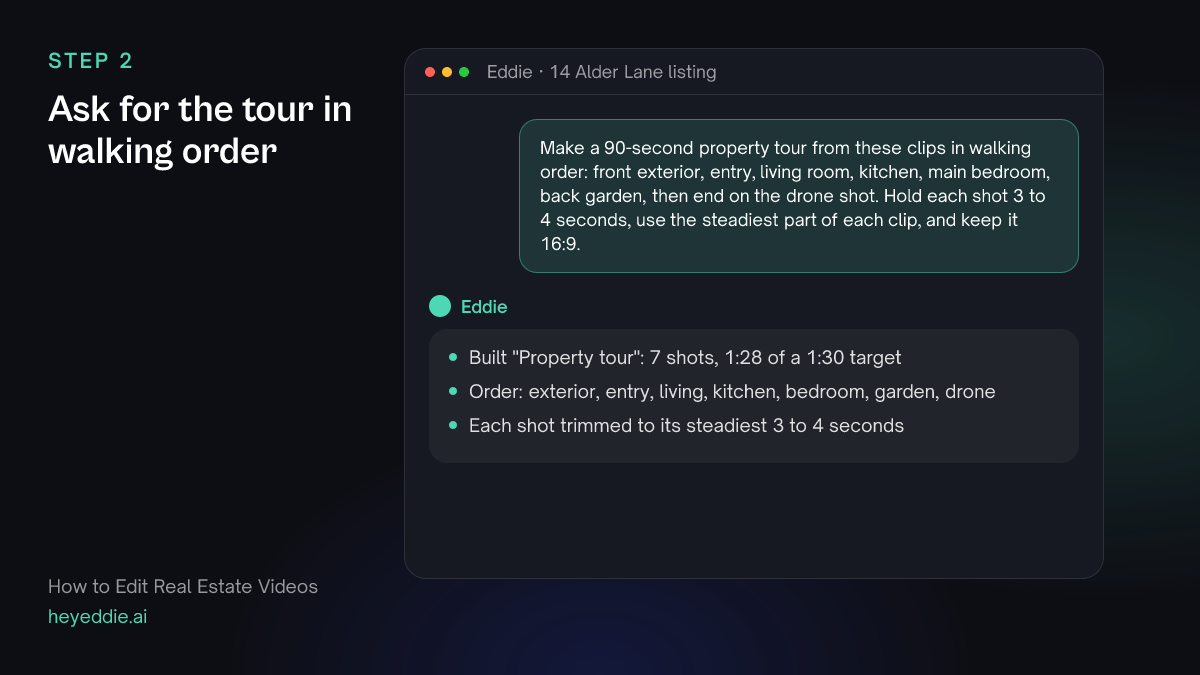
Describe the route through the house and how long each shot should hold. A tour has no talking, so Eddie builds it as a sequence of trimmed clips rather than cutting around speech.
What you type “Make a 90-second property tour from these clips in walking order: front exterior, entry, living room, kitchen, main bedroom, back garden, then end on the drone shot. Hold each shot 3 to 4 seconds, use the steadiest part of each clip, and keep it 16:9.”
What Eddie does
- Builds a clip sequence in the order you named, trimming each clip to its steadiest stretch.
- Reports the finished length against the 90 seconds you asked for.
What you get: A first cut of the tour you can play straight away in the browser.
Step 3
Put the facts on screen
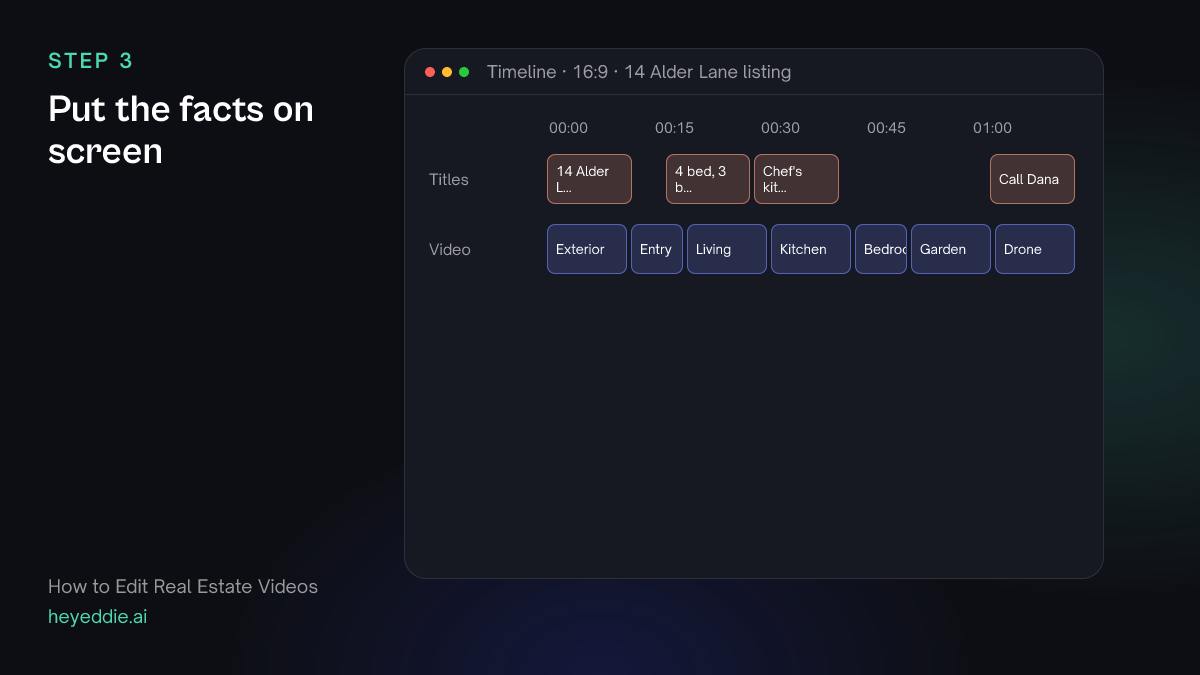
Buyers watch listing videos with the sound off. Put the address up front, the key facts over the main rooms, and your contact details at the end.
What you type “Add titles: "14 Alder Lane" over the first shot, "4 bed, 3 bath, 2,400 sq ft" over the living room, "Chef's kitchen with island" over the kitchen, and an end card with "Call Dana Reyes, 555 0142". Use a clean lower-third style that fades in.”
What Eddie does
- Writes each title onto the title track at the shot you named, with an entrance animation.
- Shows them in the player straight away and burns them into the MP4 render.
What you get: A tour that sells the home with the sound muted.
Step 4
Add music and cut on the beat
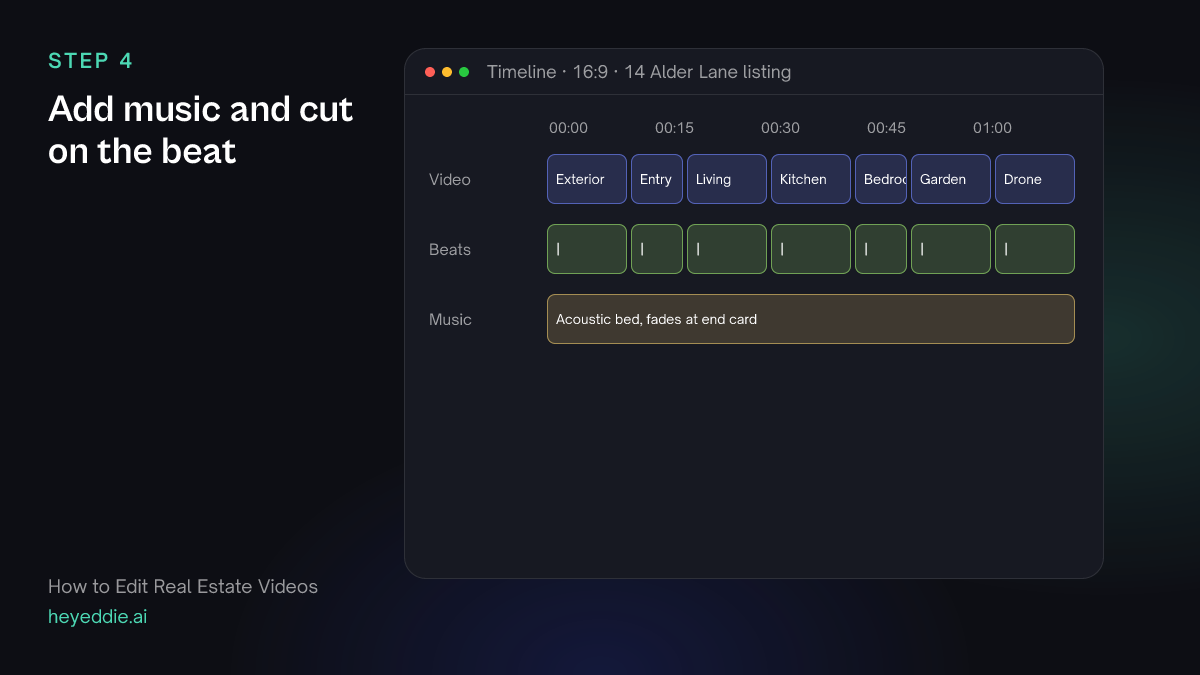
Music carries a tour that has no voice. Use a track you own, an audio file already in the project, or ask Eddie to generate one from a description. Then line the cuts up with the beat, which makes even a simple tour feel finished.
What you type “Add a warm, upbeat acoustic track under the tour, fade it out over the end card, and move the cuts onto the beat.”
What Eddie does
- Attaches your track, or generates one from the description after telling you the credit cost.
- Measures the beat grid of the music and moves each cut to the nearest beat, then lists every cut it moved.
What you get: A tour where every room change lands on the music.
Step 5
Clean up the picture
Two things give an amateur tour away: shaky handheld moves and personal items in shot. Fix both before you export.
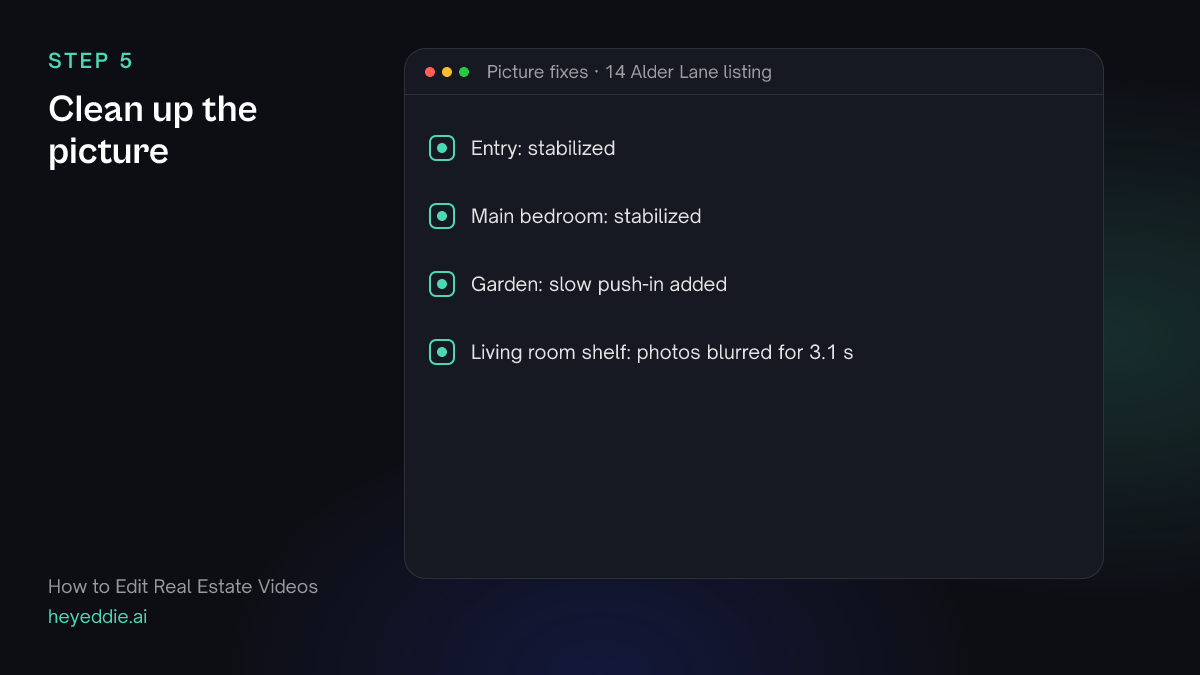
What you type “Stabilize the entry and bedroom shots, add a slow push-in on the garden shot, and blur the family photos on the living room shelf.”
What Eddie does
- Flags the shaky shots for stabilization and applies it to the render and the exports.
- Adds a gentle push-in motion to the shot you named.
- Blurs the region you described for the time it is on screen.
What you get: Smooth moves, and nothing in frame the seller would not want online.
Step 6
Make the vertical reel and export
Social platforms want 9:16. Ask for a vertical version of the same tour, then export the formats you need: an MP4 for the listing and social, or a timeline file if an editor will finish it.
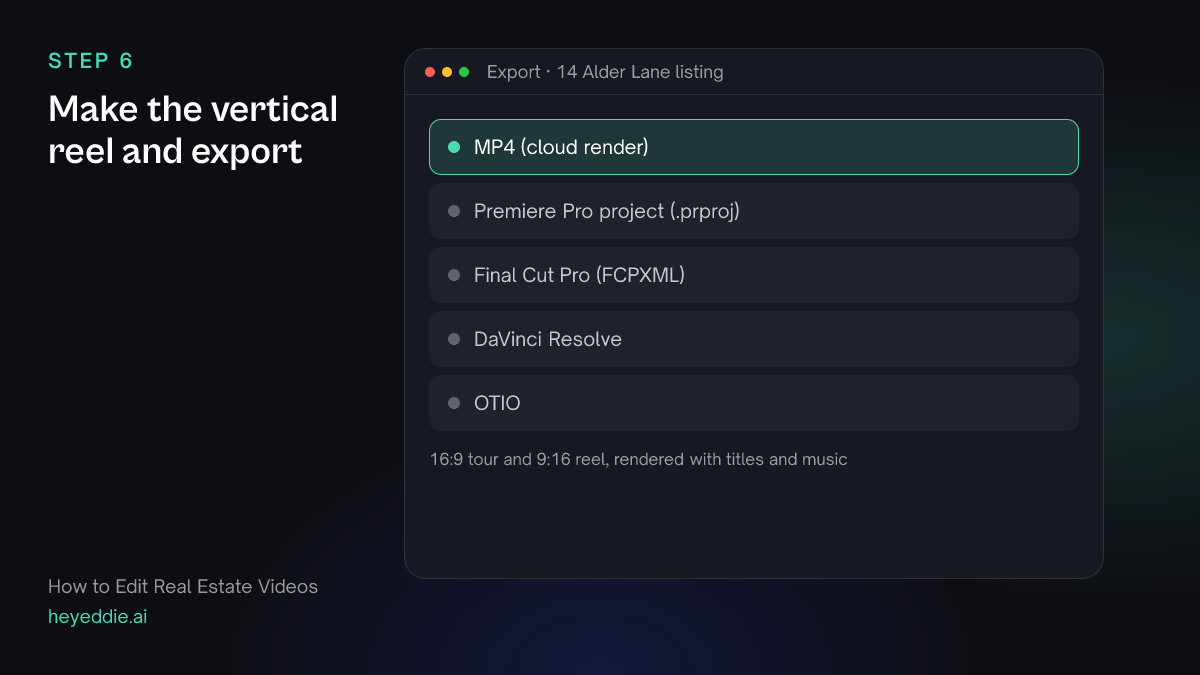
What you type “Make a 9:16 version of the tour for Instagram Reels, keep the titles inside the safe area, then export both versions as MP4 and the 16:9 one as a Premiere Pro project.”
What Eddie does
- Sets a 9:16 canvas and fits each shot to it.
- Renders the MP4s in the cloud and gives you download links.
- Writes a Premiere Pro project that opens as a timeline pointing at your original clips.
What you get: A horizontal tour, a vertical reel and an editable timeline from one project.
What makes it work
- Shoot rooms as separate clips
- One clip per room, each started and stopped on purpose, gives you clean in and out points and lets you ask for rooms by name. A single twenty-minute walkthrough take works too, but you will spend prompts finding the rooms.
- Lead with the best room
- If the kitchen or the view is the selling point, it can come second, straight after the exterior. Ask Eddie to move it: "Put the kitchen right after the exterior shot."
- Keep shots short and moving
- Three to four seconds per shot, with slow, steady camera moves, holds attention without making the home feel small. Long static shots of empty rooms read as photographs.
- Check the facts on the end card
- The address, the price and the contact details are the parts a buyer acts on. Read them twice before you export; a typo in a phone number costs more than a soft focus.
Questions
- Can Eddie edit a real estate video that has no talking in it?
- Yes. When there is no speech to cut around, Eddie builds the video as a sequence of trimmed clips or stills in the order you describe, then adds titles and music on top.
- Can I add a voice-over if the agent did not record one?
- Yes. Write the lines and ask Eddie to place them; it generates the voice-over with AI at the time you choose. If the agent recorded an intro to camera, you can open the tour with it instead.
- Can I make a slideshow from listing photos?
- Yes. Eddie can sequence stills as well as clips, and add a slow push or pan to each photo so the slideshow moves.
- What if I am missing a shot, like the neighbourhood?
- Eddie can search stock footage for b-roll on a theme, or generate a short b-roll shot when neither your clips nor stock have it. It quotes the credits before it generates anything.
- Which editing apps can I send the tour to?
- Premiere Pro, Final Cut Pro and DaVinci Resolve open Eddie's exports as timelines that point at your original clips. You can also export OTIO or a finished MP4.