How-to guidesDocumentary
How to Edit a Documentary
Documentaries are found in the edit. You may have forty hours of interviews and no script, and the job is to hear the story inside them. That means knowing your material completely before you cut. This guide covers the documentary workflow from logging to a structured assembly you finish in your own editor.
The short answer
Log everything first, then find the story in the selects rather than in the timeline. Rate every interview answer, build a selects reel, write an outline of the story, and assemble it from the strongest answers. Lay observational b-roll over the voices, mark the emotional beats, and get notes on structure before you fine-cut. Eddie logs the footage, builds the selects timeline, assembles the outline and gives timestamped story notes.
What you will end up with
- Interview and b-roll logs you can search and export to your editor.
- A tiered selects timeline: best answers, usable answers, everything else.
- A structured assembly that follows your outline.
- Story notes on structure and pacing, with timestamps.
Step by step
Step 1
Import and log everything
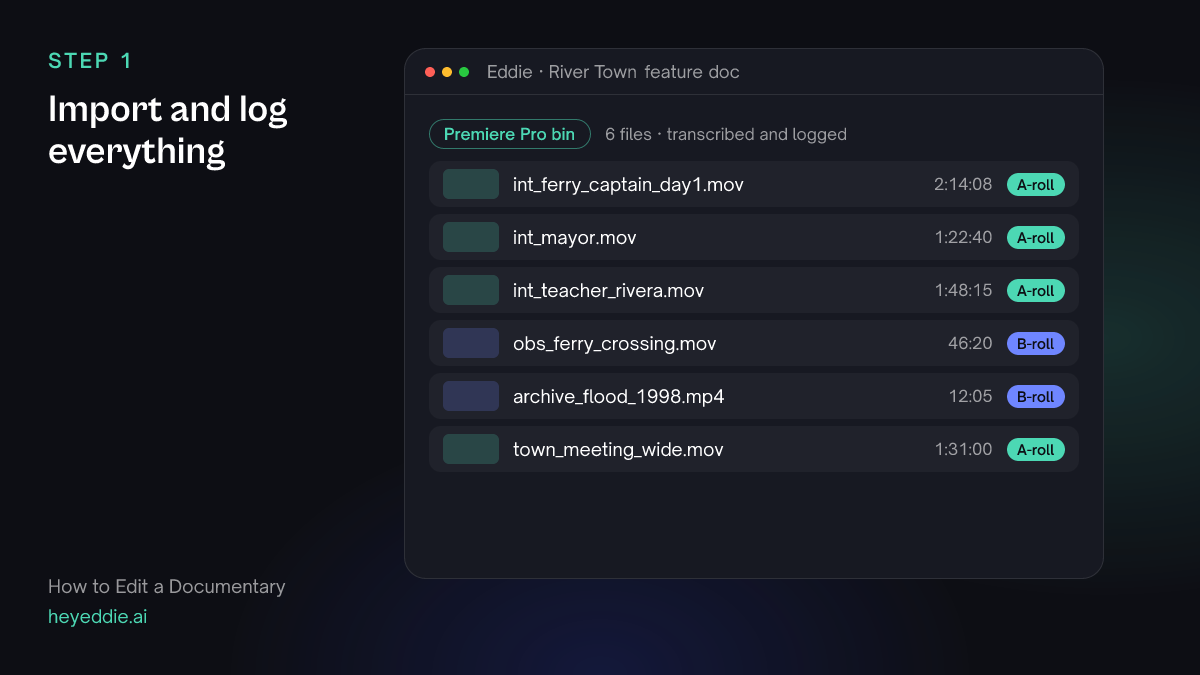
Bring in all the interviews, observational footage and archive. Send a bin from Premiere Pro, Resolve or Final Cut Pro through the desktop app, or work from a Frame.io or LucidLink library. Then ask for logs of everything.
What you type “Log every interview with a summary and timestamped topics, and log the b-roll by what each shot shows. Tell me when both logs are ready.”
What Eddie does
- Writes interview logs with summaries and topics, and b-roll logs with shot descriptions, and reports the logging stage.
- Makes the logs available to download from the web app's Export menu as Premiere Pro, Resolve or Final Cut Pro bins, an Avid ALE, a spreadsheet or a Word document.
What you get: Forty hours you can search by what was said and what was seen.
Step 2
Build a selects timeline
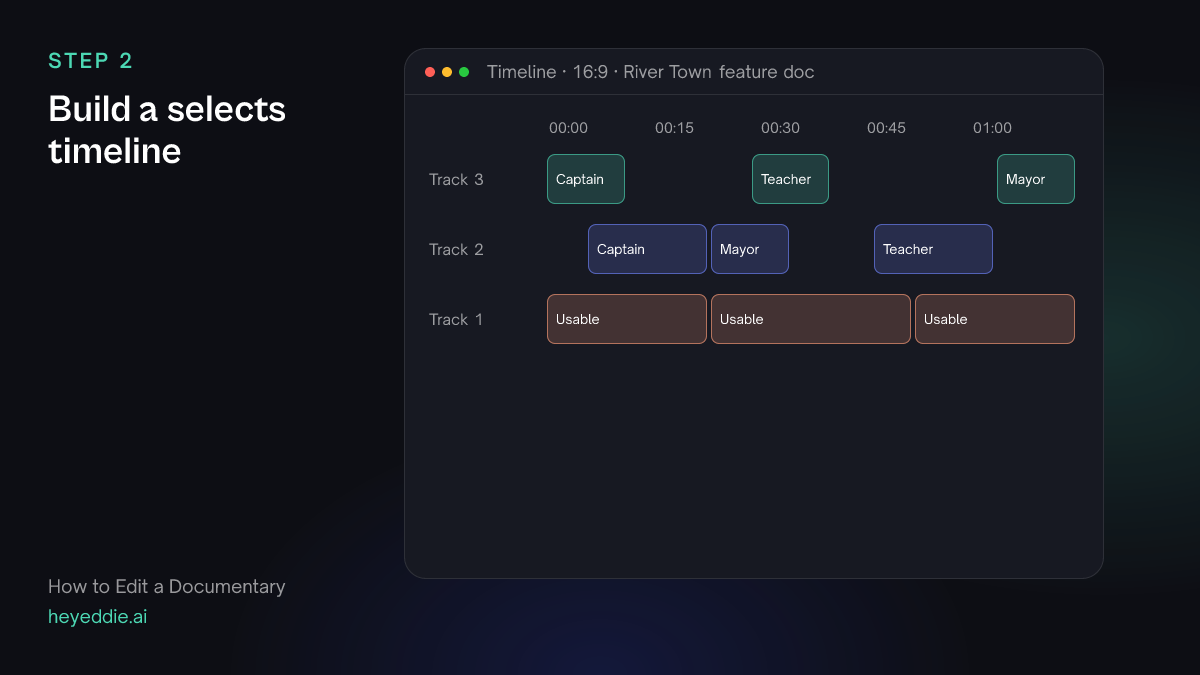
Rate every answer before you start structuring. A selects timeline with tiers on separate tracks lets you see the best material at a glance.
What you type “Rate every interview answer and export a selects timeline for Premiere Pro: strongest answers about the ferry closing on track 3, other strong answers on track 2, and everything usable on track 1.”
What Eddie does
- Rates the transcript segments against the tiers you describe.
- Writes a timeline with one tier per track, so the best material sits on top.
What you get: Selects you can scan in your editor in an afternoon instead of a week.
Step 3
Assemble from your outline
Write the story as an outline: acts, beats, who says what. Attach it and ask for an assembly. If you highlighted passages in a transcript document, Eddie can find those too.
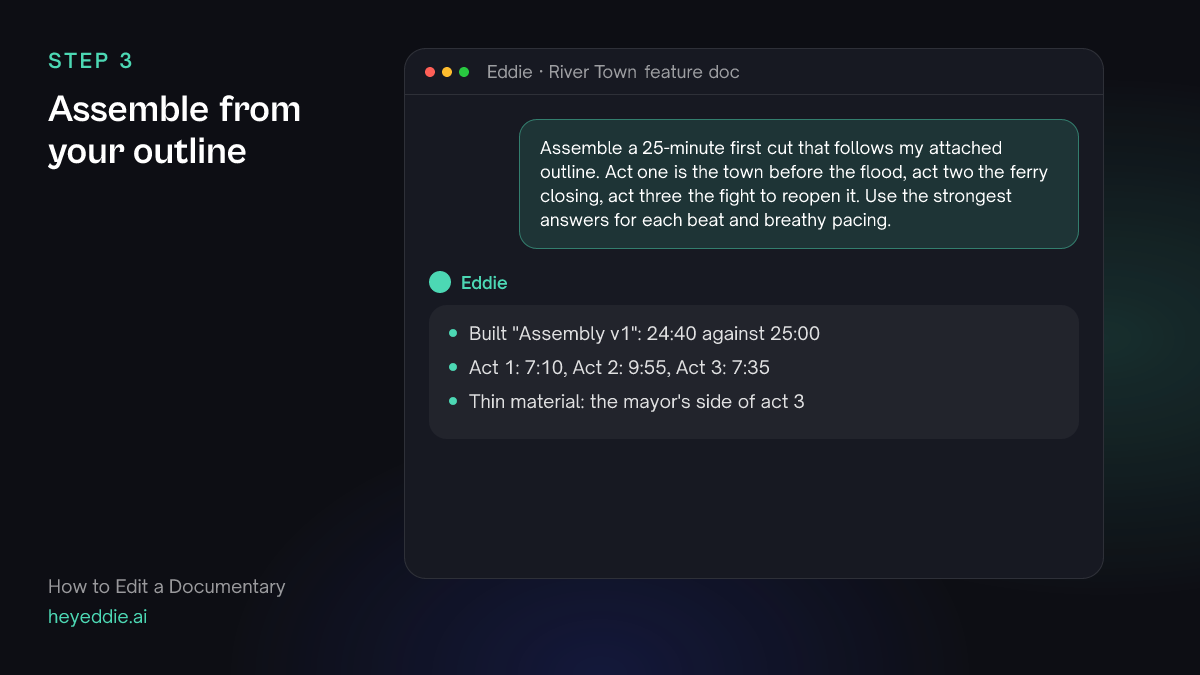
What you type “Assemble a 25-minute first cut that follows my attached outline. Act one is the town before the flood, act two the ferry closing, act three the fight to reopen it. Use the strongest answers for each beat and breathy pacing.”
What Eddie does
- Matches each beat of the outline to the strongest answers.
- Builds the assembly to the target length and reports which beats had thin material.
What you get: A structured assembly to react to.
Step 4
Lay observational footage over the voices
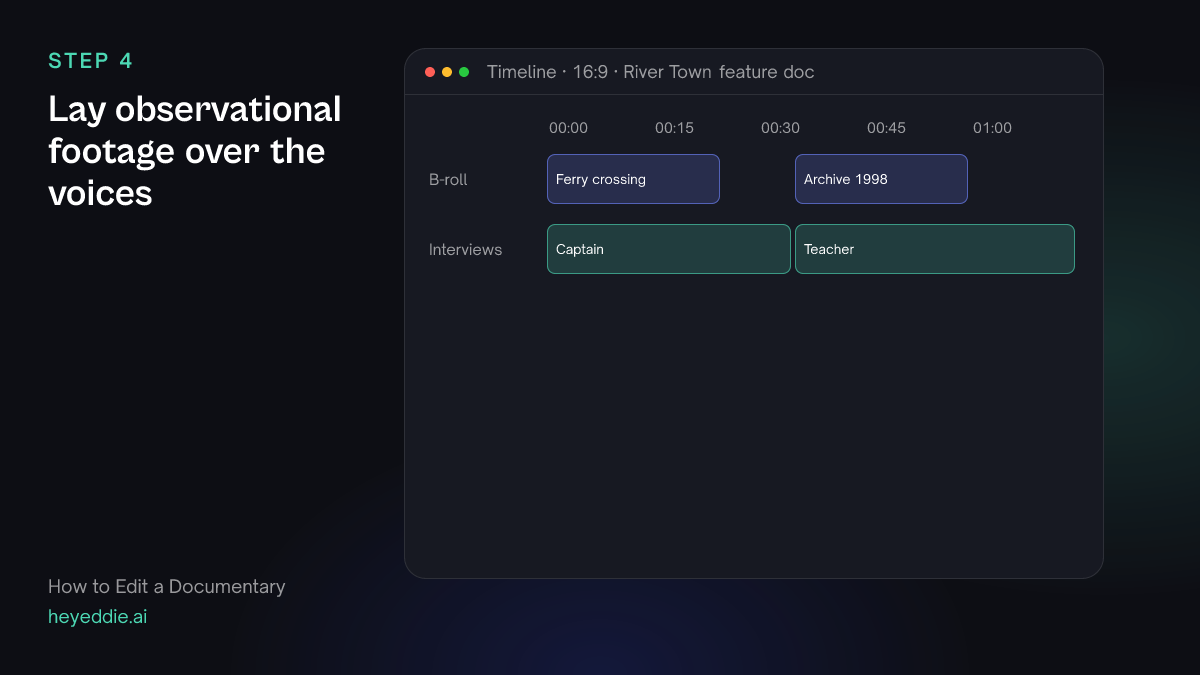
Documentaries live in the cutaways. Put the observational footage and archive under the interviews where they show what the voice describes.
What you type “Lay the ferry crossing footage over the captain talking about the river, and the 1998 flood archive over the teacher's memory of the flood. Use only our own footage; do not use stock.”
What Eddie does
- Places your observational and archive footage over the matching answers.
- Uses only your own b-roll when you ask it to, with no stock or generated shots.
What you get: An assembly that shows as well as tells.
Step 5
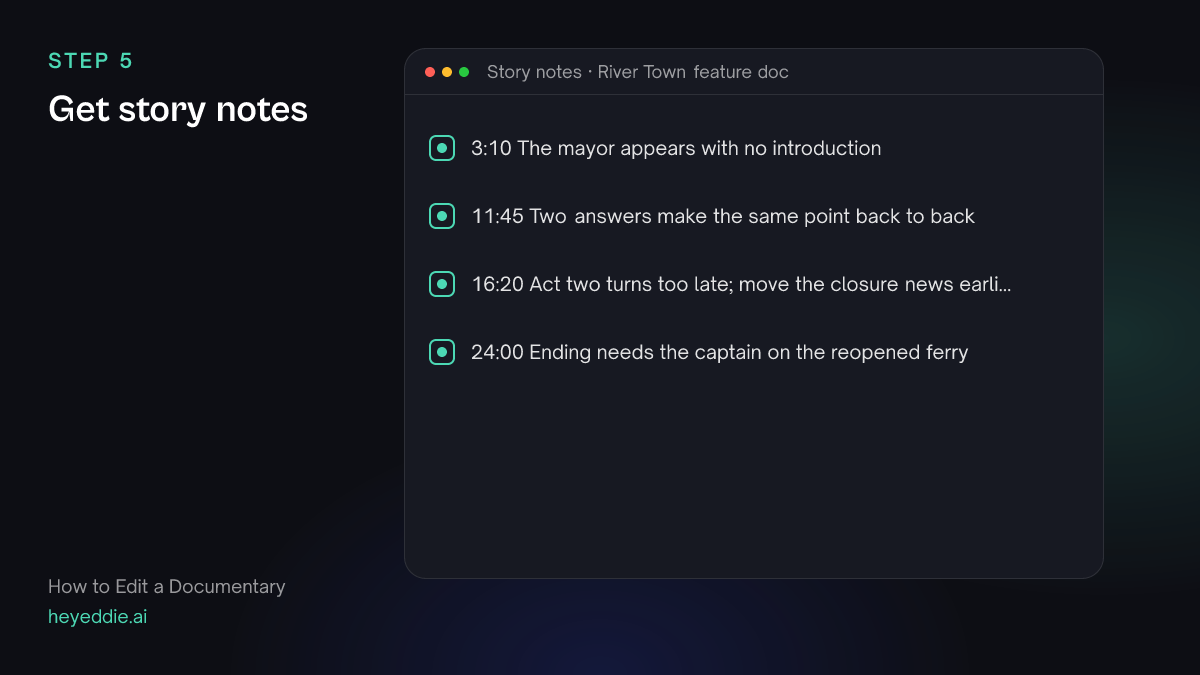
Get story notes
Before you fine-cut, ask for structural notes. It is cheaper to move an act now than after the sound mix.
What you type “Watch the assembly and give me notes on story structure and pacing with timestamps. Tell me where the audience will lose track of who someone is.”
What Eddie does
- Renders the assembly and has a video-understanding model review story, pacing and clarity.
- Returns timestamped notes, or leaves them as comments on the timeline.
What you get: A list of structural problems to solve in the next pass.
Step 6
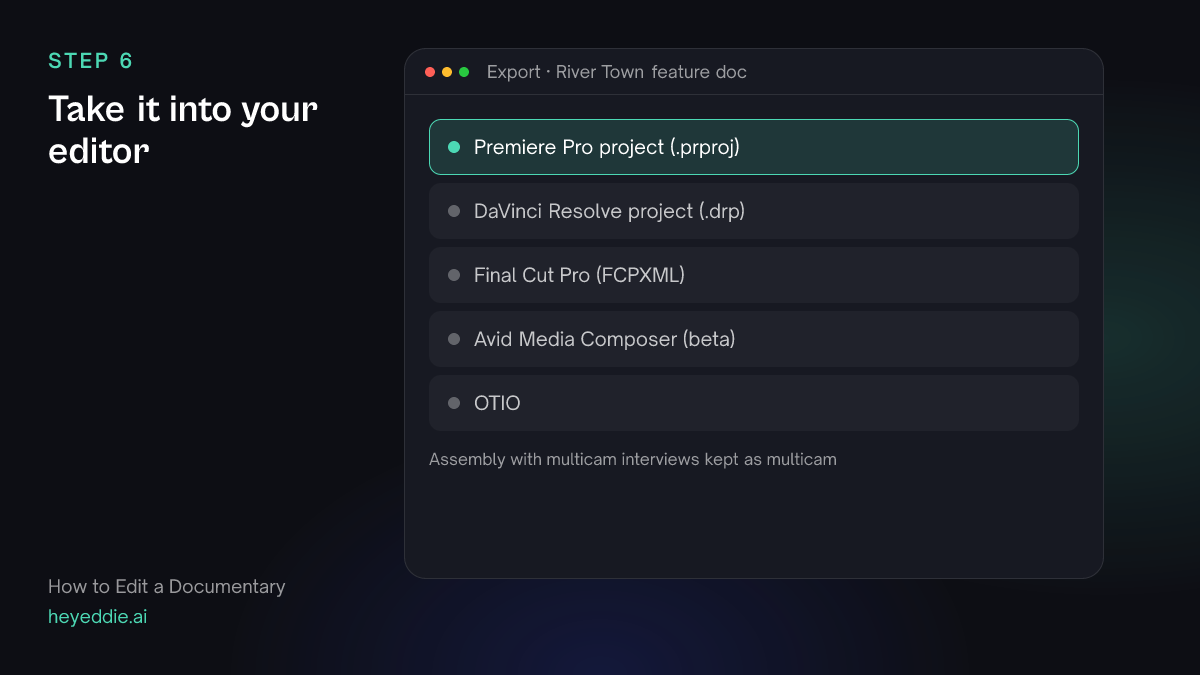
Take it into your editor
Export the assembly to the application you will fine-cut, grade and mix in. Multicam interviews stay multicam in a Premiere Pro project.
What you type “Export the assembly as a Premiere Pro project and keep the interview angles as multicam.”
What Eddie does
- Writes a native Premiere Pro project pointing at your original media, with the interview angles as real multicam clips.
- Leaves the logs ready to download for the producer from the Export menu.
What you get: An assembly in your editor, with logs for the rest of the team.
What makes it work
- Know your footage before you cut
- The logs are not admin; they are where the story is found. Read the summaries before you write the outline.
- Write the outline after the selects
- An outline written before you know the material forces the footage into a story it may not hold. Build it from what people actually said.
- Keep observational footage honest
- Documentary b-roll should show the real place and people. Tell Eddie to use only your own footage, and keep stock and generated shots out of factual scenes.
- Move acts early
- Structural notes are cheapest at the assembly stage. Once the sound is mixed and the music is placed, every act move costs a day.
Questions
- Can Eddie handle a feature-length documentary?
- Yes. Eddie works across long interviews and many hours of footage in one project, and builds assemblies to the length you name.
- Will Eddie add stock or generated footage to my documentary?
- Only if you ask. Eddie uses your own b-roll first, and you can tell it to use nothing else.
- Can I export logs to Avid Media Composer?
- Yes. Download the b-roll log as an Avid ALE from the Export menu, so your clips arrive in the bin already described. Sending a cut into Media Composer is in beta through the Eddie extension.
- Is there a documentary storytelling agent?
- Yes. The Eddie agent marketplace includes documentary coaches that review structure, interviews and narration against your own footage.