


Premiere Pro · Captions, transcripts and text
How to burn captions into a video in Premiere Pro
The short answer
In Export mode, open the Captions section, set Export Options to Burn Captions Into Video, and export. The captions become part of the picture.
4 steps
In Premiere Pro
01
Check the caption track
Make sure the caption track you want is visible. Premiere burns in the active caption track.
02
Open Export
Click Export at the top of the window, or press Cmd+M or Ctrl+M.
03
Set Captions
Open the Captions section and set Export Options to Burn Captions Into Video.
04
Export
Choose the format, such as H.264, and click Export.
Good to know
Before you start
- Note 1
- Burned-in captions can't be turned off by viewers. For YouTube, many editors upload an SRT instead, then burn in for social platforms that autoplay on mute.
Eddie AI
Do it in Eddie
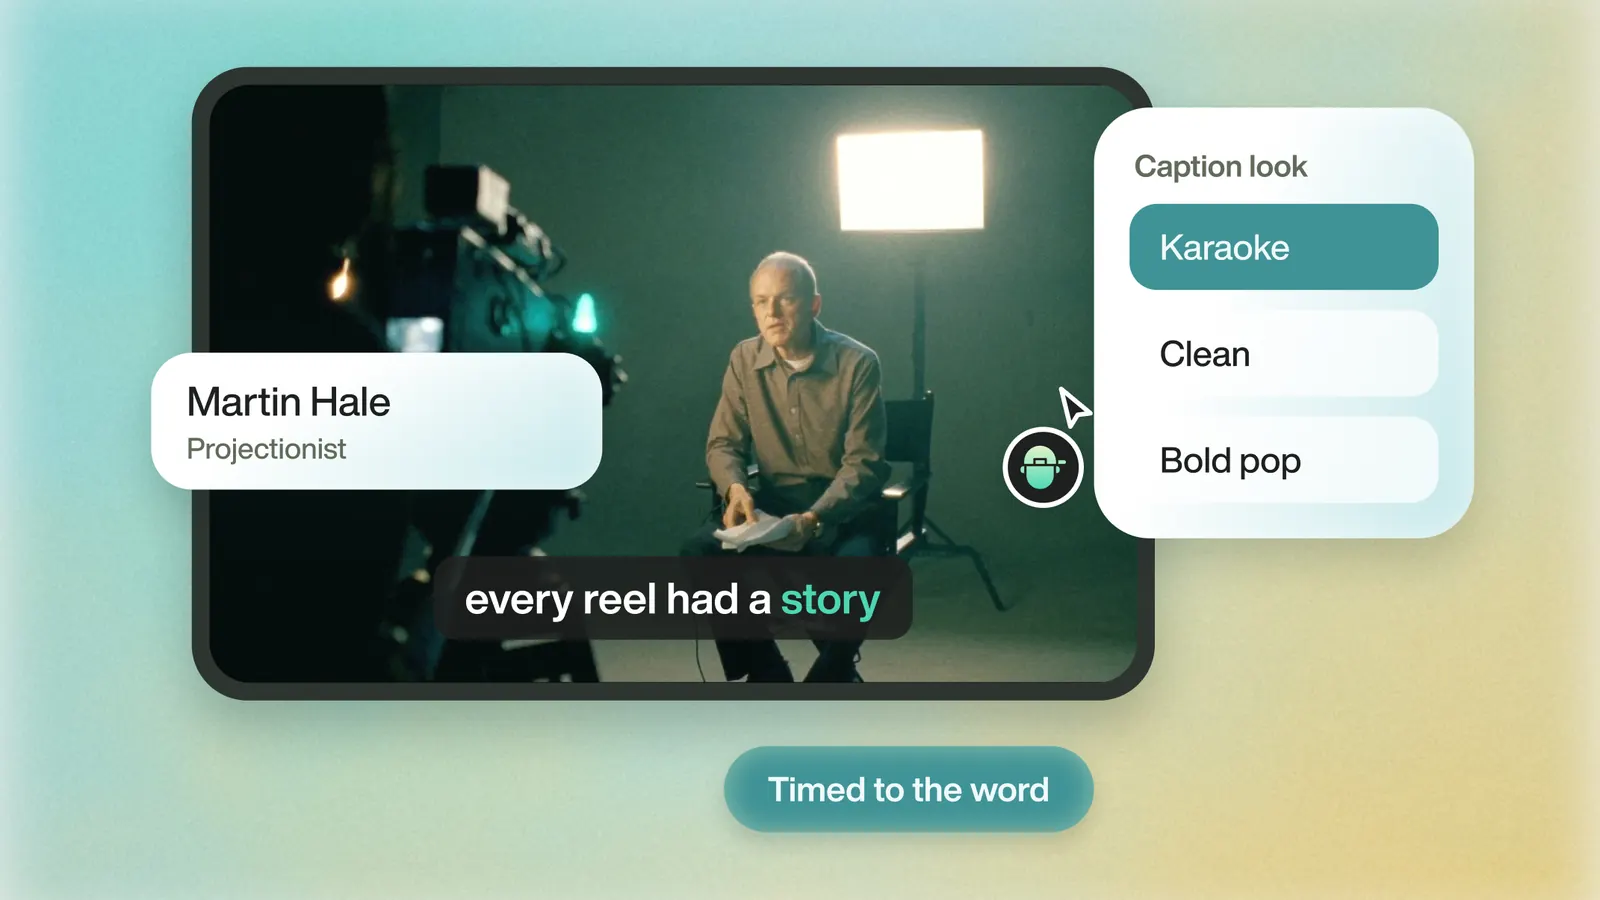
Eddie burns captions into every MP4 it renders.
An Eddie MP4 has the captions burned in, including the word highlight and speaker colors. SRT and VTT downloads are free under Export > All export options > Video file. Some scripts don't burn in correctly yet, such as certain Devanagari vowel signs.
FAQ
Questions
- What is the difference between open and closed captions?
- Open captions are burned into the picture. Closed captions are a separate file viewers can turn off.
- Why are my captions missing from the export?
- The caption track was hidden, or Export Options was set to None.
