FX3, FX6, FX9, FX30, A7S III, A7 IV, ZV-E1, and other bodies set to S-Log3 / S-Gamut3.Cine. Eddie converts Sony S-Log3 / S-Gamut3.Cine to Rec.709 on an MP4 render and in the player, before a grade. In DaVinci Resolve, decode that published curve and color space, export an sRGB still, match a reference, and apply the .cube after the input transform.
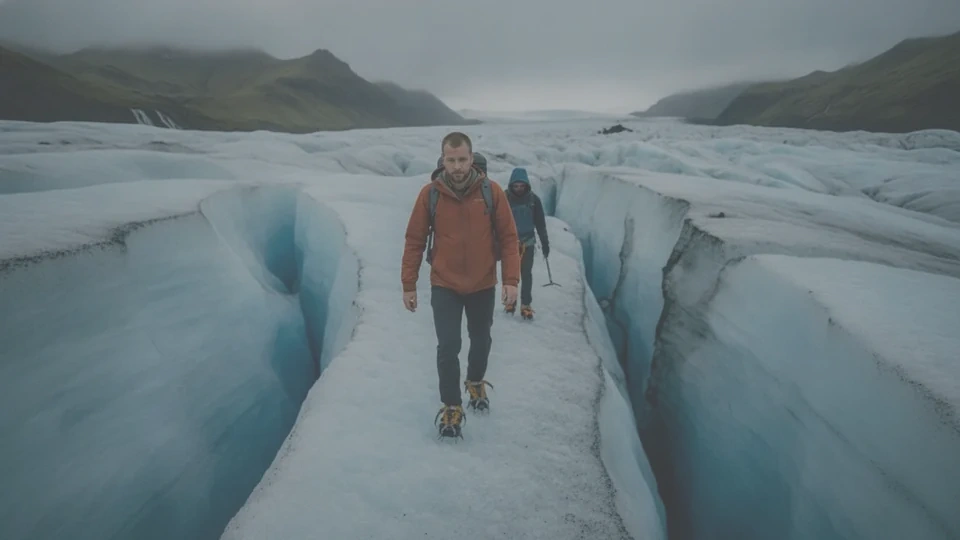
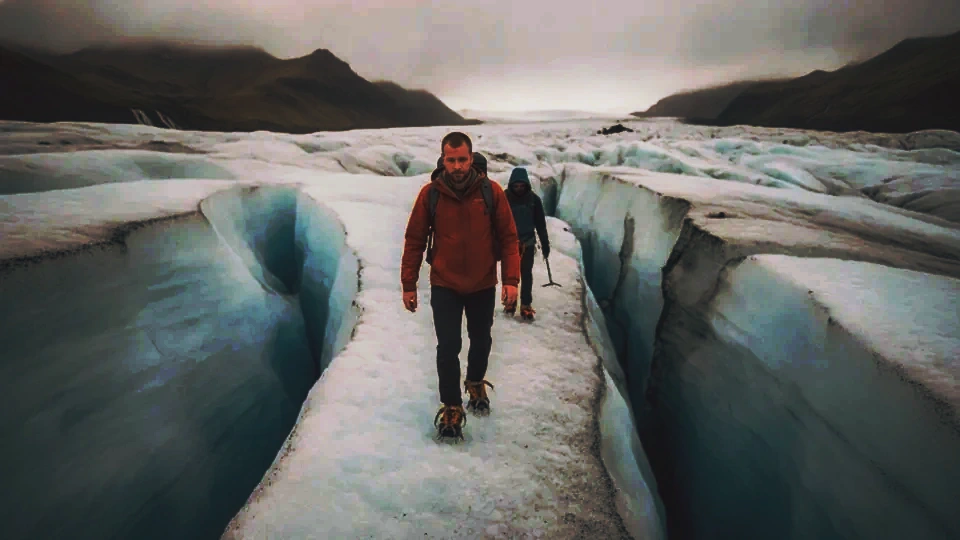
The same sample still, shown flat and then with contrast restored. A color wash marks this curve. It is not footage from the camera.
18% grey on this curve
01
Decode S-Log3 / S-Gamut3.Cine
Decode Sony S-Log3 with the manufacturer's published S-Log3 curve and S-Gamut3.Cine color space. Eddie converts that pair to Rec.709 on an MP4 render and in the player, before a grade. A timeline export keeps the camera file, and the export note names Sony S-Log3. In DaVinci Resolve, apply the manufacturer's input transform for S-Log3 / S-Gamut3.Cine before the creative LUT.
JPEG · PNG · WebPsRGB
02
Export a representative sRGB still
After the conversion, export one JPEG, PNG or WebP of a typical Sony S-Log3 frame at the sRGB display stage. Keep exposure and white balance typical of the shot. The still can be up to 20 MB and 40 megapixels.
Your still
Matched
03
Match a reference in the image-to-LUT tool
Open the image-to-LUT tool with a reference photo or film still prepared as sRGB, and the still from the Sony S-Log3 footage. Eddie compares the visible pixels in the browser and writes a 33- or 65-point .cube. The preview uses the same table as the download. The matcher compares sRGB stills. It does not decode camera log.
After the input transform
DaVinci Resolve
04
Apply the .cube in DaVinci Resolve
In Project Settings, open Color Management, then Open LUT Folder. Copy the file in, update the lists, and apply it on a node after the input transform, at the sRGB stage used for the still. Then scrub faces, changing light and shadows. A match on one frame is a starting point for the rest of the shot.
The matcher compares two sRGB stills. It does not decode camera log. Eddie's separate conversion turns Sony S-Log3 / S-Gamut3.Cine into Rec.709 on an MP4 render and in the player, before a grade. In DaVinci Resolve, apply the manufacturer's input transform, then the .cube.
Which cameras use the Sony S-Log3 conversion?
FX3, FX6, FX9, FX30, A7S III, A7 IV, ZV-E1, and other bodies set to S-Log3 / S-Gamut3.Cine.
Where does the .cube go in DaVinci Resolve?
After the S-Log3 / S-Gamut3.Cine input transform, at the same sRGB stage as the still you matched. sRGB and Rec.709 are not interchangeable input labels. In Project Settings, open Color Management, then Open LUT Folder. Copy the file in, update the lists, and apply it on a node after the input transform, at the sRGB stage used for the still.
What if the footage uses a different curve?
Convert that curve with the manufacturer's input transform, export an sRGB still, then match it. S-Log2, S-Log3 / S-Gamut3, Canon Log and Canon Log 2, Canon Log 3 in Rec.709 or BT.2020, D-Log M, F-Log and F-Log2, N-Log, LogC and Log3G10 stay on that path.

 Matched
 Premiere ProS-Log3 / S-Gamut3.Cine
 Final Cut ProS-Log3 / S-Gamut3.Cine